WDWNT Reporter Adam Roth visited Epcot on Friday and has some great photos to share with us from his trip:

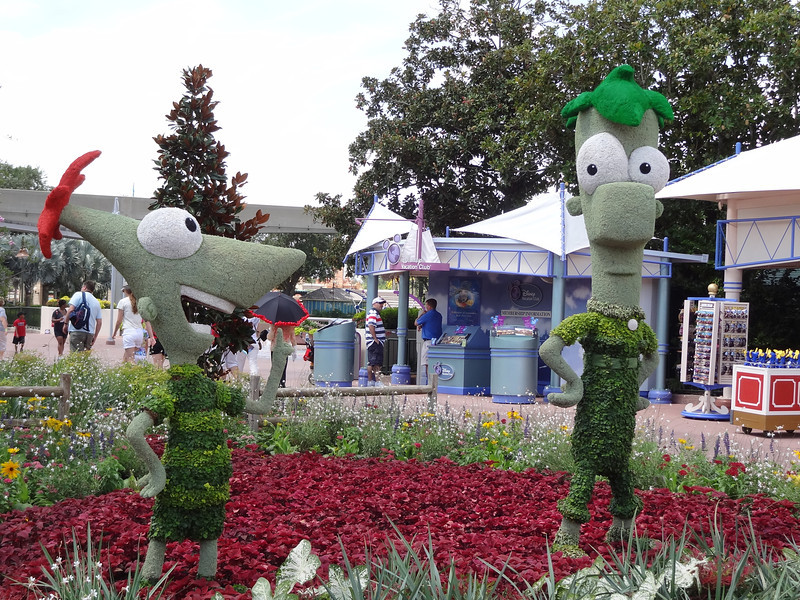
Phineas and Ferb topiary went up as part of the “Summer to Remember”
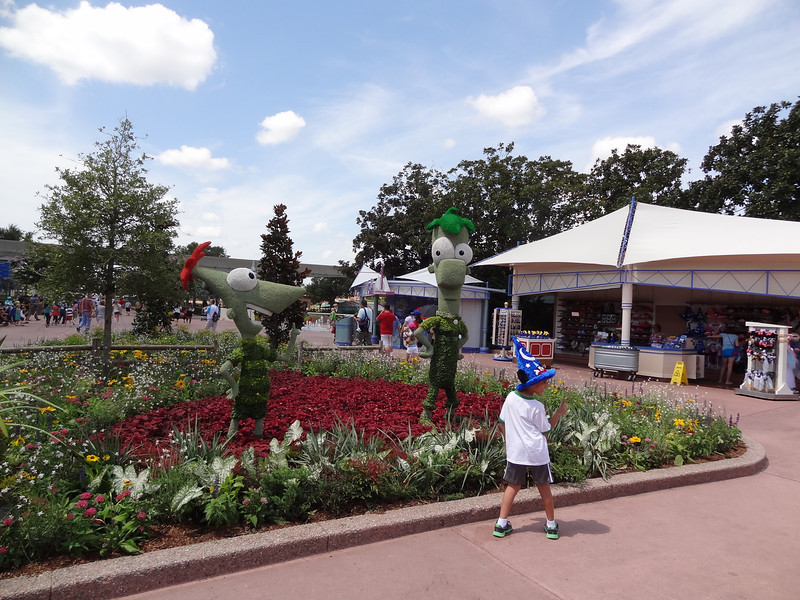
I had no idea there was a summer promotion… I imagine guests had no idea either…
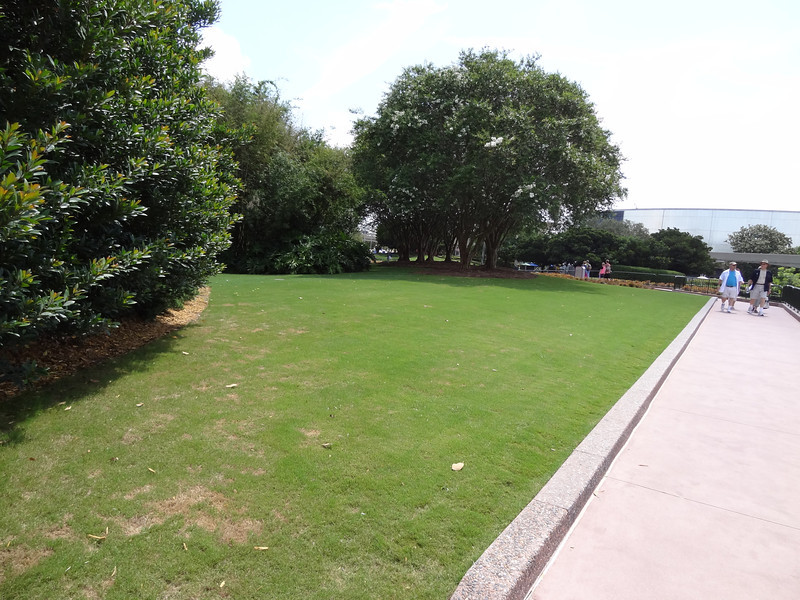
Large patches of grass back after Flower and Garden clean-up
The Test Track pizza truck and many props from the area are gone, but the tool sheds remain
Test Track is still closed of course

The signage from Inside Track is gone
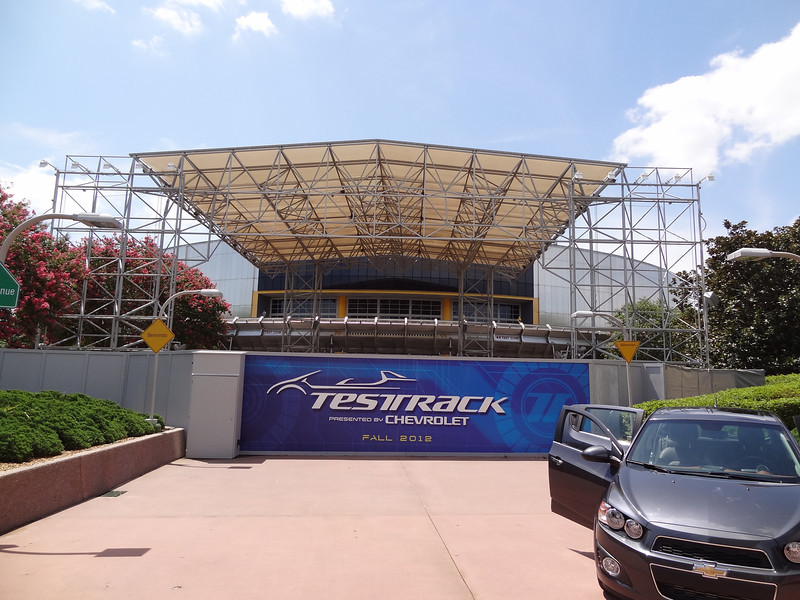
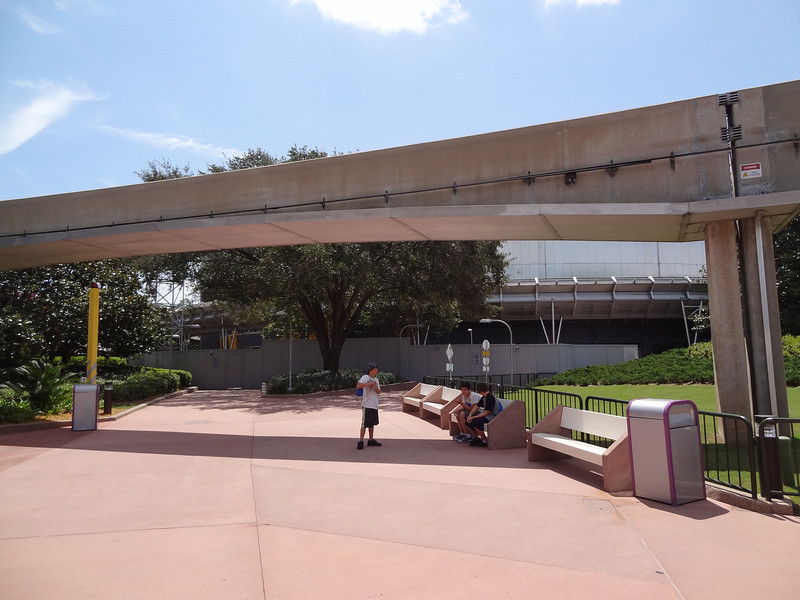
A pretty bare exterior right now

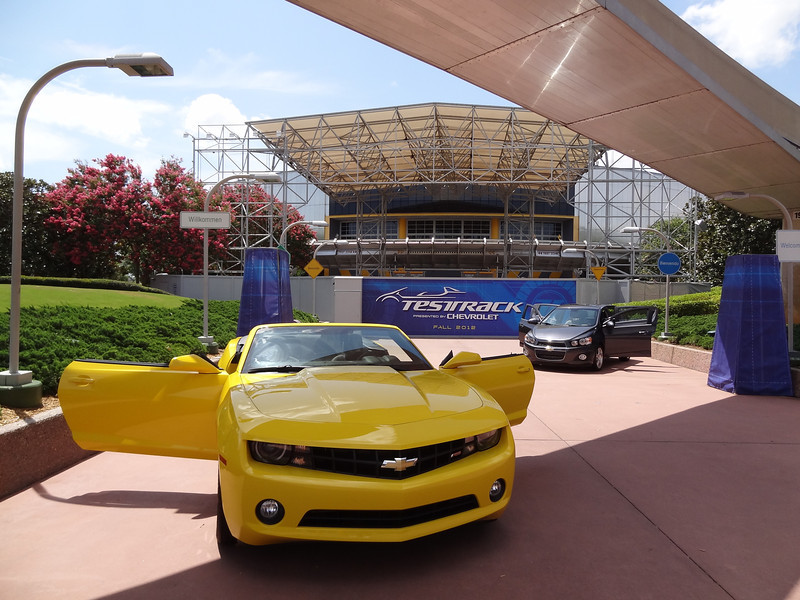
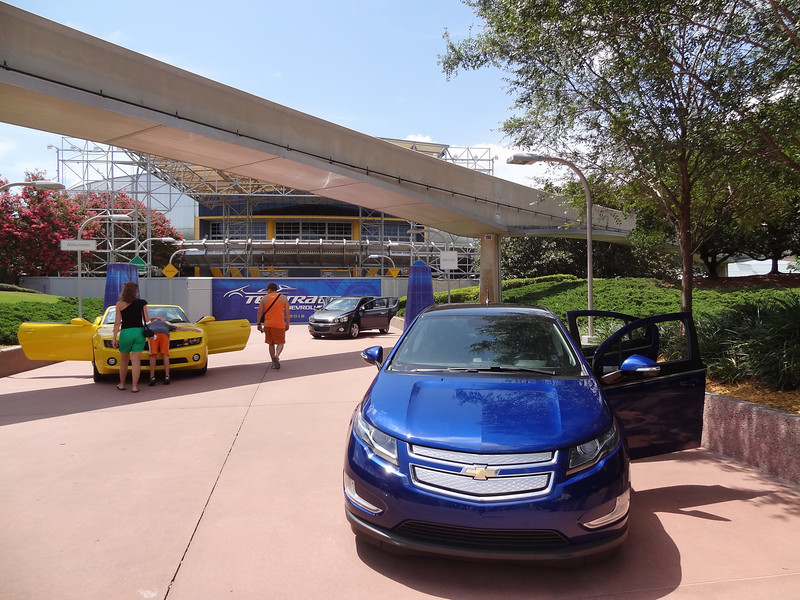
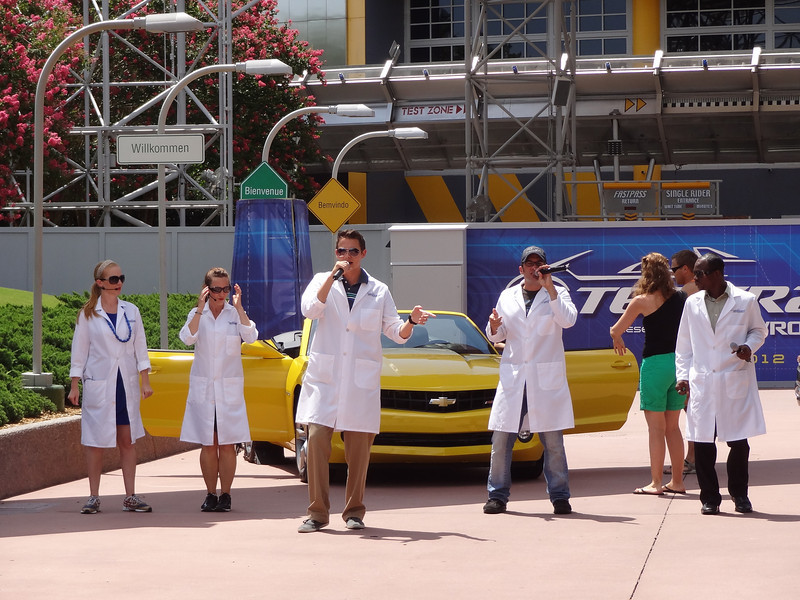
I love the people checking out the car while Test Track All-Stars are performing…
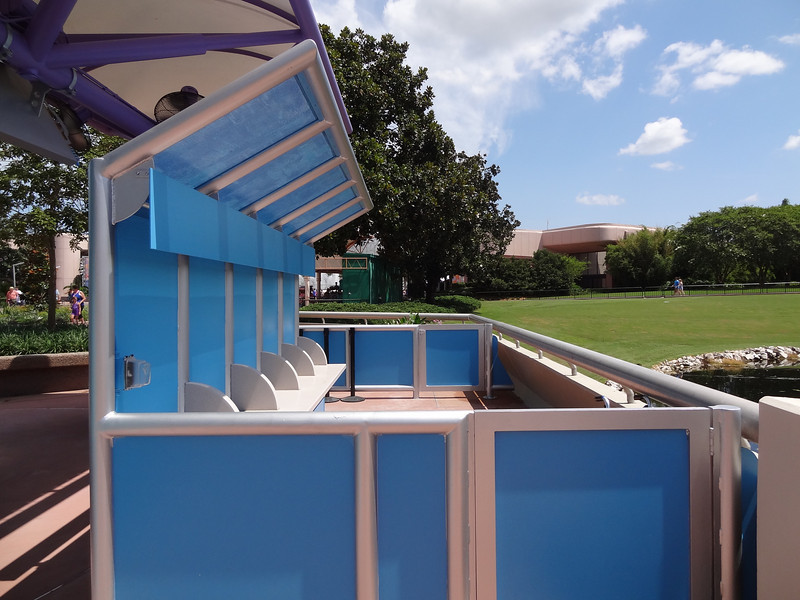
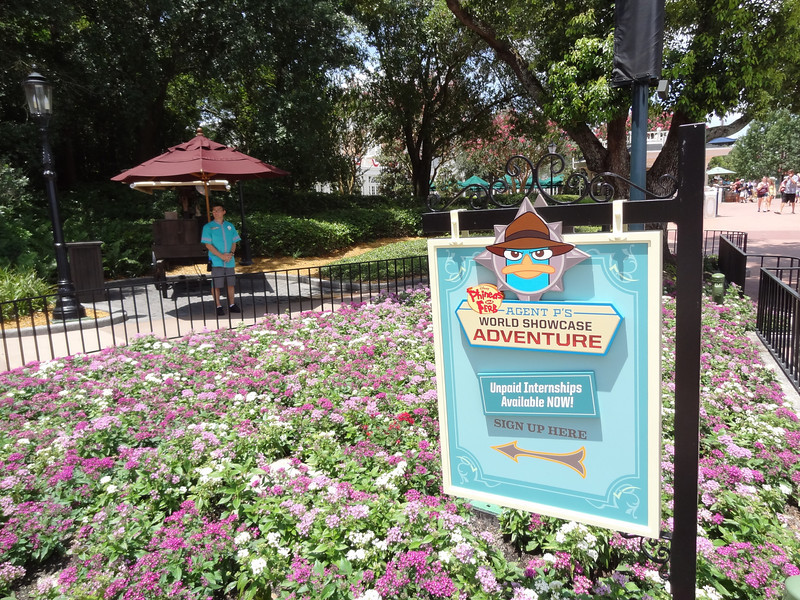
Looks liek they are surveying guests about their experience with the new World Showcase Adventure
It’s themed too
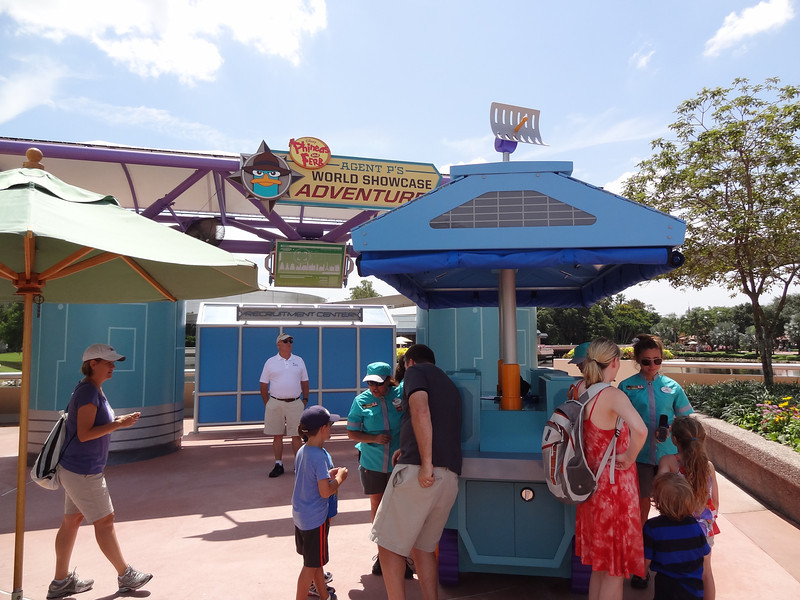
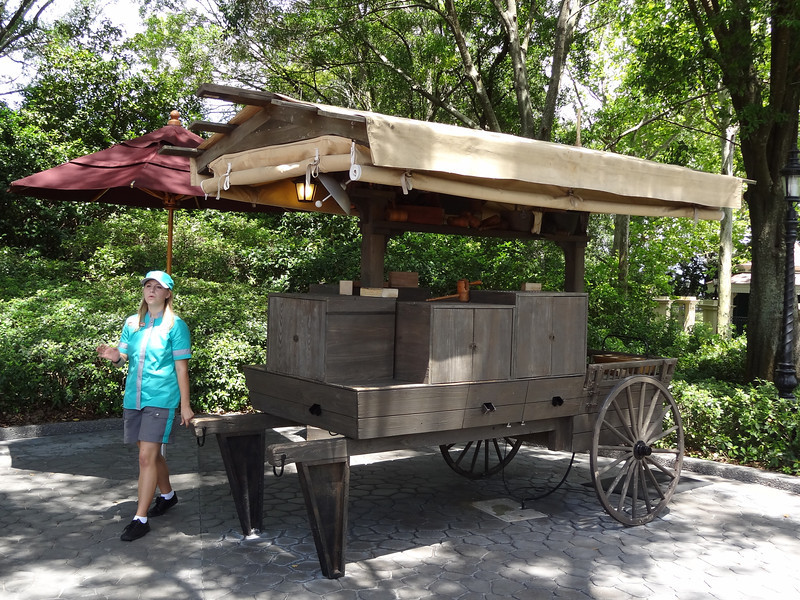
The old Kim Possible carts are unrecognizable with the Perry the Platypus layover


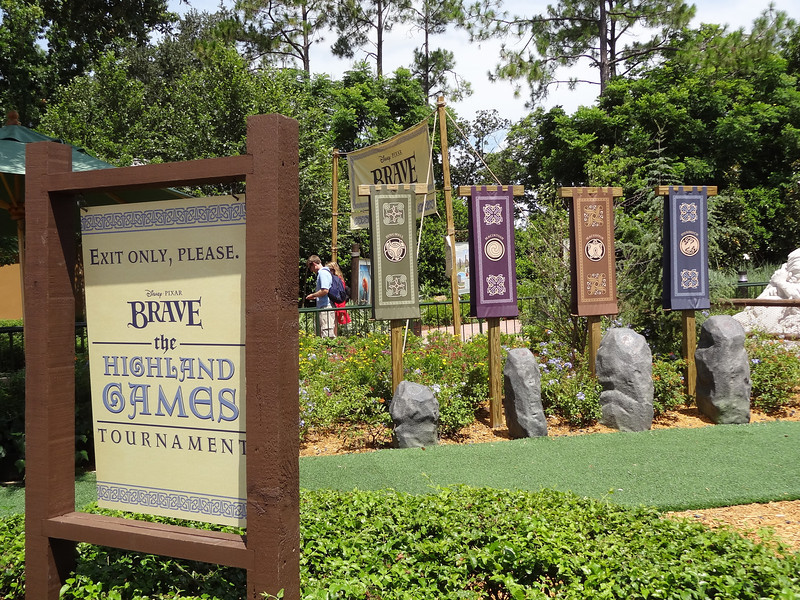
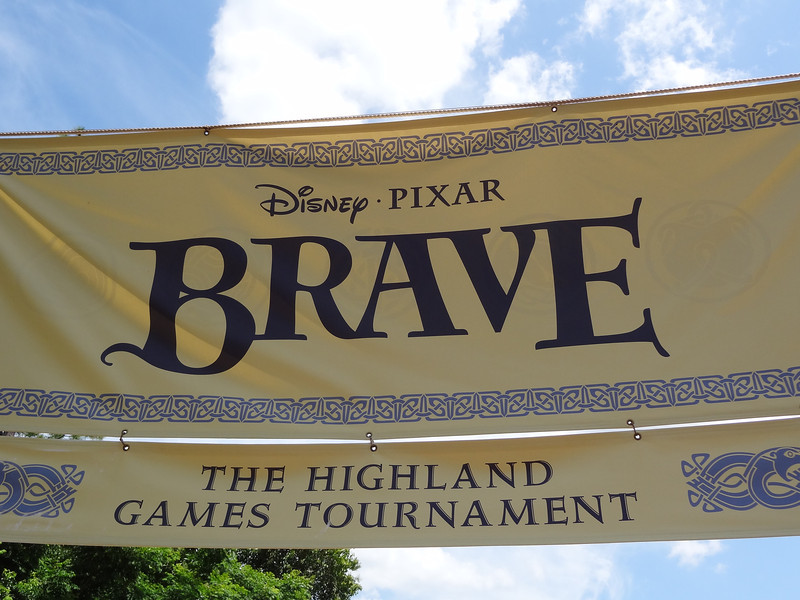
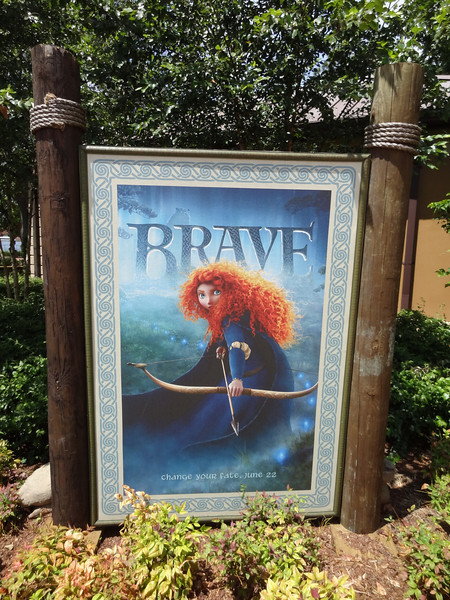
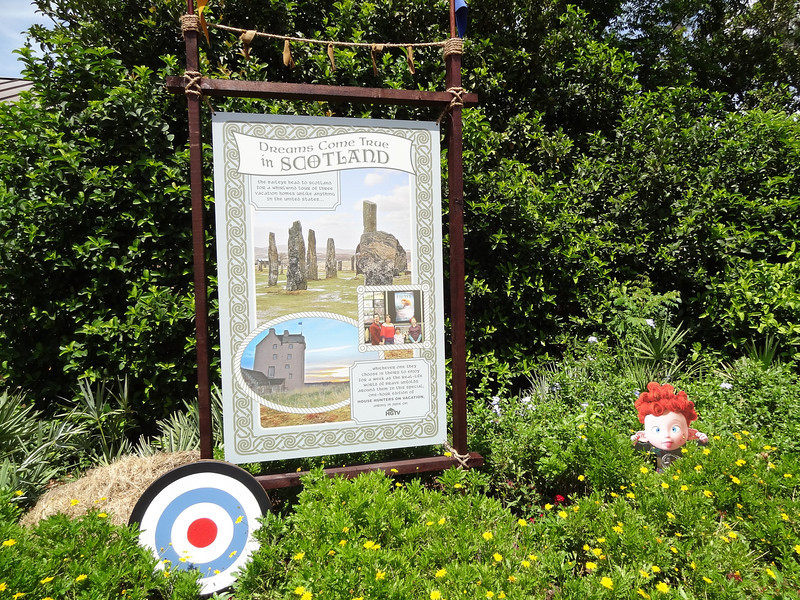
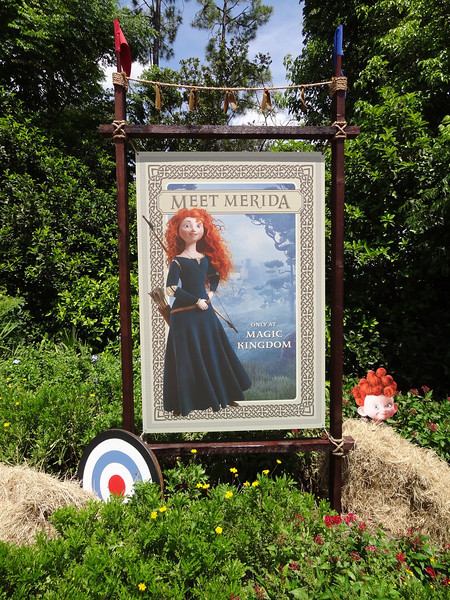
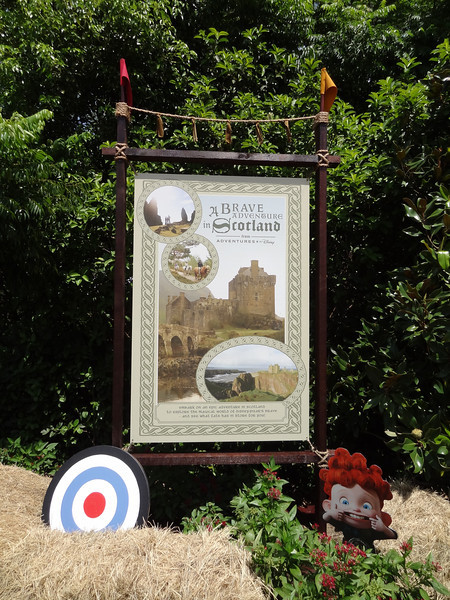
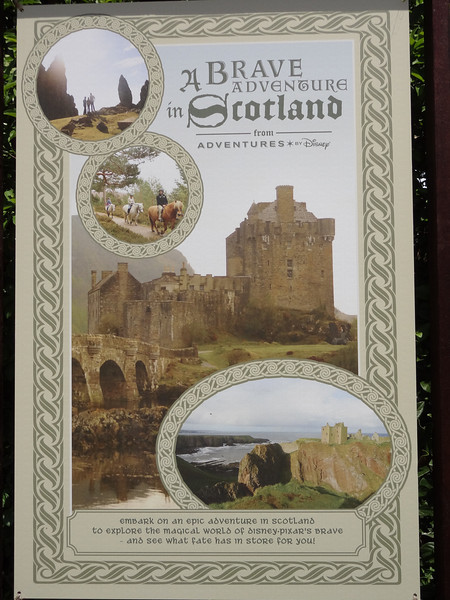
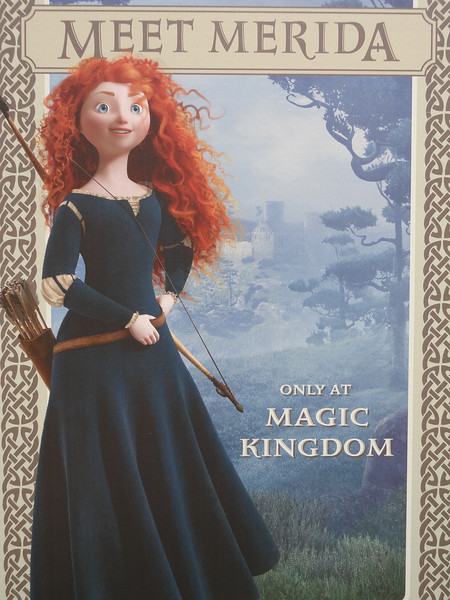
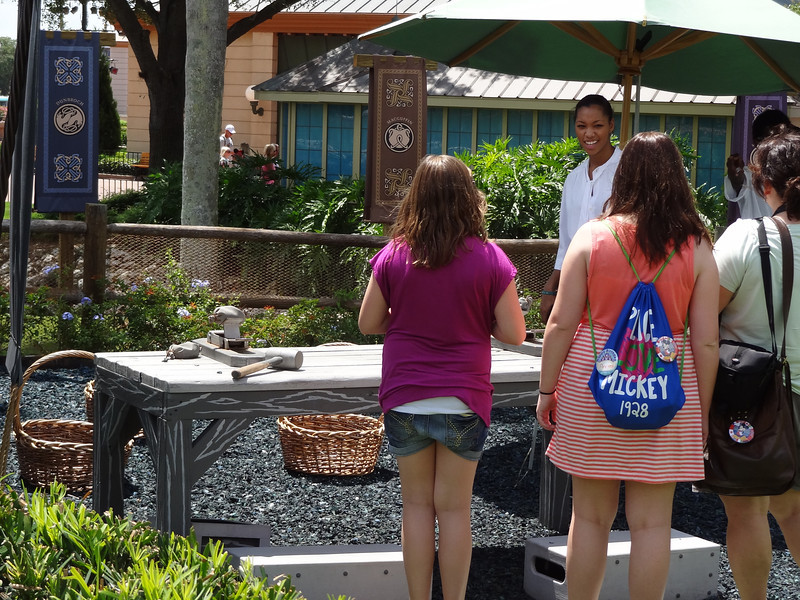
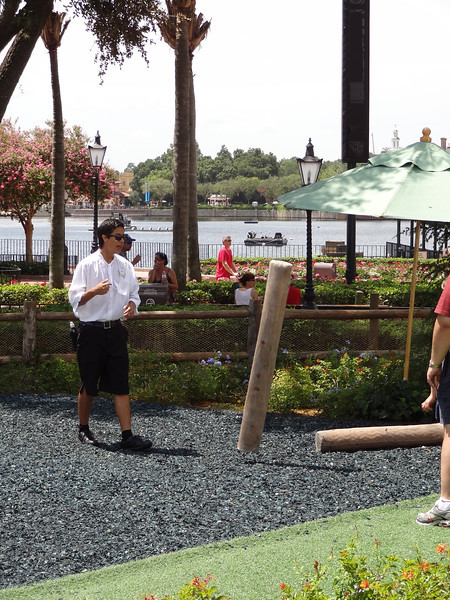
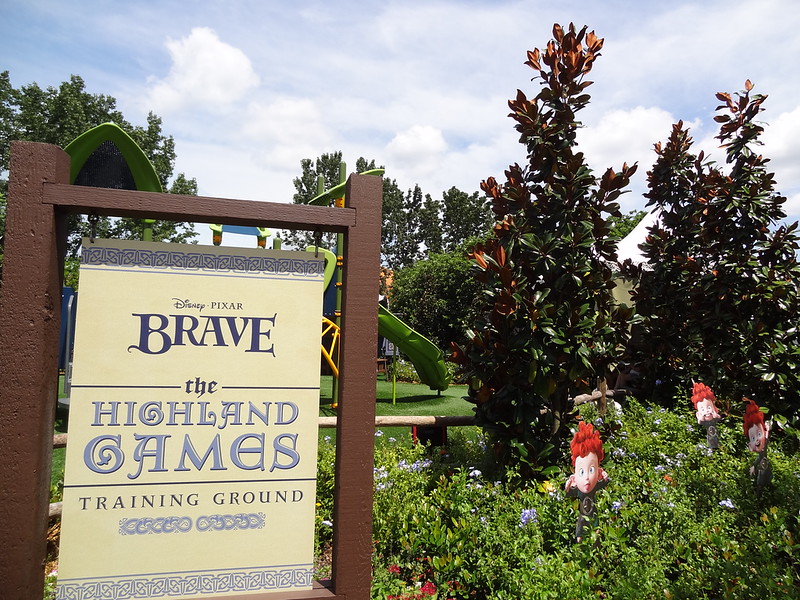
Brave Highland Games was in its final days at this point, it closed on Sunday
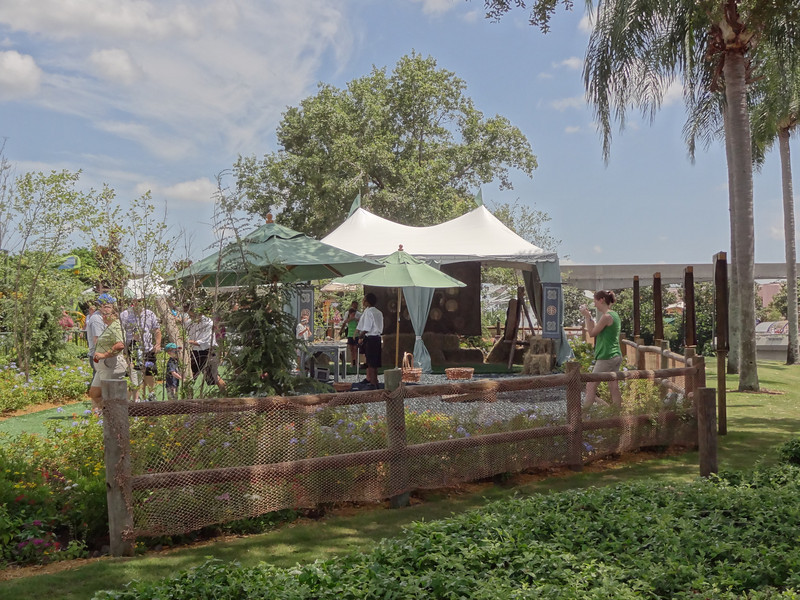


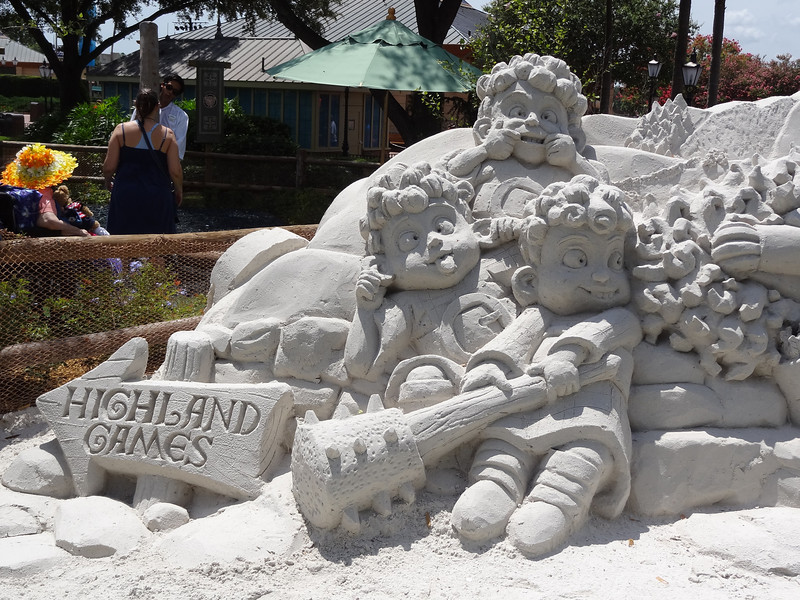
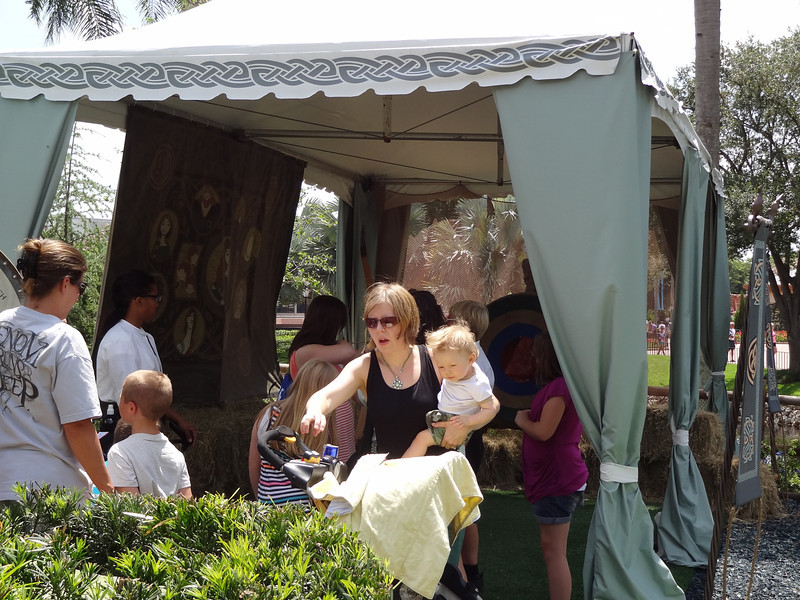


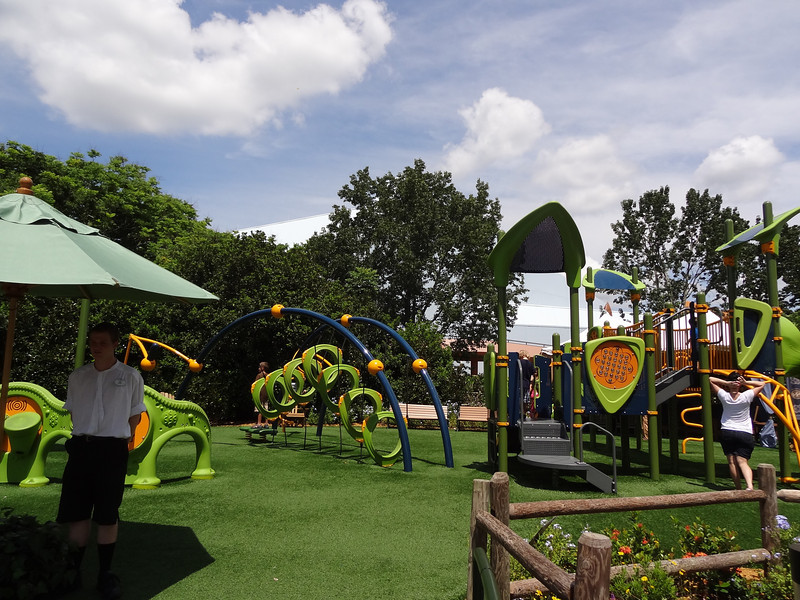
The Flower and Garden play area looked really out of place…
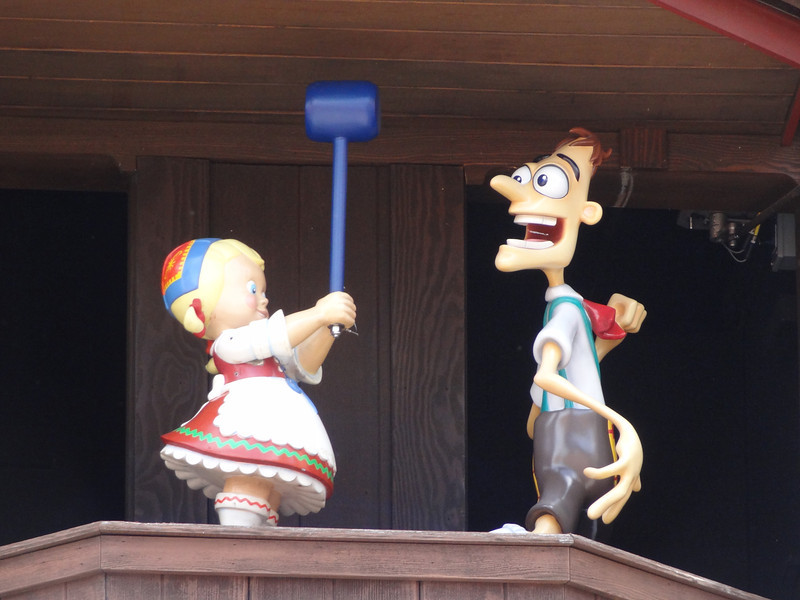
Agent P’s World Showcase Adventure does use a lot of existing game scenes from the old attraction
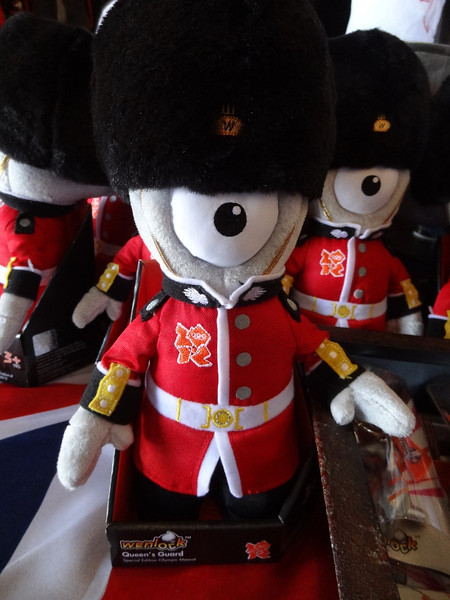
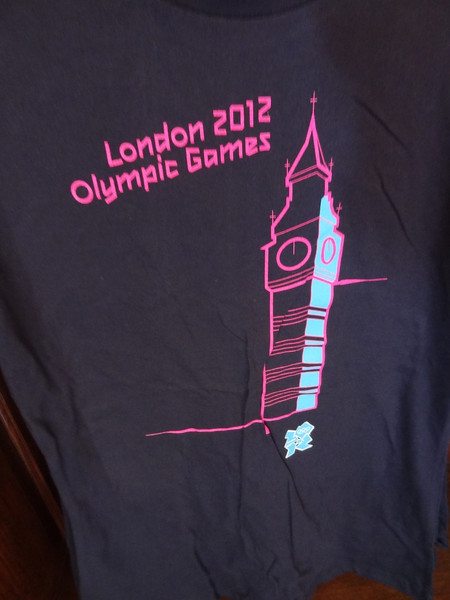
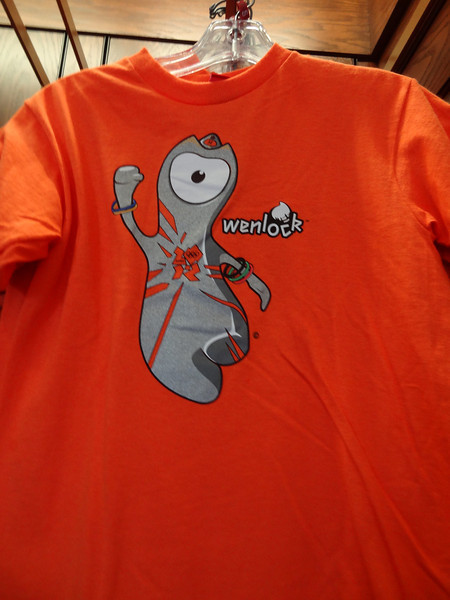
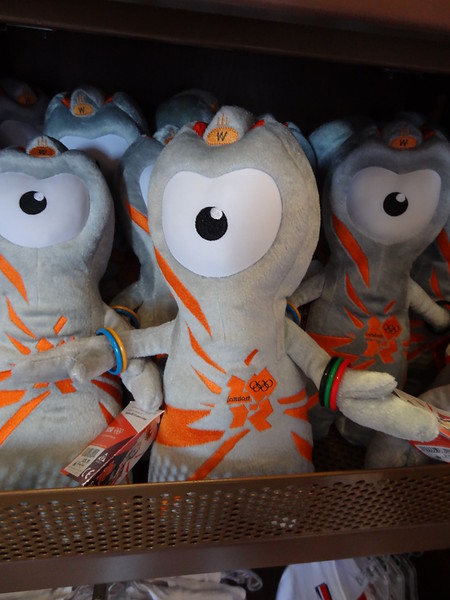
Don’t be scared, this is actually the olympic mascot
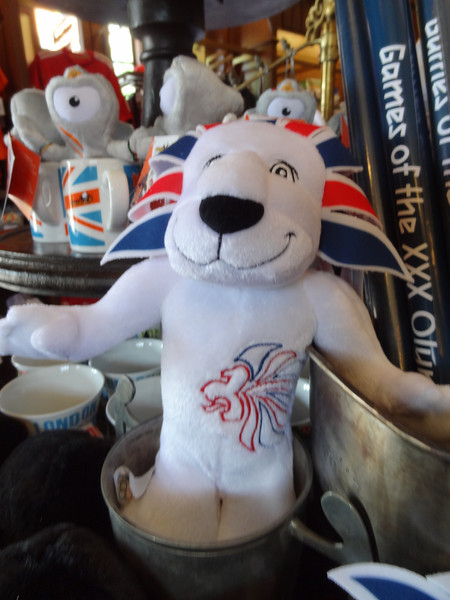
London 2012 olympics merchandise available in the U.K. pavilion

More props that stuck around

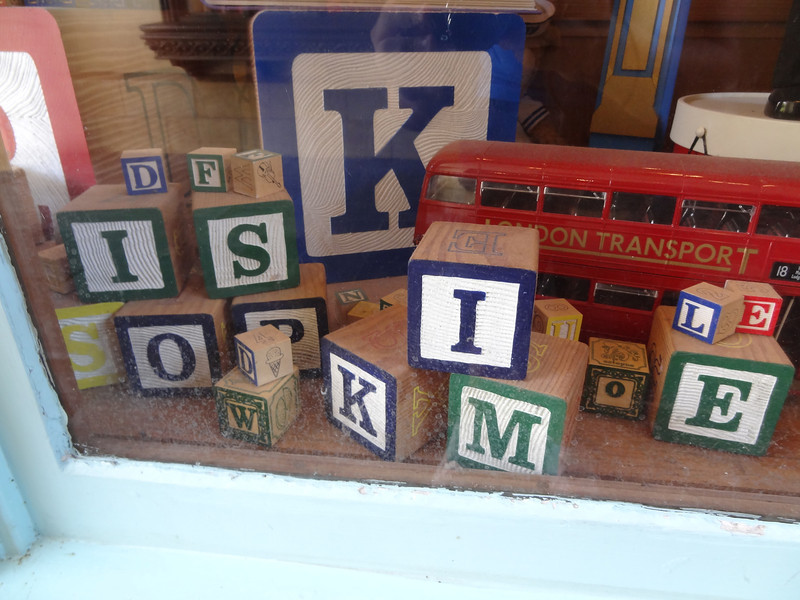
Still spells Kim Possible
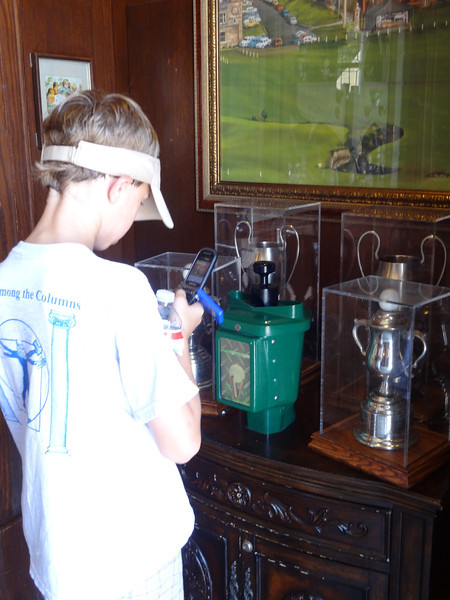
A new logo on the phone drop locations

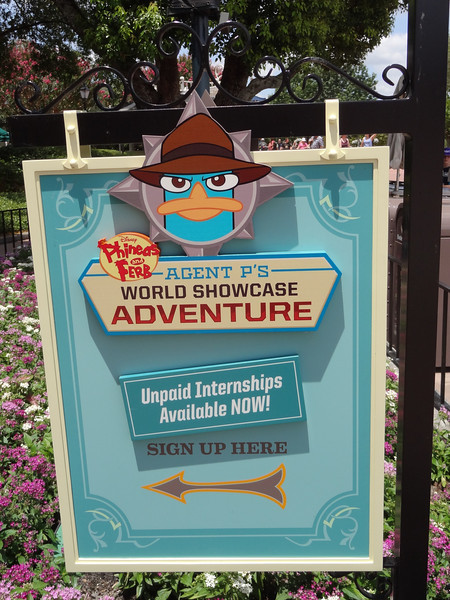
I’m sorry, but this attraction is already funnier and all I have seen is this sign…
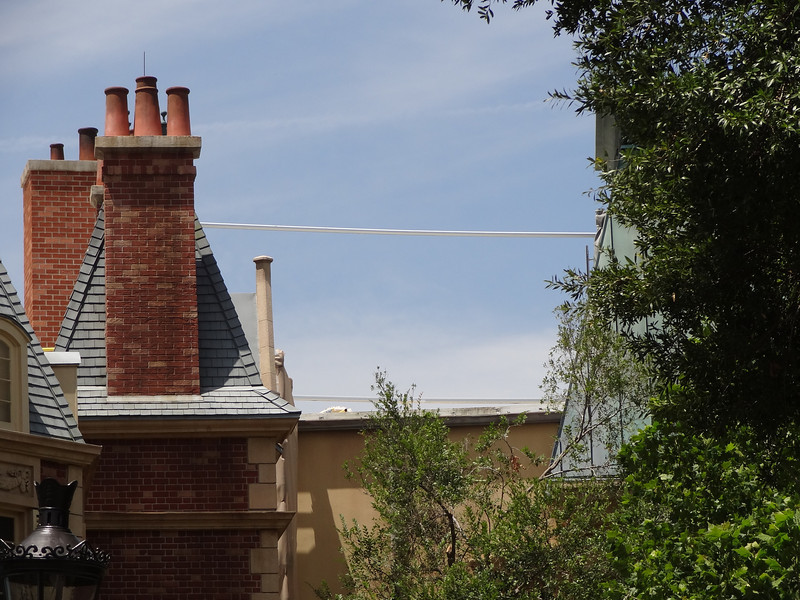
The new zip-line for Agent P over the U.K.
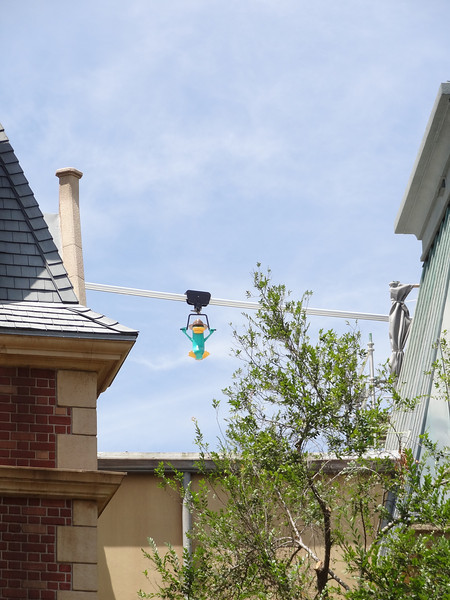
That’s neat…
The bakery in France is being expanded due to high guest demand
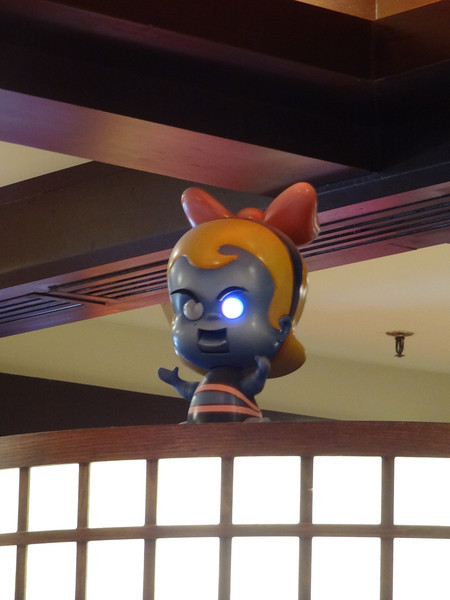
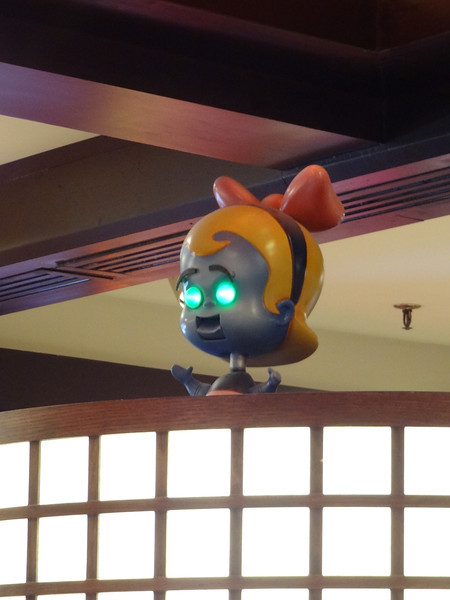
So, they kept the strange baby robot in Japan?

I hope it fits well into the storyline

Have they always offered American Stripes ice cream with the funnel cake?

This seems new…

FLAG FESTIVAL!
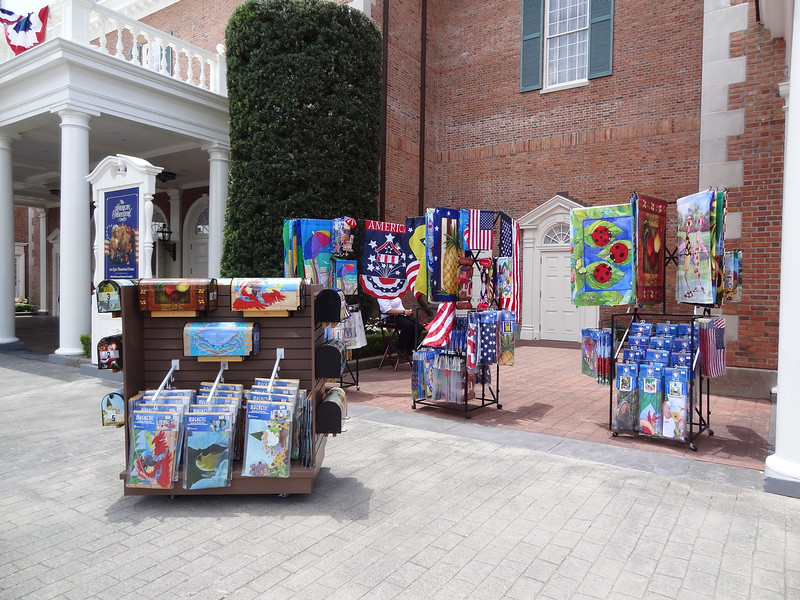
FLAGS!
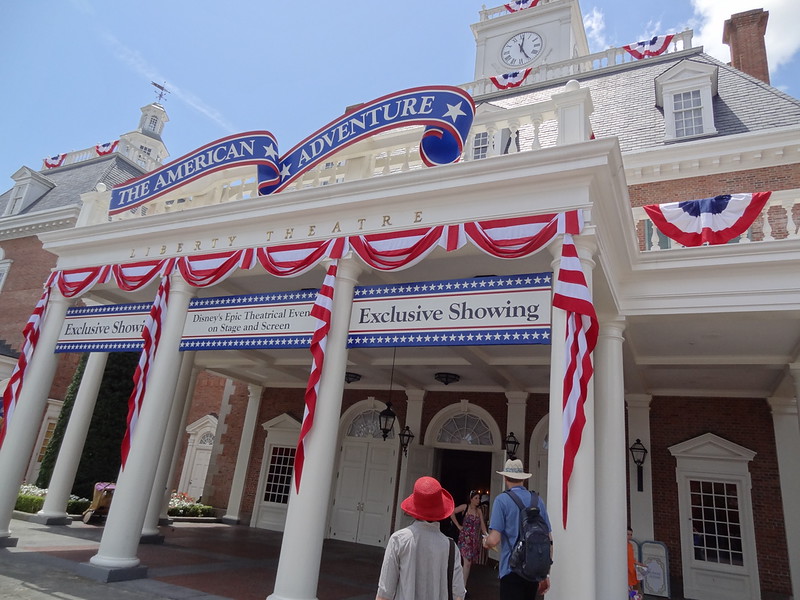
So, there’s something over here people are upset about?

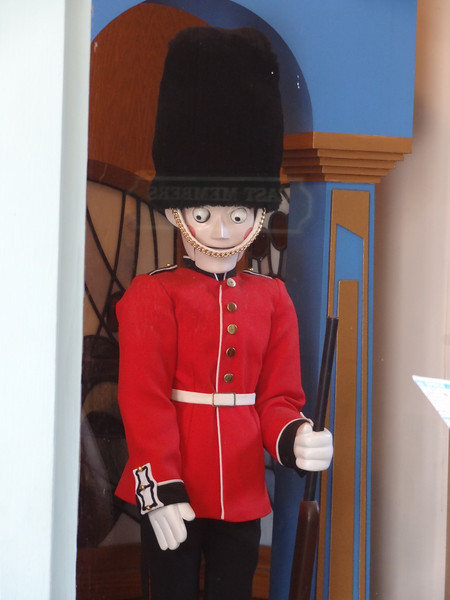
Oh yeah… apparently the American Adventure cast members are getting new costumes that are a bit more modern
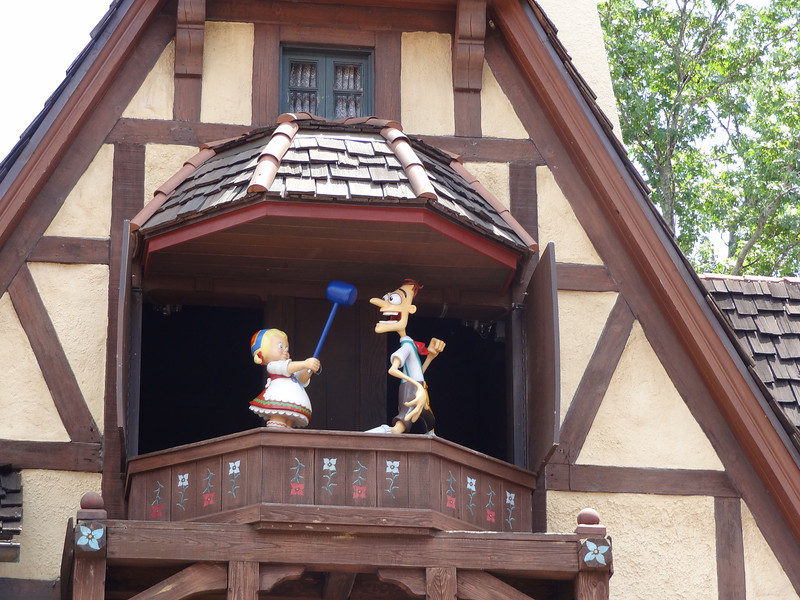
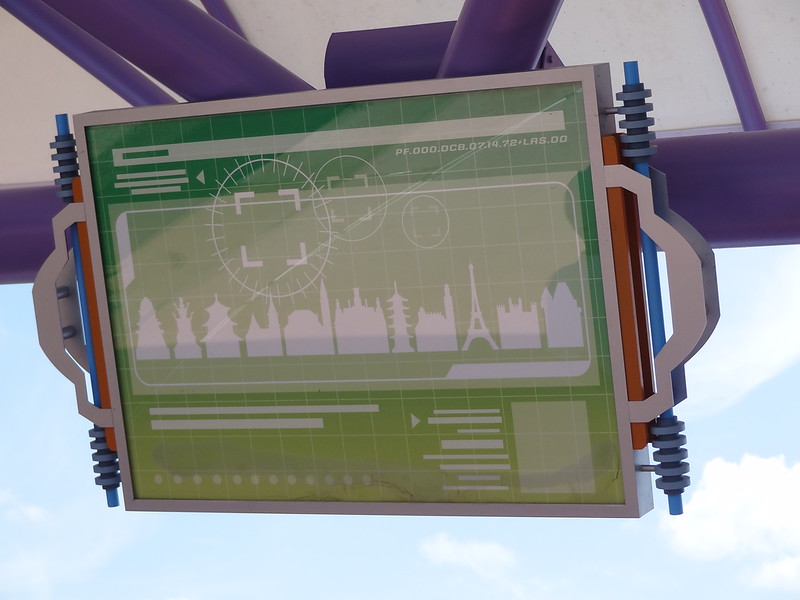
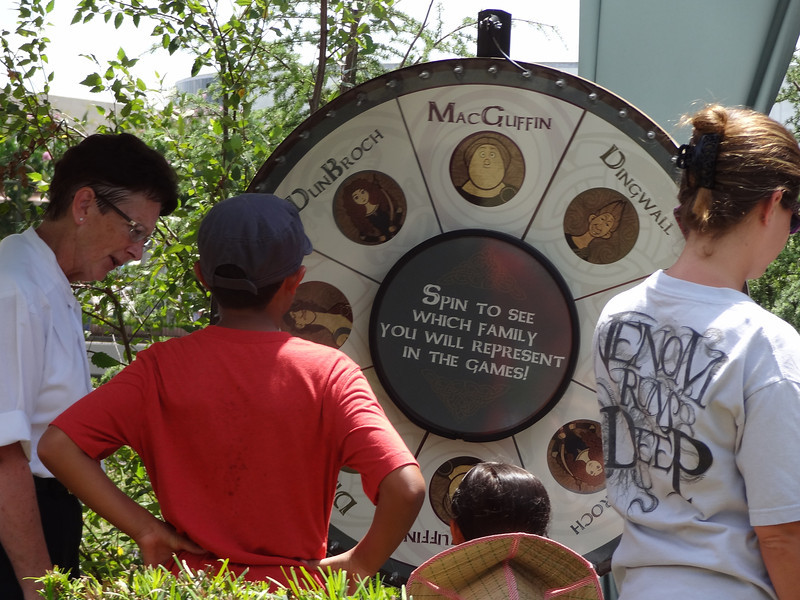
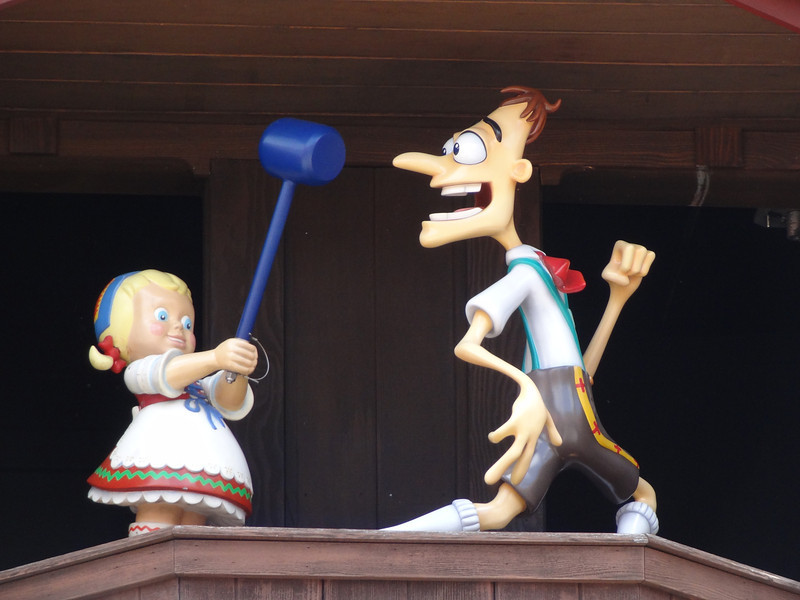
A cool new addition for the game


Work continues on the exterior of Maelstrom

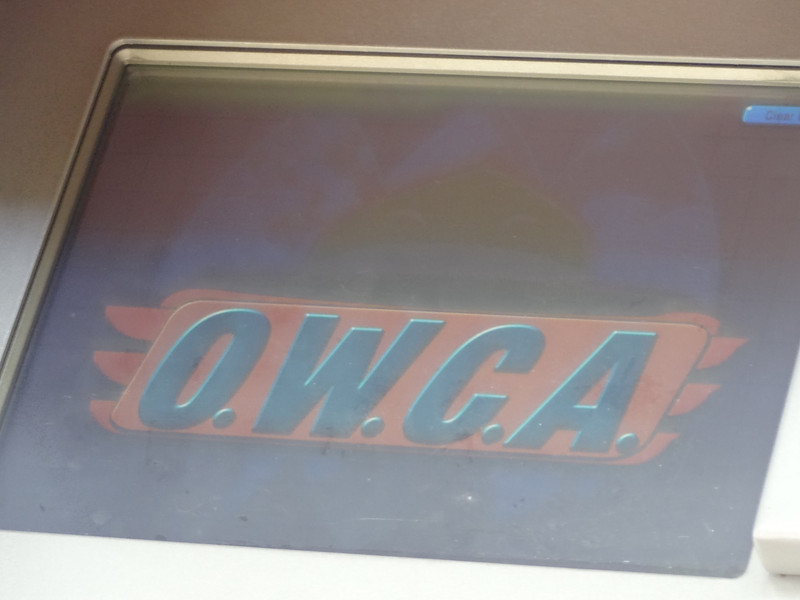
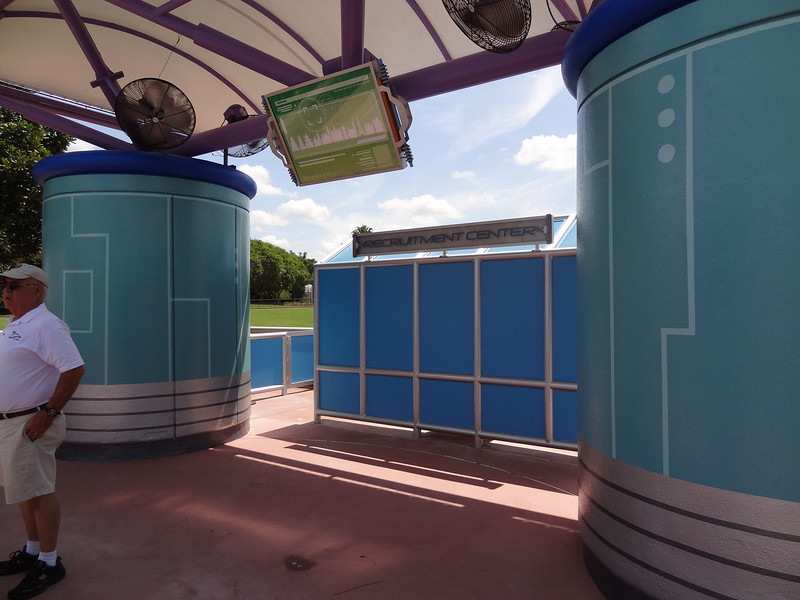
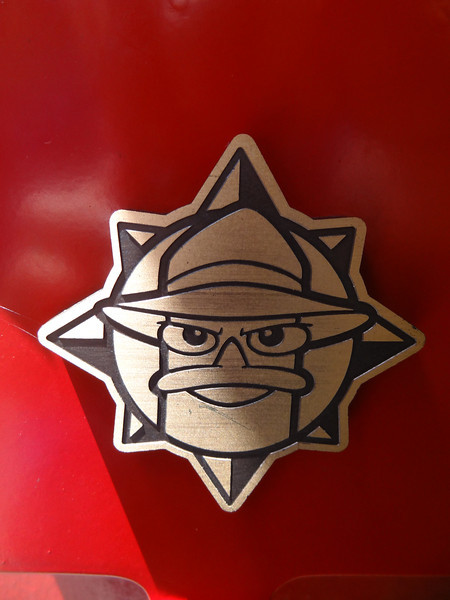
The Organization With A Cool Acronym
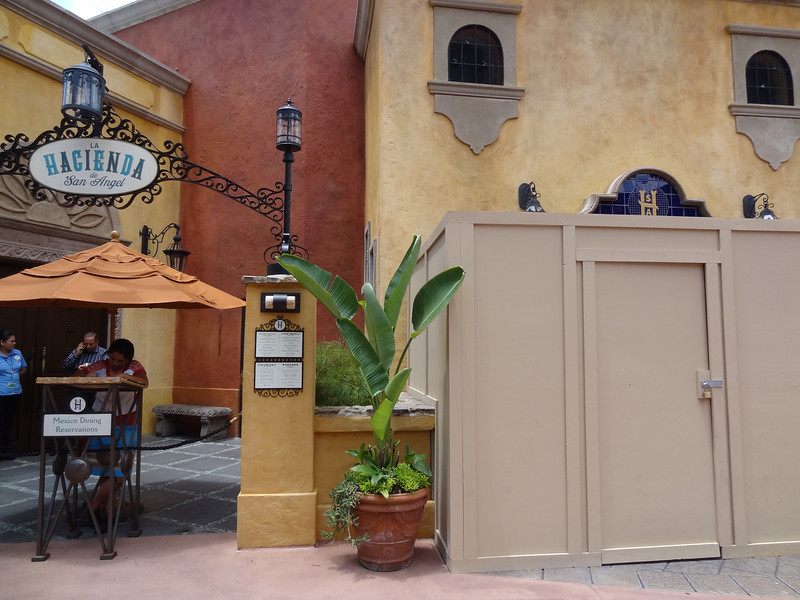
The water feature outside of La Hacienda is being reapired

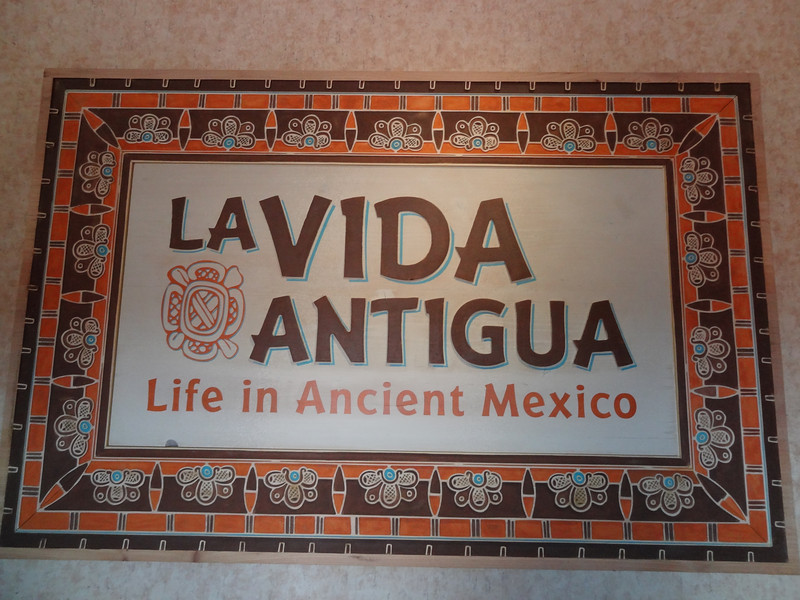
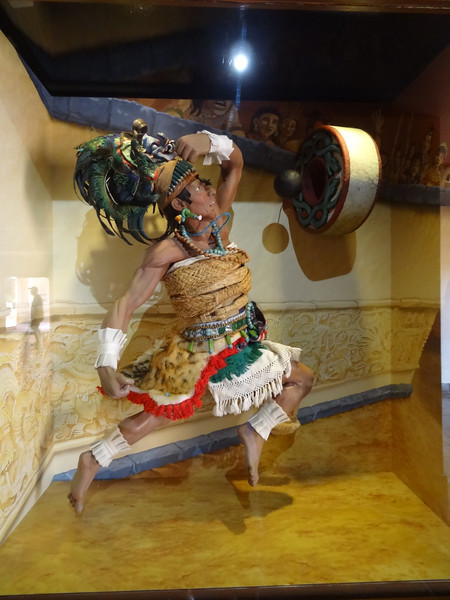
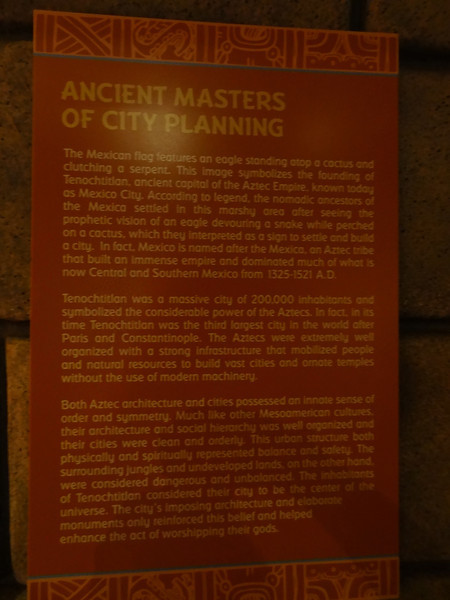
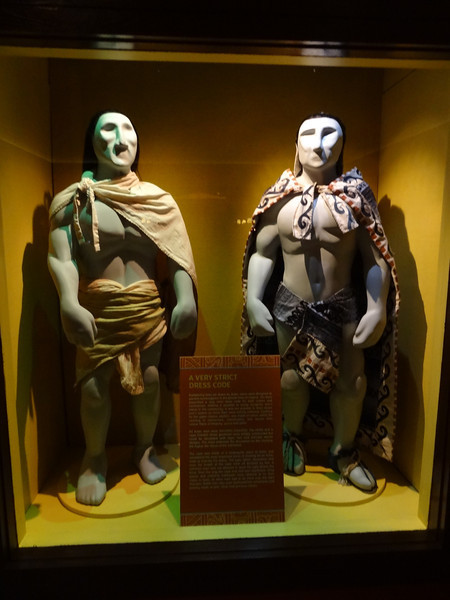
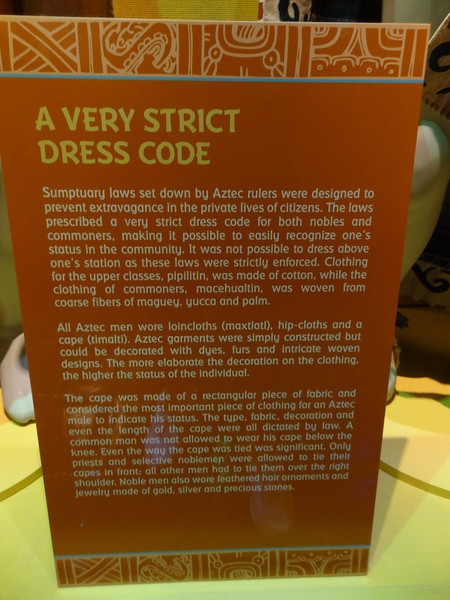
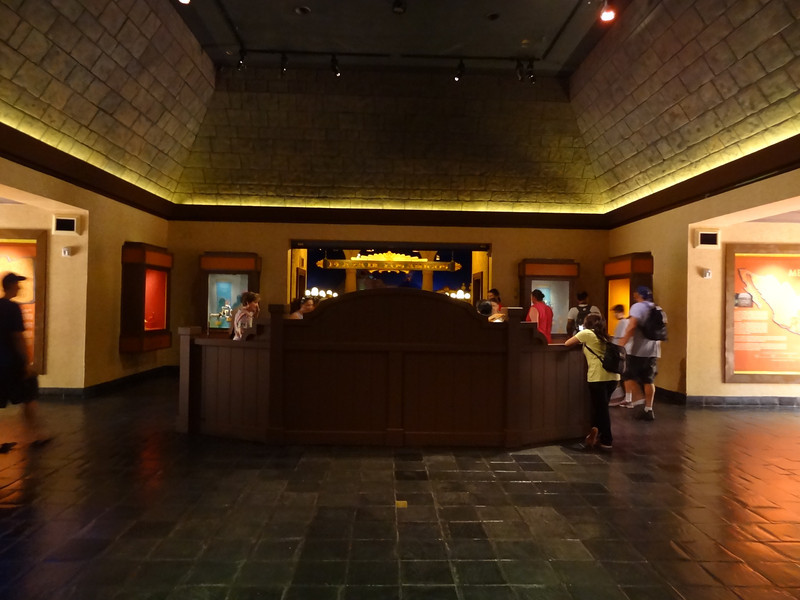
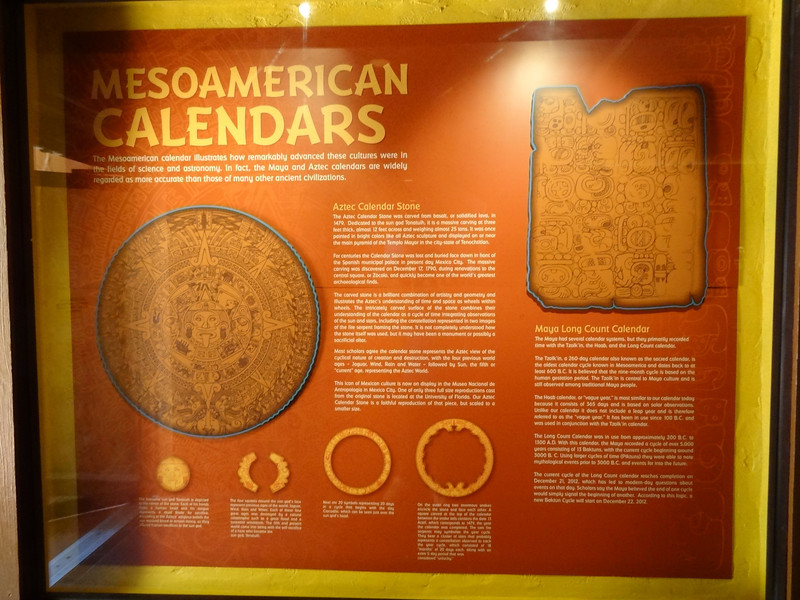
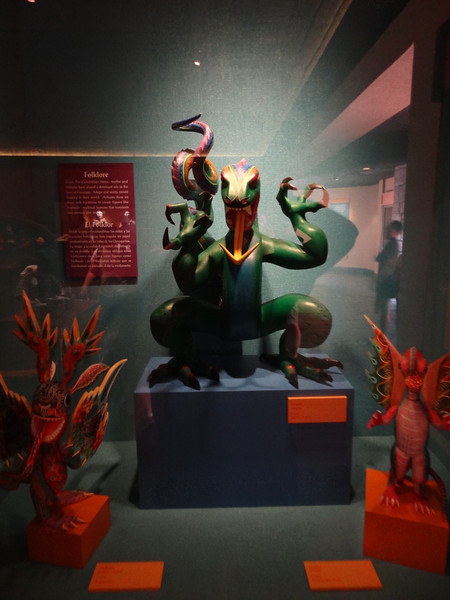
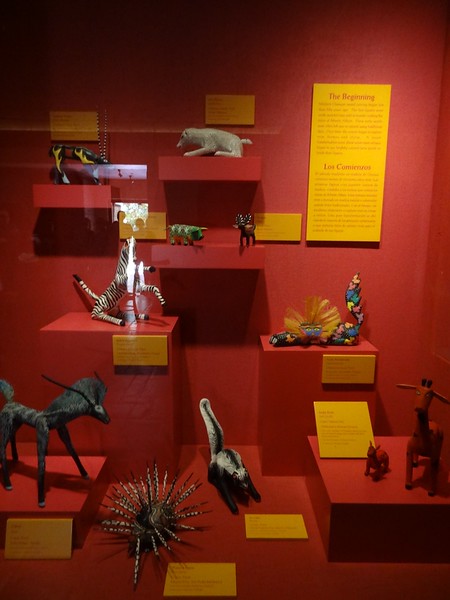
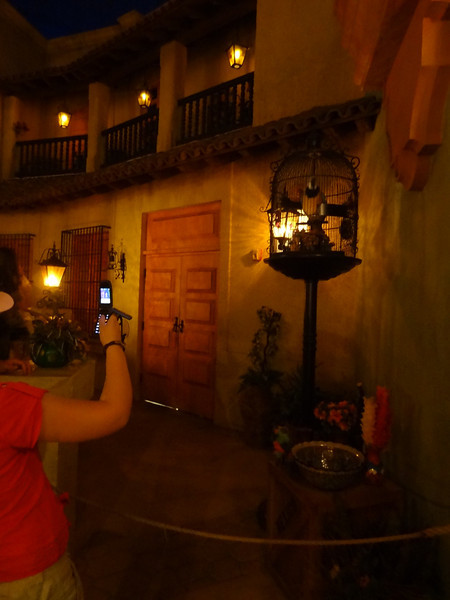
For what i recall as the last 8 years or so, the cultural exhibit in Mexico has been Animales Fantasticos. Finally, a new exhibit has opened!


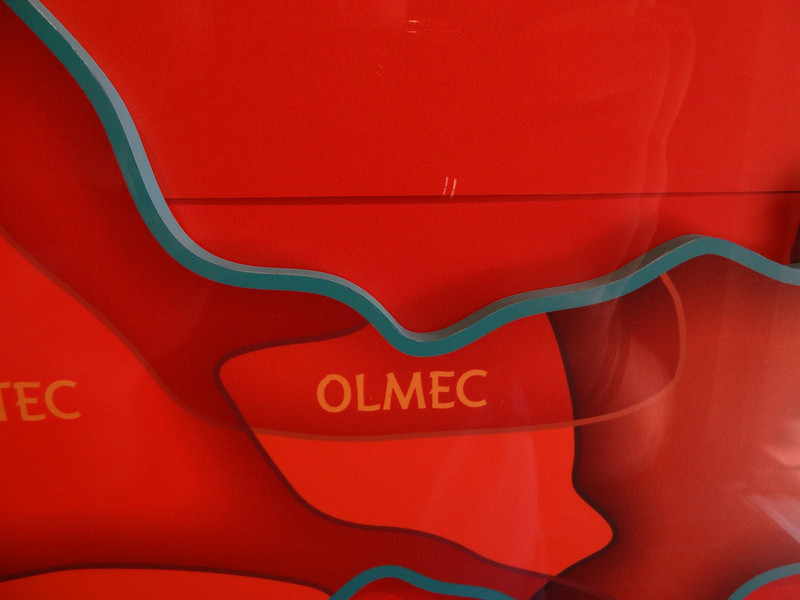
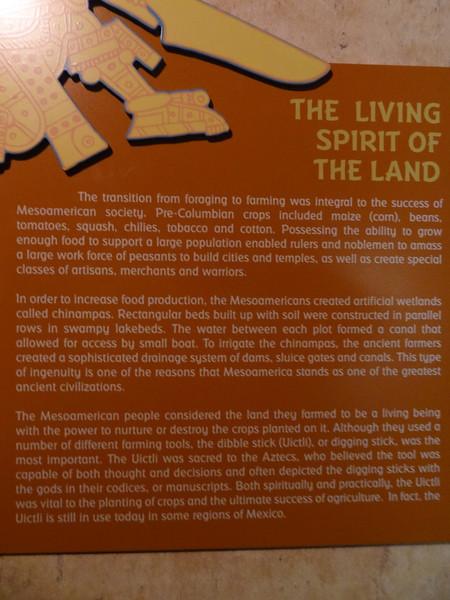
Some displays aren’t quite finished

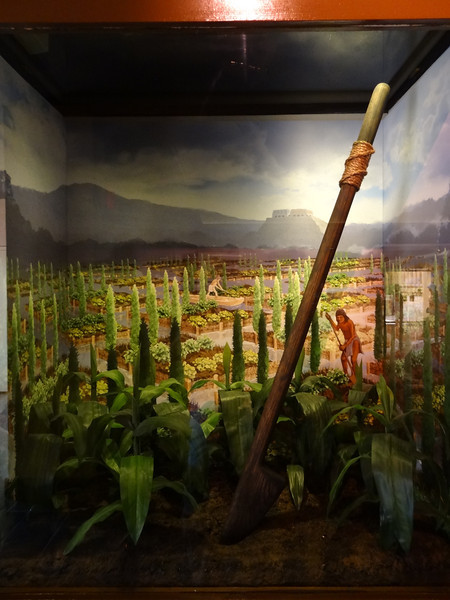

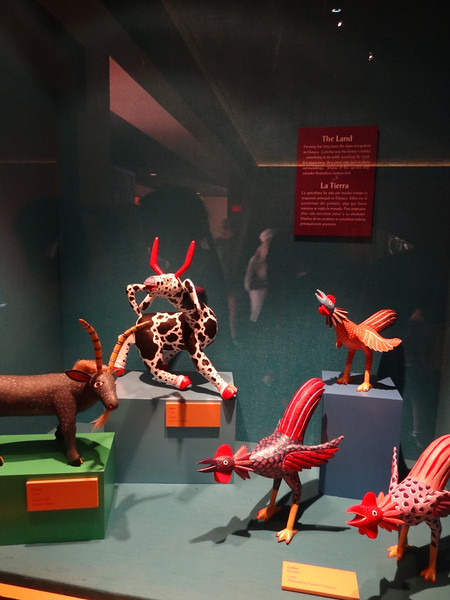
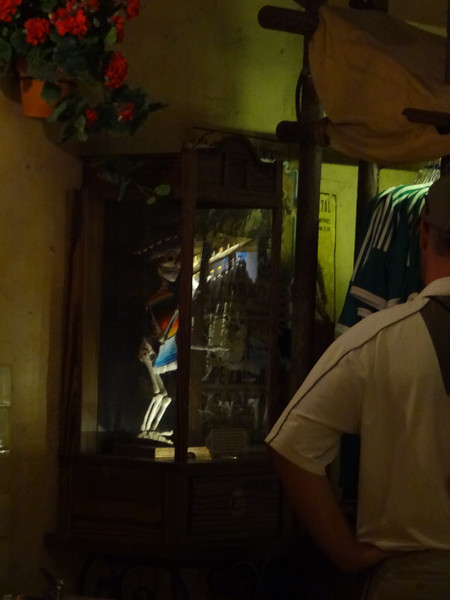
Some of the animals stayed as part of the new exhibit
They aren’t selling them up here anymore
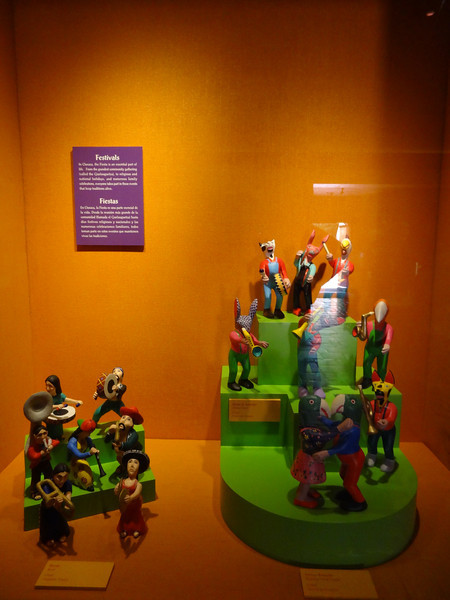
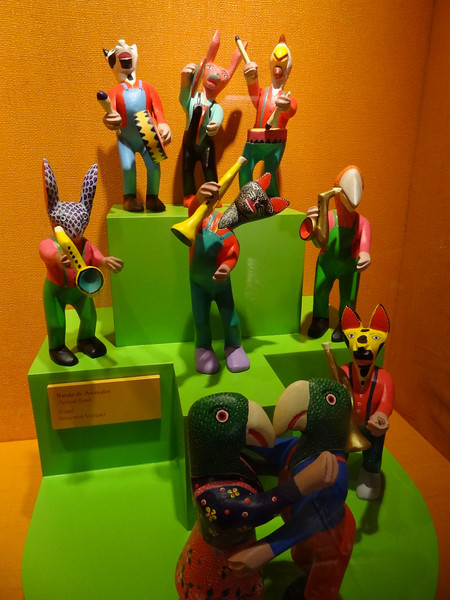
The parrot people dancing is freaking me out…
OK, that freaks me out even more…


Same props in here

This freaks me out the most…
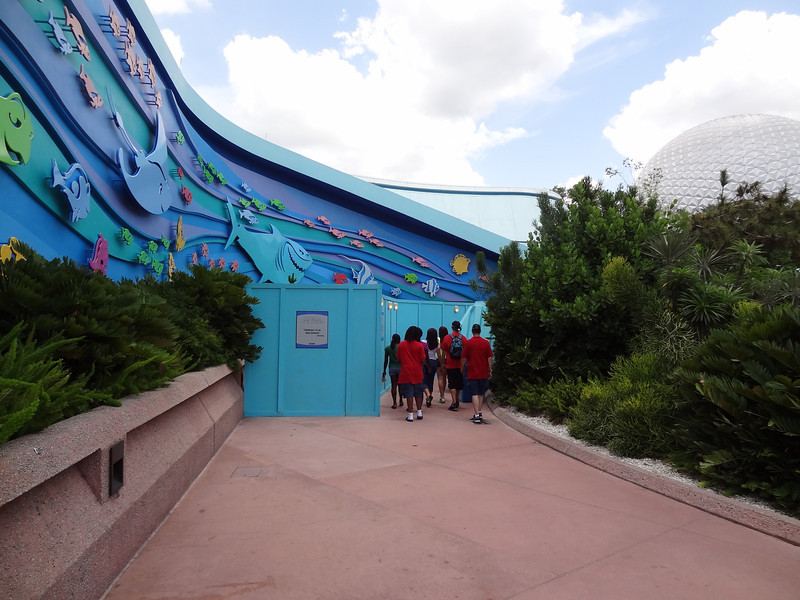
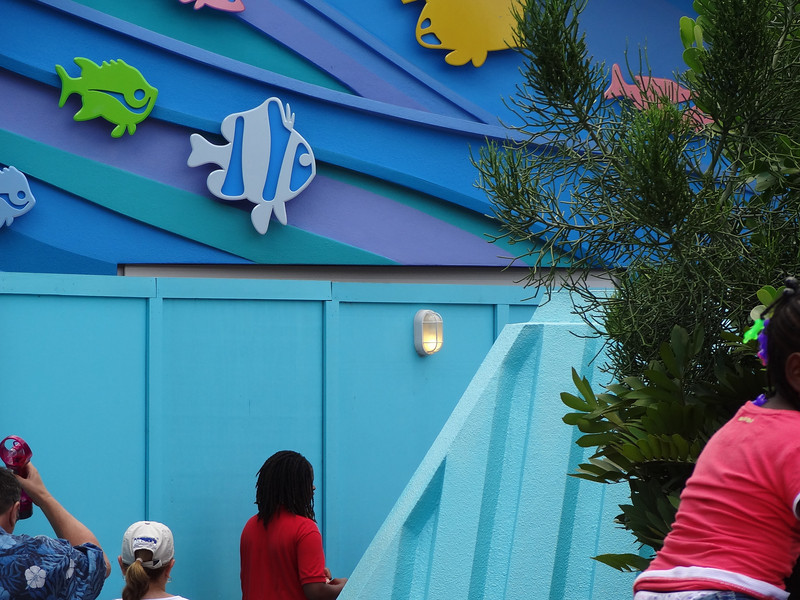
Work continues on the exterior of the Seas with Nemo and Friends and the new entrance for Turtle Talk
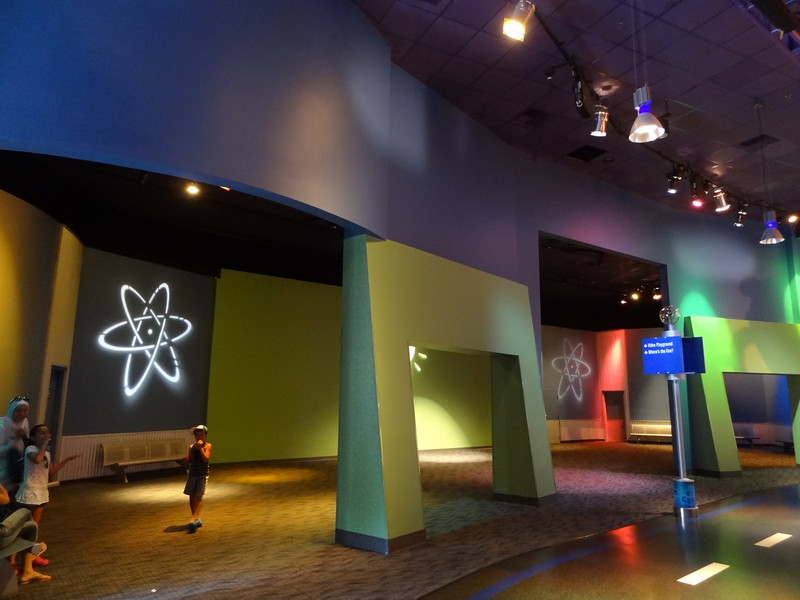
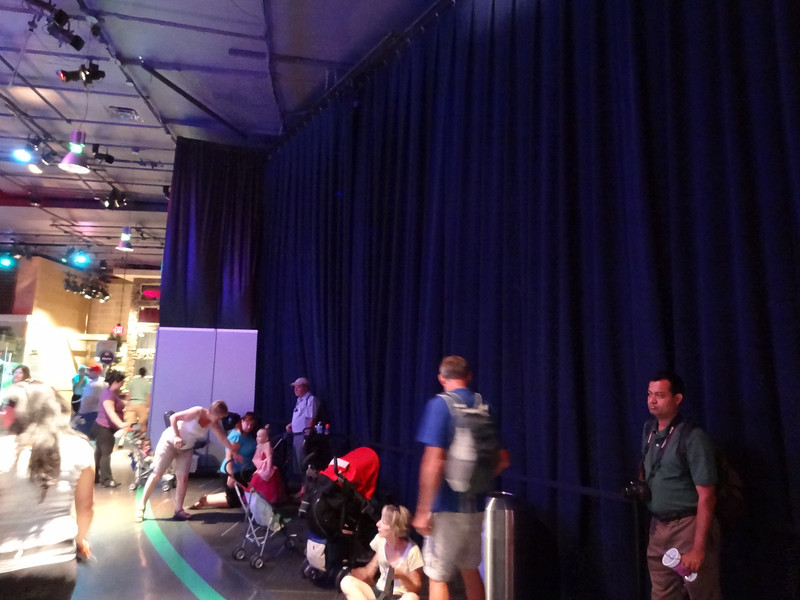
Innoventions is a mess right now…

Innoventions West is practically empty
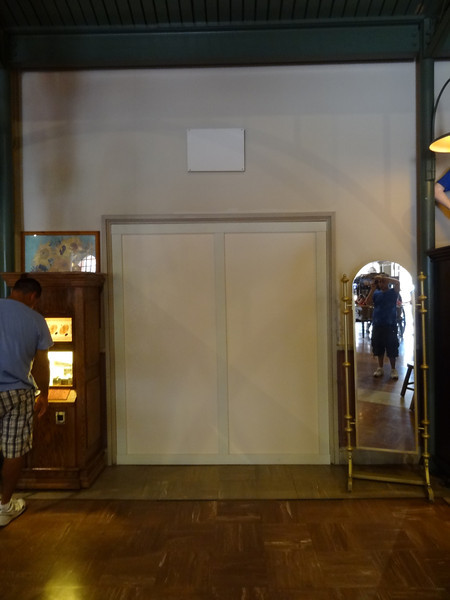
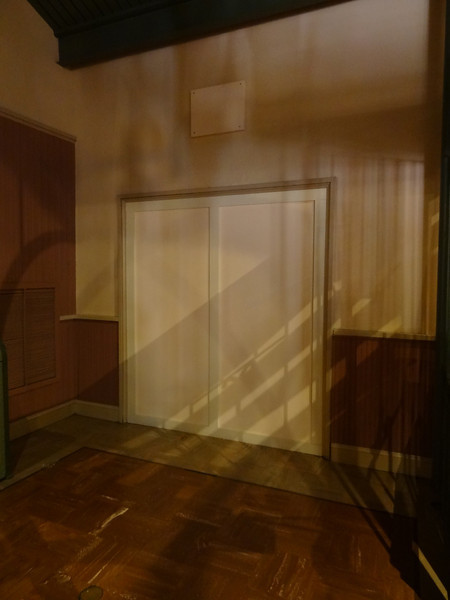
The old Kim Possible stations are still walled-up
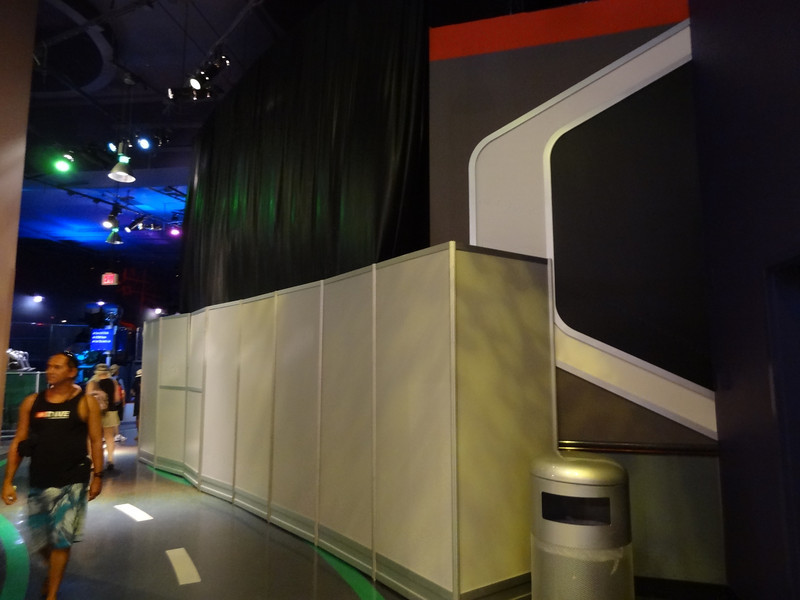
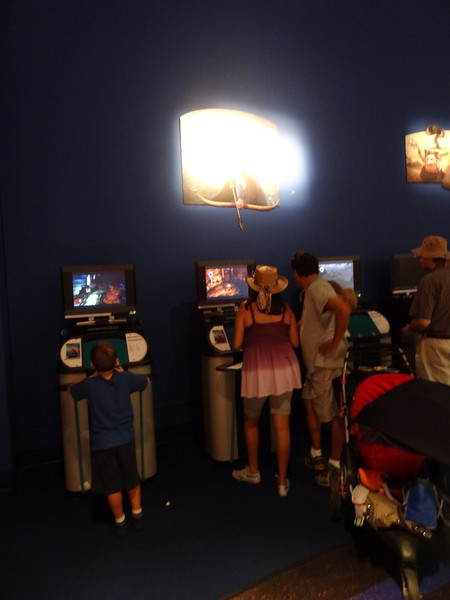
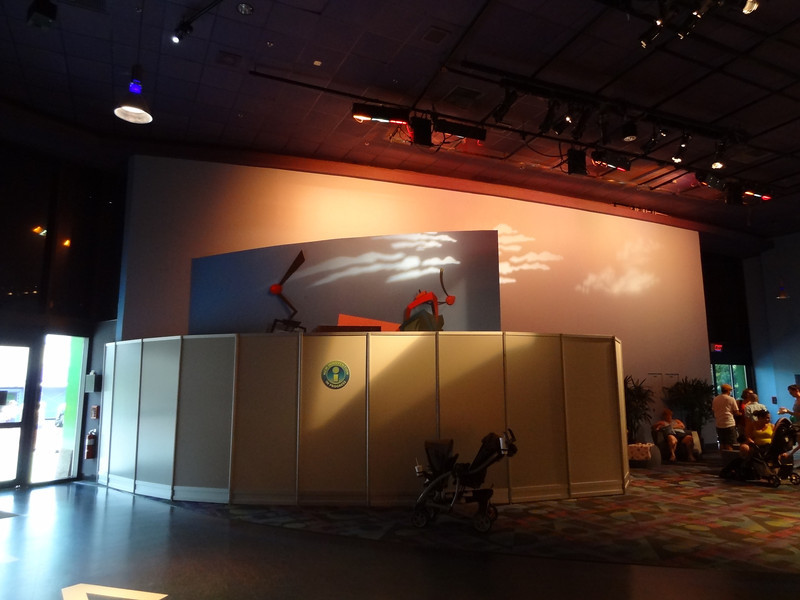
On the East side, Habit heroes is still covered
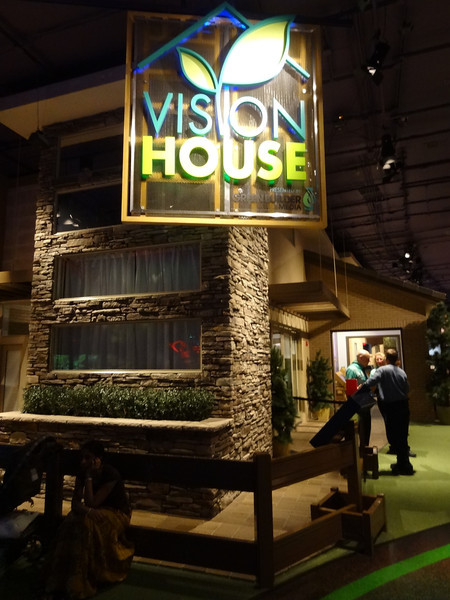
At least something new just opened to keep it going
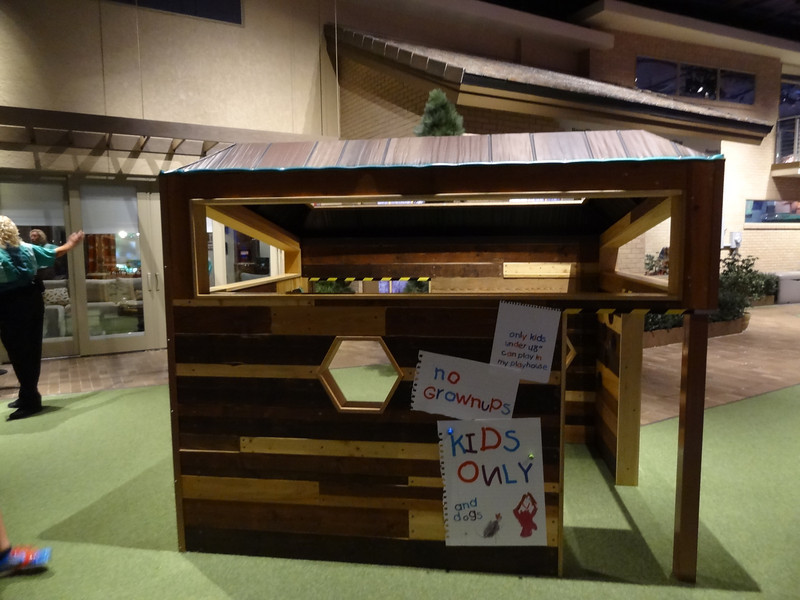
A neat little play area for kids was added to the exterior
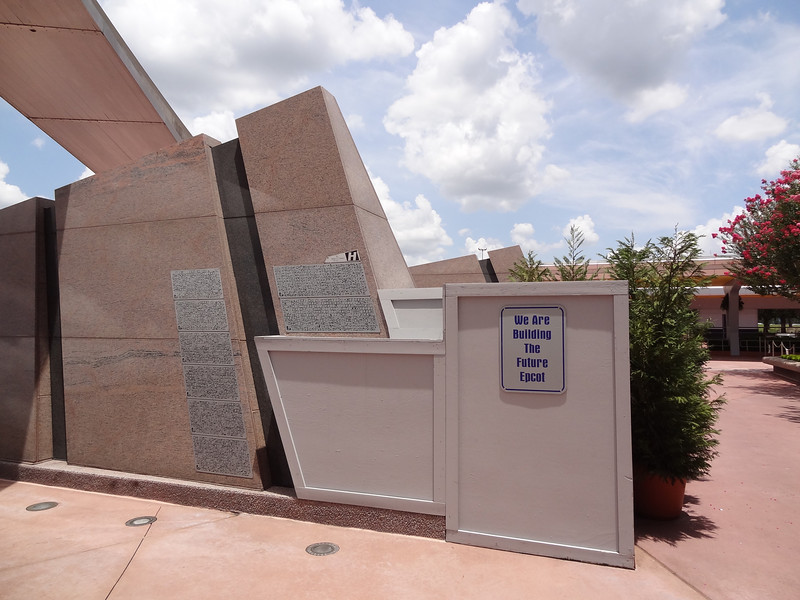
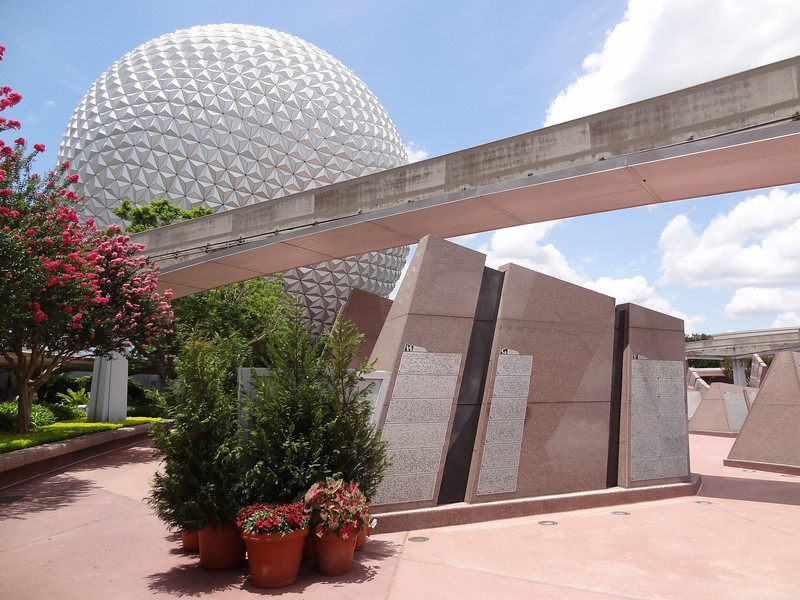
Lave a Legacy getting some TLC


Soarin’ is now on the cover of the map,but this time it has a logo. I guess people thought it was Test Track or something…

Goodbye Epcot!