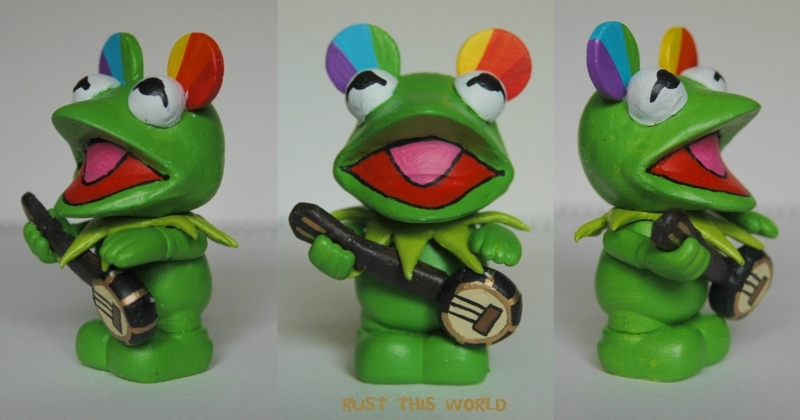
Attention Students. Custom Class will now begin. I’m your teacher Rust This World. I have been customizing toys for over five years, and have in that time narrowed down my methods to what works best for me. I started with action figures, moved onto urban vinyl, and finally to Vinylmation a little over a year ago. Hopefully in my series of lessons that will be posted here on Destination Vinylmation, I will not only teach you about techniques that will help you in making a custom figure, but also some information about the materials and why specifically what I do works. Science and art combined.
This is my first lesson, hopefully of many. I have plans for lessons on airbrushing, sculpting, and making a light up figure, and would definitely do an entire column of user questions if there are enough. If anyone has any questions or requests for specific projects for me to demonstrate, message me on twitter @RustThisWorld or on Facebook facebook.com/rustthisworld.
In this lesson, I will be showing you the proper ways of painting a Vinylmation figure. These are the fundamentals of making the simplest custom Vinylmation by doing nothing more than painting it.
One quick disclaimer before I begin: If you’re a custom artist and your methods are different than mine, I am by no means saying that you’re wrong. These are the methods and products that work for me based on my experience.
We’ll start today’s lesson by discussing…
Paint Type
The most commonly used paint to use on figures is acrylic paint. There are various kind of acrylic paint, but the ones I use most often of those that used for models or hobbies.
Acrylic paint is made up of 4 things: The pigment, which is the raw color, water, which dilutes the paint and makes it possible to brush on and stay wet, the binder, which keeps the pigment and water mixed, and usually some sort of filler that’s a cheap way to fill the bottle without using as much binder or pigment. Some paints are harder to paint with because of their make up, such as white and red paints always being thicker because they use a lot of pigment, and yellows being thinner because they use less.
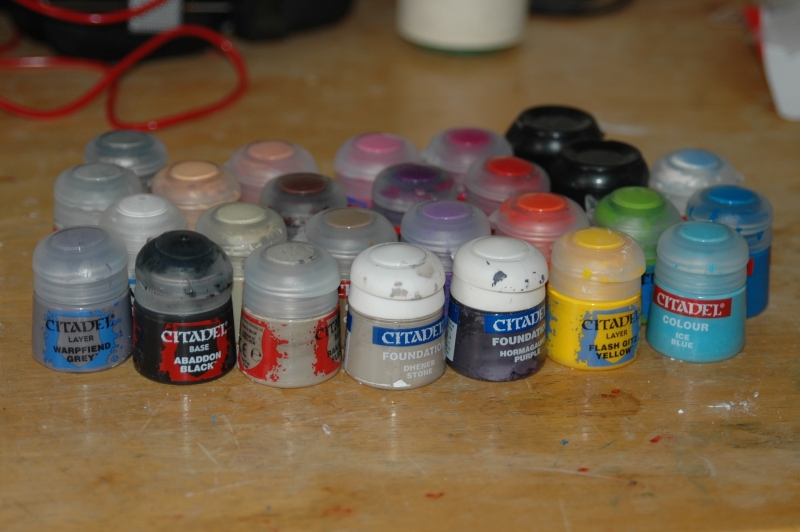
Here’s my collection of paints.
After years of doing this, I almost exclusively use Citadel Paints, which are made by Games Workshop (the company that does Warhammer). They’re more expensive than other more mainstream acrylic hobby paints, but the quality is unmatched.
Reasons I love Citadel Paints:
1. Long shelf life. Yes, paint doesn’t last forever. As the paint ages, the water dries out, causing the rest of the paint to become thick and sludgy, or even unusable.
2. Huge variety of colors. I’m not crazy about mixing my own colors, and will only do it on small occasions. The amount of colors that Citadel has is huge. I believe there are over 100.
3. Color Quality. Bright vibrant beautiful colors in every shade.
4. Consistency. The consistency of the paint is key to getting clean and smooth brush strokes. If your paint is too thick or too runny, you’ll end up with a mess. Citadel paint don’t need to be thinned or watered down, they’re always the perfect consistency.
5. They dry fast. When you’re painting a figure, you don’t want to wait for long periods of time for the paint to dry.
6. They naturally have a matte finish. Glossy finishes make things look cheap and plastic-y and only work if the subject matter is slimy or wet, like the Cutesters Turtle or Alice Oyster.
7. They dry perfectly. Often with cheaper paints, they will dry sticky or tacky on softer plastics. Citadel always completely dries.
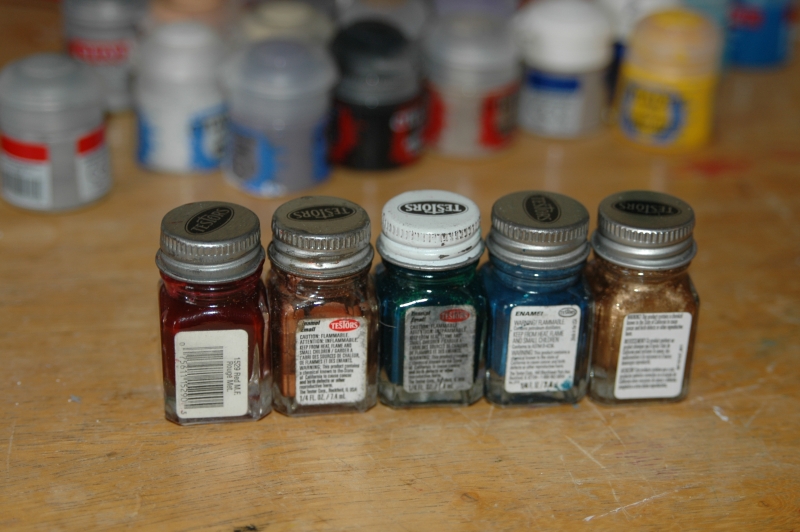
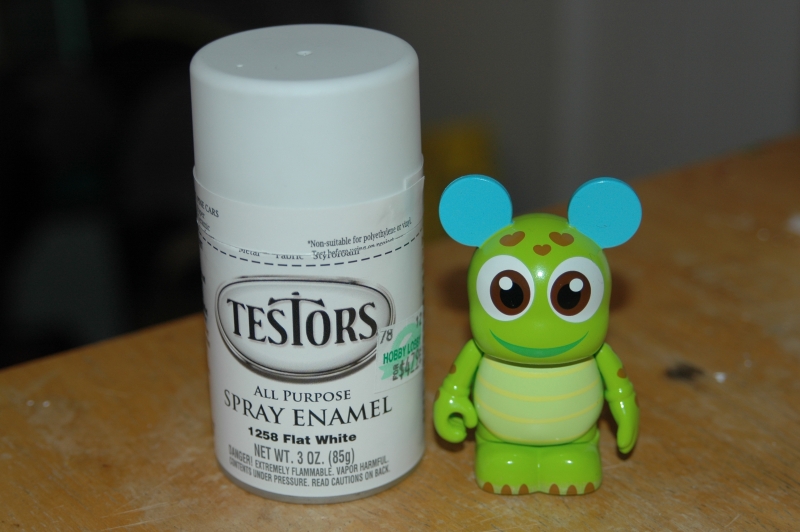
There are other types of Acrylic paints such as Testors or Apple Barrel, but from my experience, they’re not as good. You can get Testors paints for extremely cheap at most hobby stores like Hobby Lobby or Michaels, but their shelf life and colors are not very good in my opinion. Their white and yellow colors are really bad, too. I have a few bottles of testers, they’re all metallic colors.
Brushes
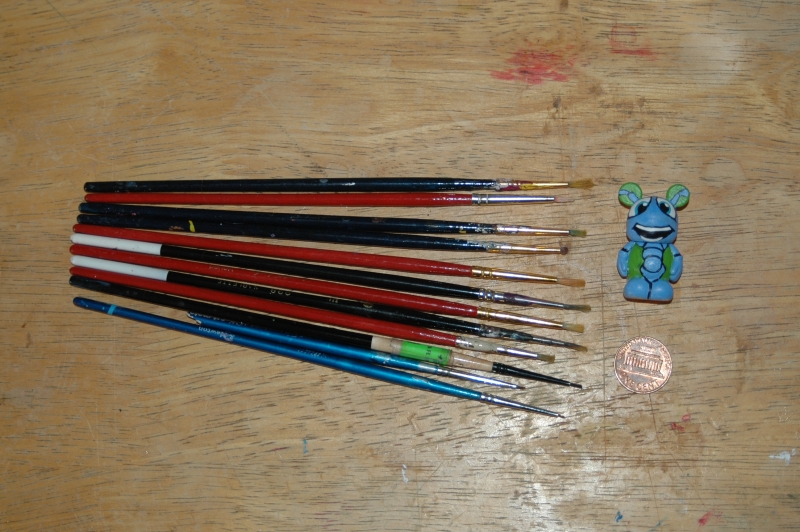
Other than paint, the other thing you need are brushes. Here’s my collection of brushes that I currently use.
Most of my brushes are Watercolor brushes. I use watercolor brushes mainly because they have very smooth bristles, which will leave you with less brush strokes in your paint. I also only really use tiny brushes. The smallest one I use is a 0/4 or 0000 size brush, which is used for super tiny detail and line painting. Blick’s site has a great scale brush size comparison chart so you know what size brush to get: www.dickblick.com/info/brushpdf/brushsizing.pdf
Basing Your Figure
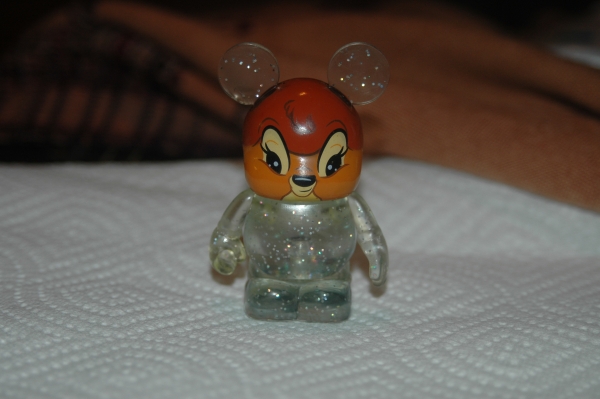
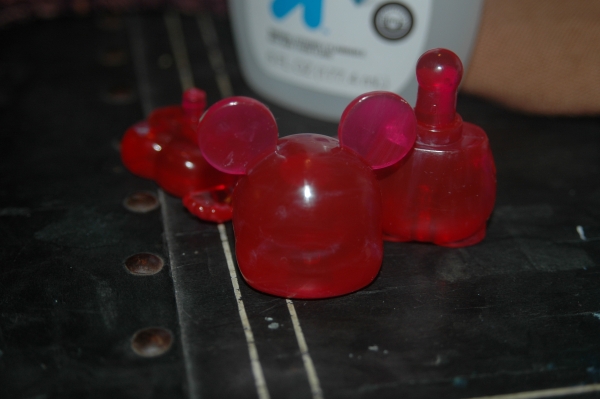
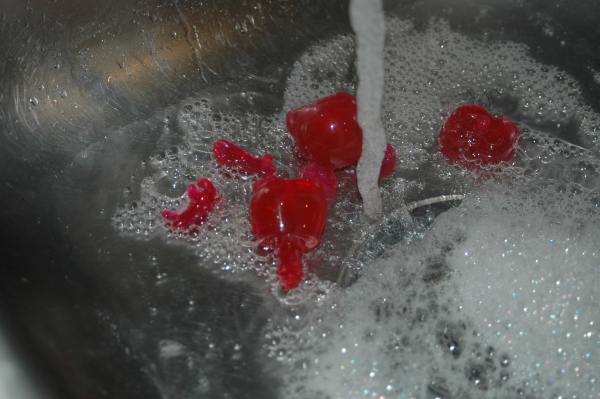
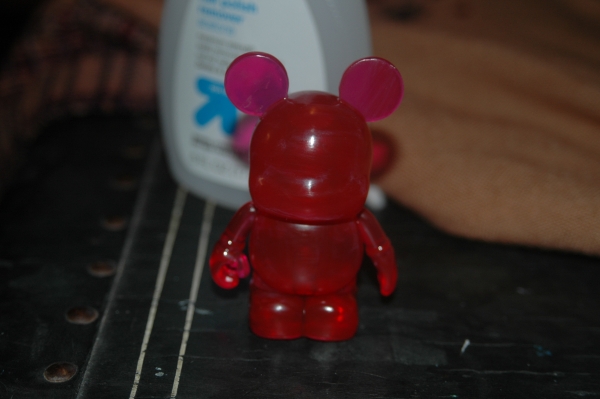
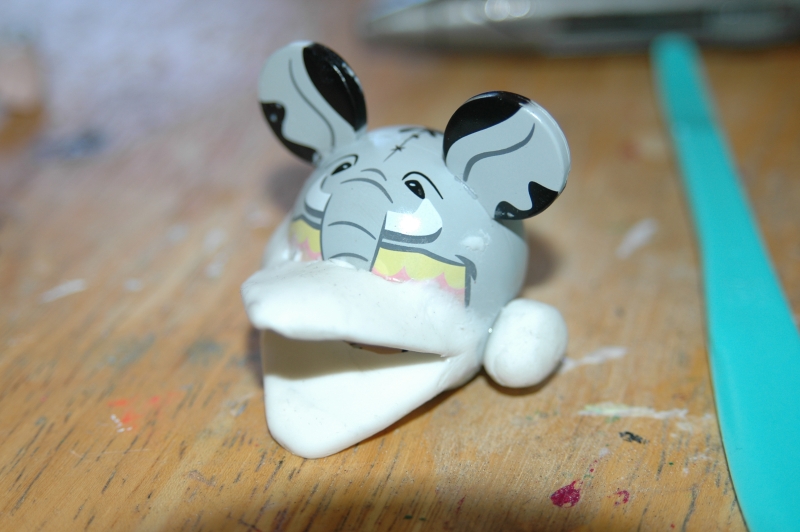
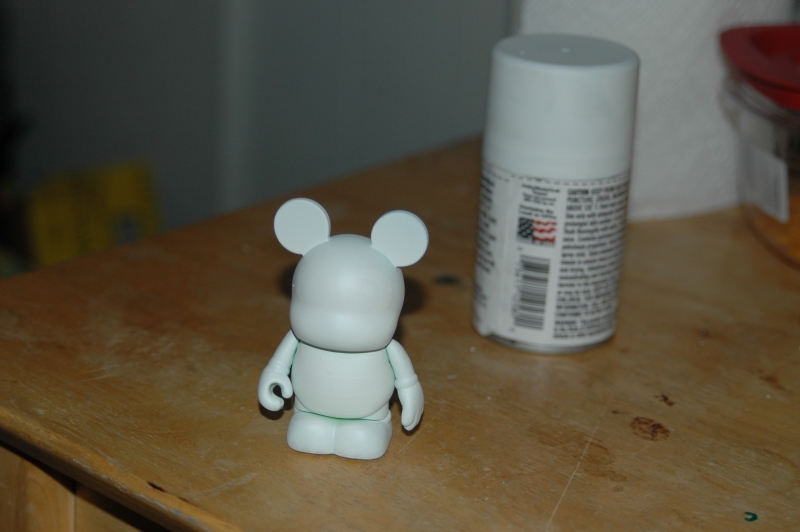
Even if you’re using a Create-Your-Own figure, you need to base it for a few reasons. The first is that CYOs are often just pulled from the molds at the factories and put in the boxes, which means that they’re covered in mold release of some other form of lubrication. The lube is oil based, and any water based acrylic paint you paint on it with, will smear and bubble and separate. In fact, if you’re using a CYO at all, you should wash it with soap and water before doing anything.The other reason is that a thin, smooth, white base coat will make all paint that goes on top adhere much smoother. You can totally paint over non-CYO figures as well. I’m not using a CYO because I’m unabashedly in love with the new mold, and they don’t make new mold CYOs. So this turtle is getting sacrificed to the custom gods today.

Here’s what I use. It’s a white spray on enamel primer, and aside from what I said about Testors earlier, their spray paint is decent. I use white because every color will look bright when painting on top of it. Using a black primer will make any color painted on top look darker. Citadel makes a primer too, but it costs about as much as a down payment on a car and isn’t different enough . These spray primers are meant for models and spray in thin layers. I would not recommend buying industrial grade spray paint from a hardware store, as it will probably spray on much thicker and you may lose detail in the sculpt.
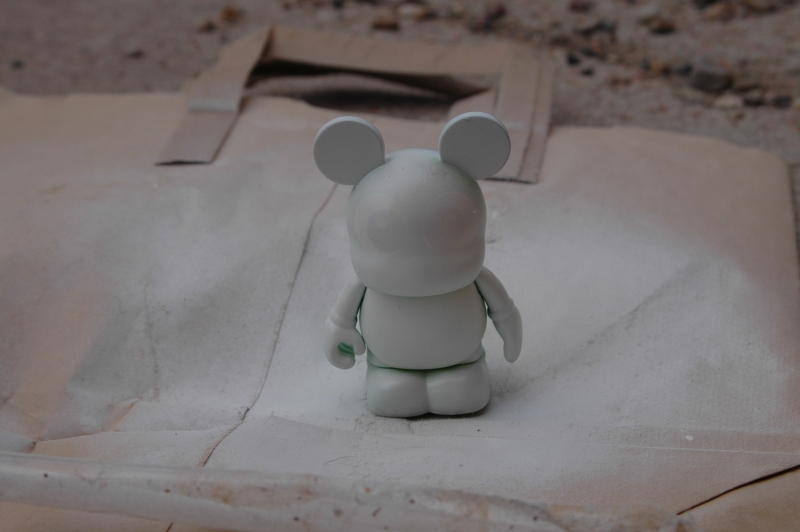
Don’t go overboard on spray this the primer. If you spray too much in one spot, the paint will get thick and drip down the figure. Spray in small bursts from 9-12″ inches away until it’s covered. Here’s what my figure looks like after one pass.
If you think there a spot that needs more paint, wait and until the figure is dry and go back and spray more. I can still see the eyes and some details in the above picture, so I waited about 10 minutes and sprayed some more. I can get about 15-20 3″ figures based out of one of those cans.
Sketching
I always draw my design onto one of the templates from the official Vinylmation blog, so I know how it will look and make any changes before I start painting.
One I’ve based the figure, I take a pencil and sketch my design onto the figure. This isn’t necessary, but it’s very helpful for know exactly how your design will be applied to the figure and will make sure that you paint it correctly the first time.
Painting
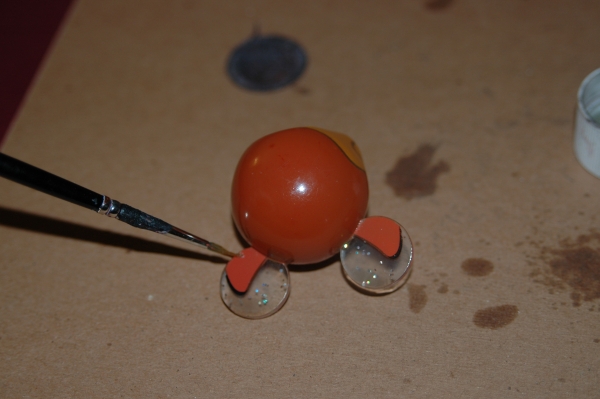
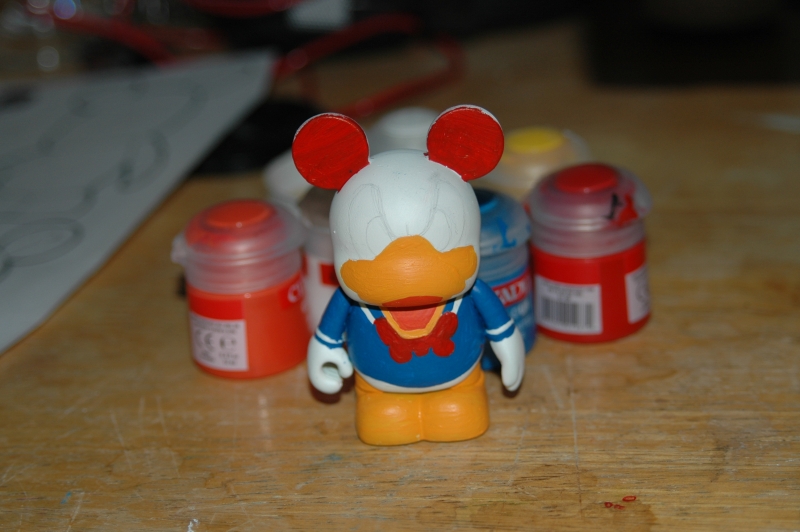
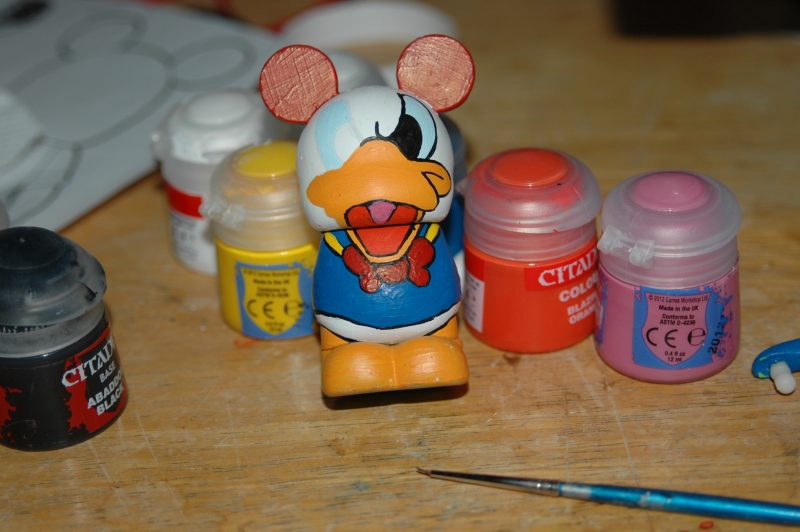
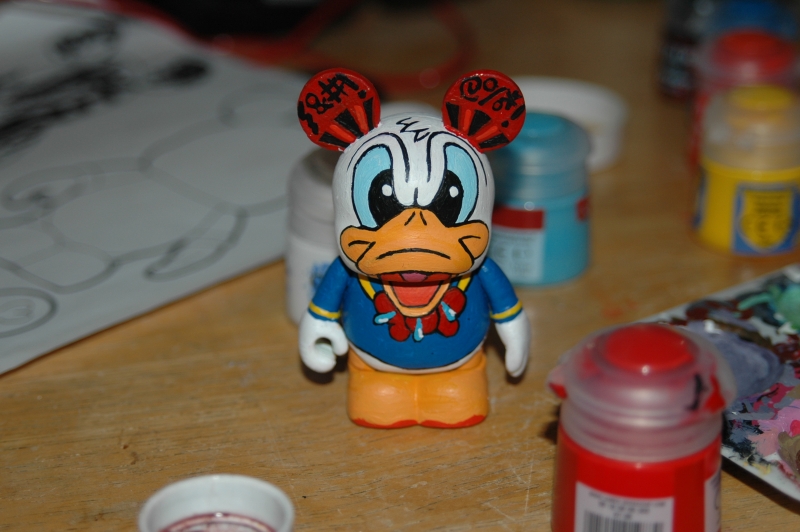
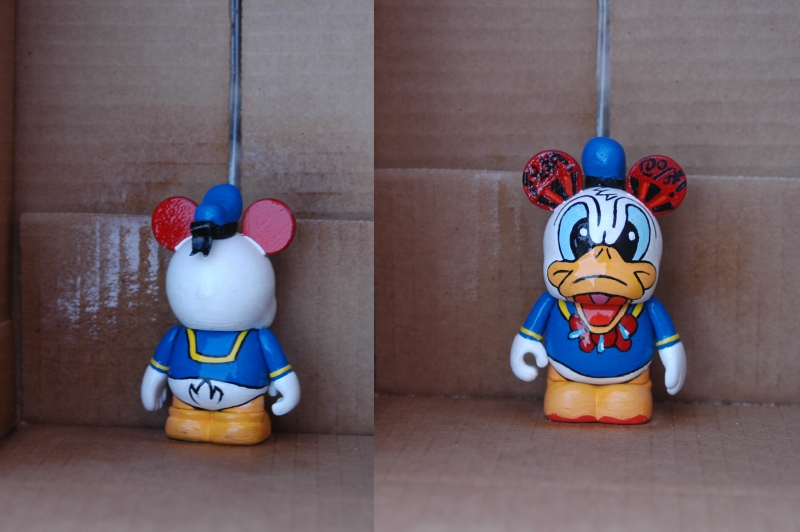
I start with the bottom base colors in big blocks. So Donald’s orange beak, his blue shirt, his bow tie, etc. All of the small details I’ll be painting on top of the base colors.
Depending on their consistency, some colors will need multiple coats of paint to look good. Let each layer dry before a brushing on a new layer. Don’t smear a ton of paint on at once, or it will dry clumpy.
When painting, get a small amount of paint on the brush and softly wipe it in even strokes. If you get too much paint on the brush, it will leave clumps and uneven spot. While the paint is still wet, you can continue brushing it in different directions to achieve a smooth even coat.
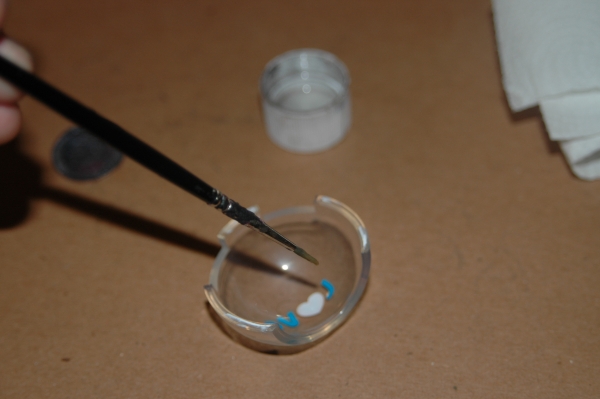
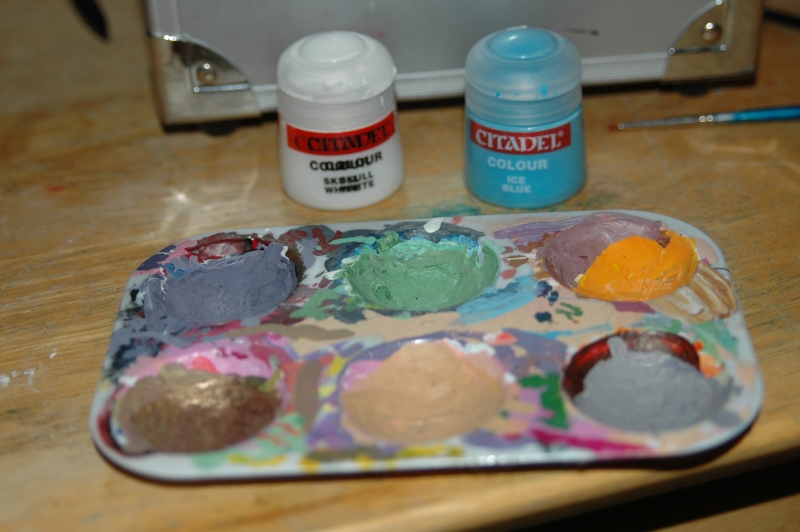
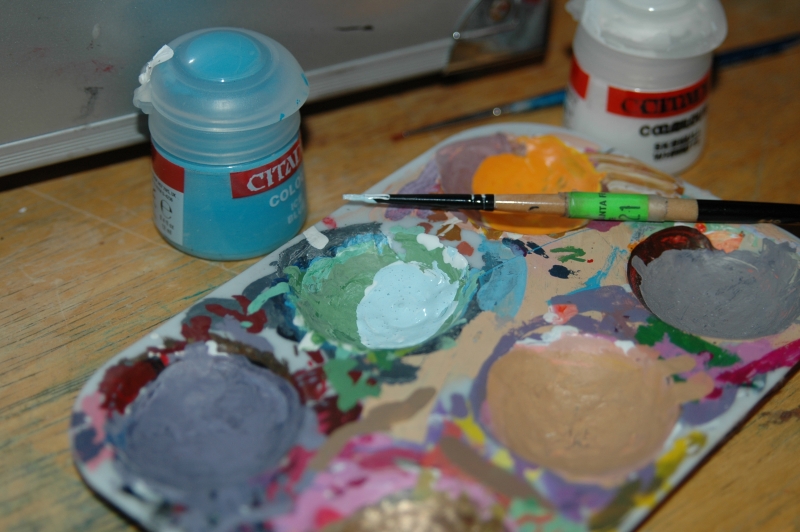
Even though I have like 30 different colors of paint, sometimes I need a color that I don’t have. Donald’s eyes have a light blue hue to them, but the light blue color I have is a little too dark. I have a small palette that cost like a dollar that I can mix paint in. For those of you who have mixed paint or studied color theory before, here’s the basic rule:
Adding white to a color will “tint” the color and lighten it.
Adding black to a color with “shade” the color and darken it.
Adding grey to a color will “tone” the color and desaturated it.
So to get a lighter blue color, I mix white with a tiny bit of light blue.
–
–
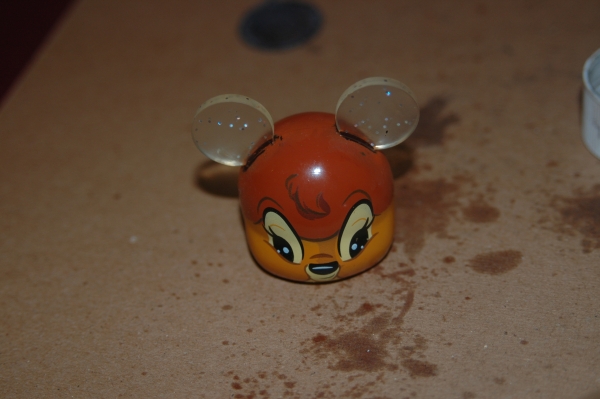
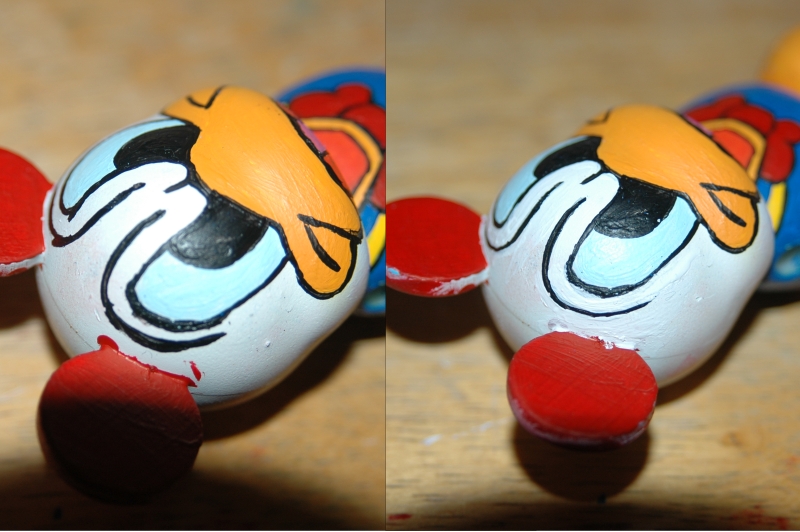
I then go in with my smallest brush and add lines and detail to the figure. It’s easier to add the lines after the initial color so that the larger strokes of filling in a large area won’t accidentally overlap on your lines. This part is extremely difficult even though I’ve been doing it for years. The secret is a steady hand and a lot of patience. I’m not perfect at it and I messed up in a few places, but I’ll show you how to fix that relatively easy.
I’m sure there are some people out there who are awesome at painting perfectly straight lines the first time around, but here’s what I do if I accidentally paint a line too thick. I felt that the black line for Donald’s eyebrow is too broad, so I took some white paint and painted it on either side of the brow to thin the black line.
I also did this in several places all over the figure, like the bill and the bow tie.
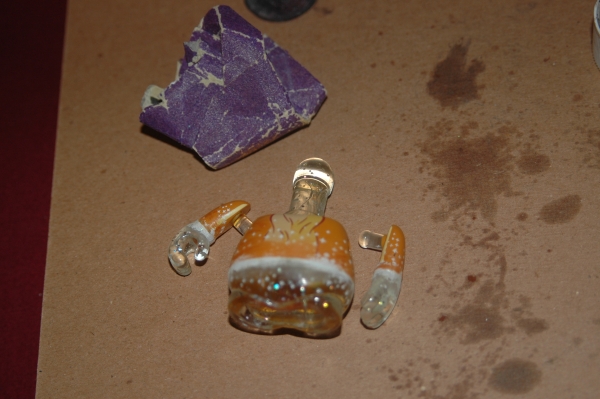
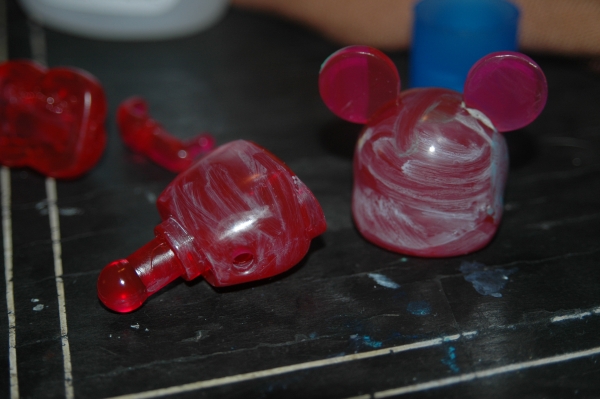
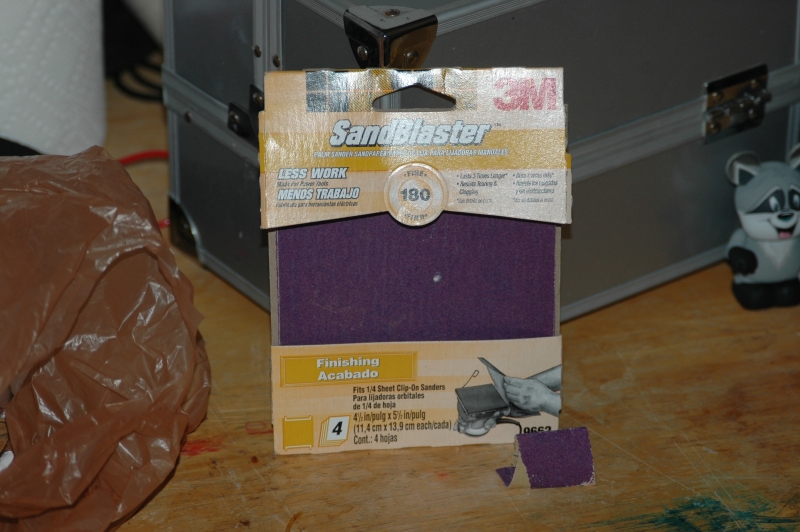
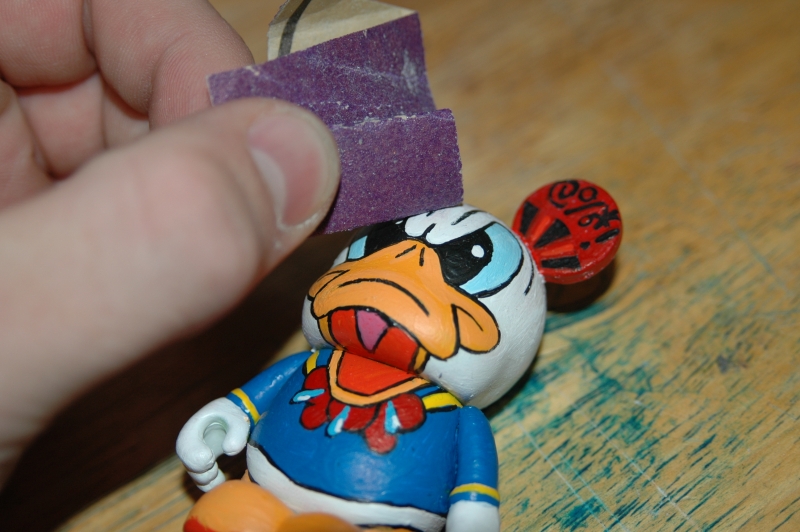
One thing you can do if you feel that your paint is too thick or there are clumps or brush strokes in places is use sandpaper to sand the paint down. I use very very fine sandpaper (size 180). I tear off a small piece and sand down any visible brush strokes. Sometimes, the sandpaper with ruin the paint where you are rubbing it, but you can always go back and apply a new layer of paint where you sanded, being more careful not to show brush strokes the second time.
–
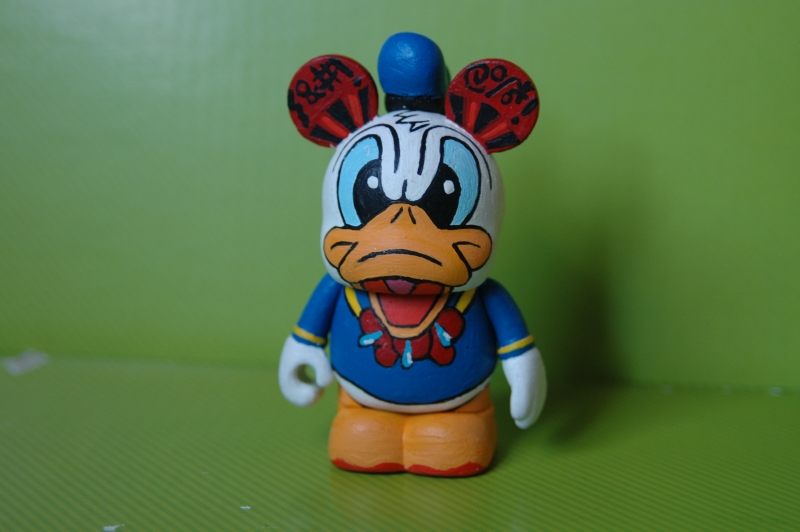
After this, I’m pretty satisfied with the paint, but there’s one more step to preserve it.
Sealing the figure
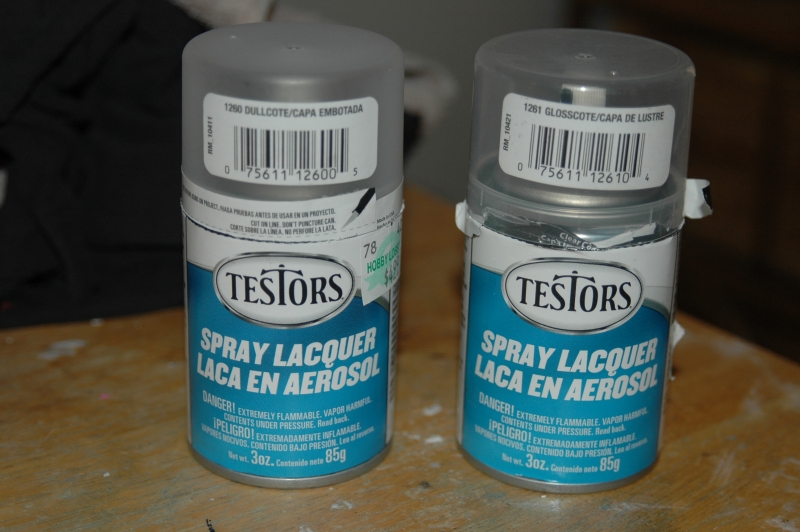
If you want your figure to have longevity, have a nice uniform look, and not get scuffed, you’ll want to seal your figure. Sealer is a clear coat of paint that protects everything paint underneath it. Here’s the sealer I use.
The Dullcoat gives the figure a matte finish and the gloss coat gives the figure a glossy finish.The cans look almost exactly the same, but the dull coat has a cloudy top and the gloss coat has a clear top. That and they say Dull or Gloss on the little sticker label on the cap.
Spray sealer is pretty toxic, so you don’t want to spray it indoors and you definitely don’t want to deeply inhale it. I usually wear a dust mask when I use this. If spraying isn’t your thing, you can also buy sealers and varnishes in bottles and brush it on. If you’re spraying outside (like you should be) it should take about 10 minutes to dry. I spray on each side.
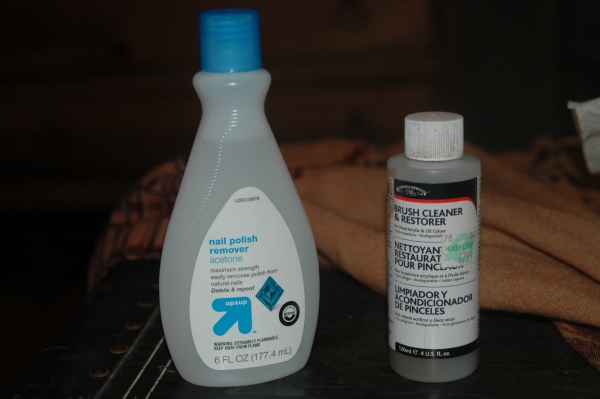
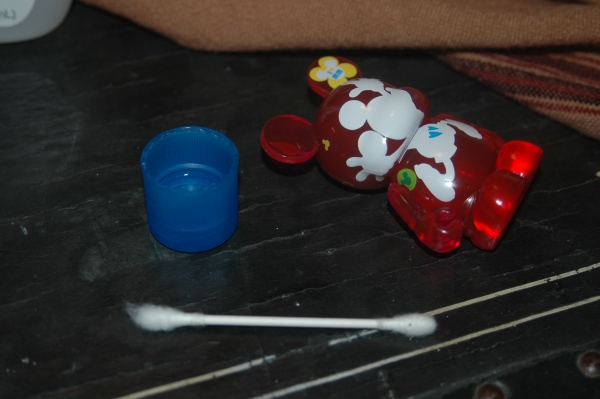
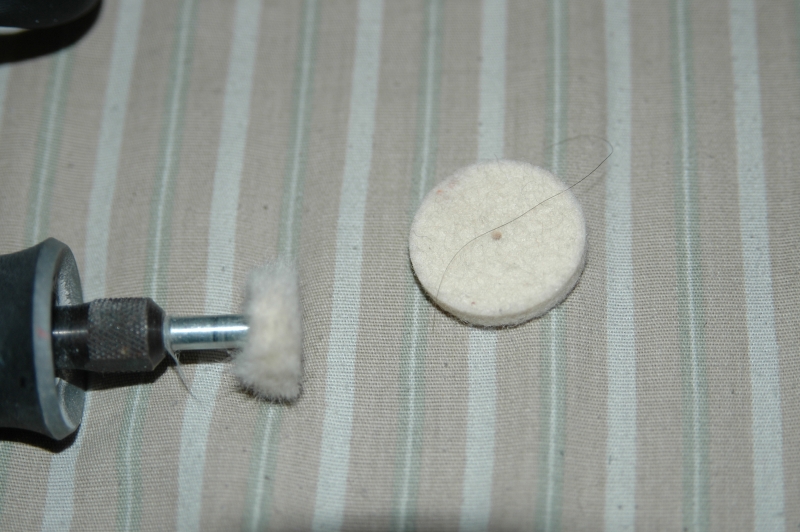
Cleaning Your Brush
So you just bought a really nice watercolor brush, but now it’s covered in paint, what do you do?
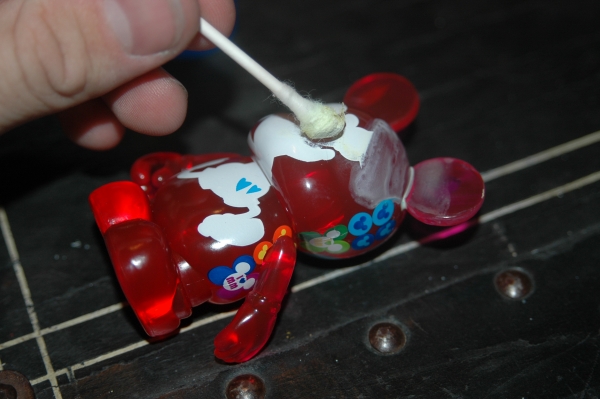
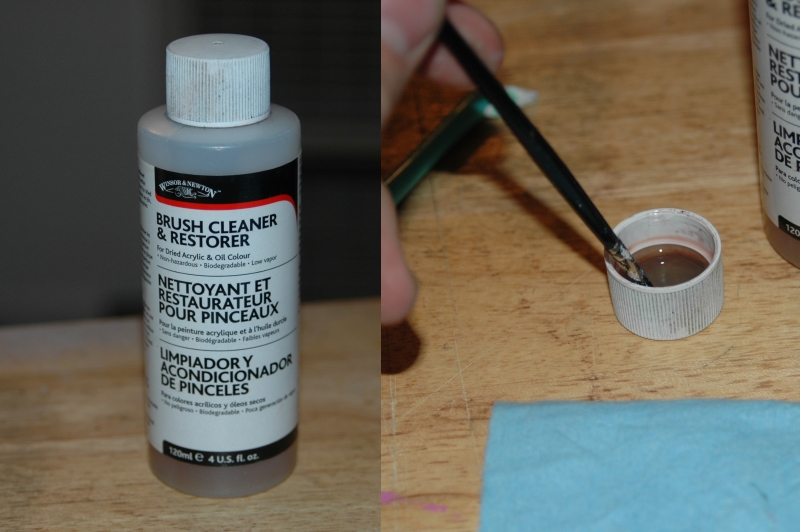
This is a bottle of Winsor and Newton Brush Cleaner and Restorer. It’s an alcohol based solvent than not only strips the paint from your brush, but also restores the bristles so that they don’t dry out or break.
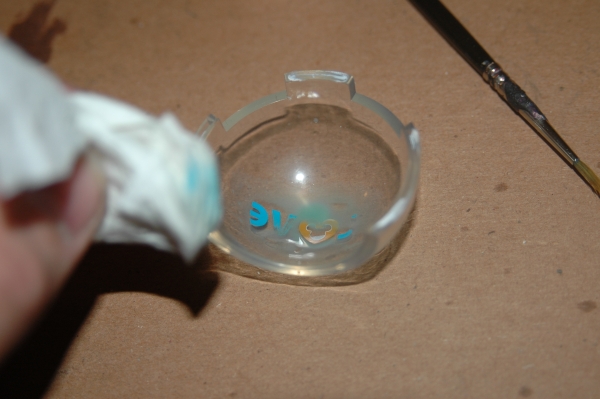
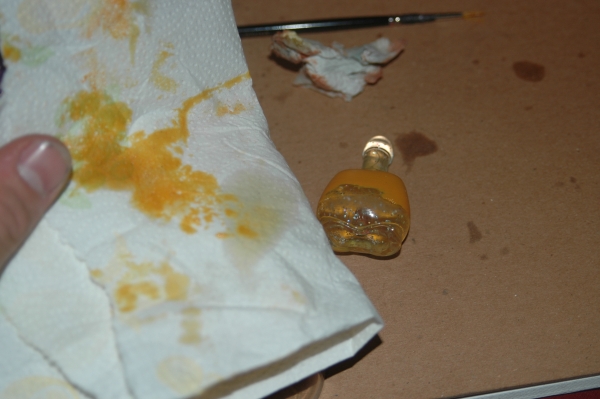
So as not to contaminate the rest of bottle, I turn the cap upside down and pour a little bit of the cleaner into the cap. I then swish my brush around, brush it on the top and bottom, and then wipe it off on a paper towel. This usually cleans fresh paint right off. If you’ve let the paint on your brush dry for several hours, you’ll have to soak the brush in the cleaner for 10-20 minutes for the paint to loosen and dissolve.
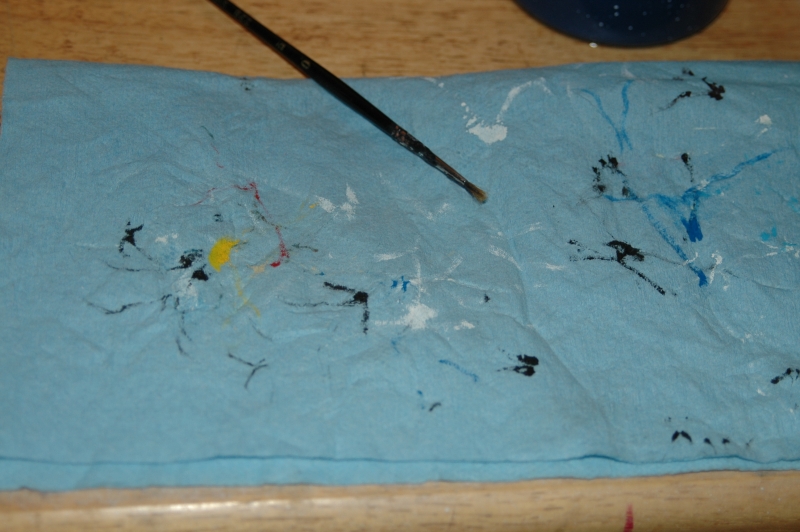
As a bonus, at the end, your paper towel will double as an abstract painting.
Conclusion
Proper materials is 50% of making a good figure. The other 50% is up to the creativity and skills of the custom artist. I’ve been painting figures for years and I went to art school, but even I’m not perfect. Practice and patience is the key to making a good-looking figure that will earn you tons of Internet respect. No one’s first figure is going to be stellar. Hopefully this tutorial will save you a lot of the trial and error that I went through and get you off on the right foot with the right general idea of how to customize.