I have always said that the best part about running this website and collecting Vinylmation is the community. It’s meeting people with similar interests and interesting stories. Today, I want to introduce you to a different group of custom artists than you are used to. In fact, I don’t believe they ever applied paint to an actual vinyl Mickey, but I think you will enjoy this all the same.
Melissa French and Brandon Specht are art teaches to 7th and 8th grade advanced art students at Millennium Middle School in Sanford, FL. They are also Vinylmation collectors and recently gave an interesting assignment to their students.
Destination Vinylmation: Tell us about this very different assignment.
Melissa and Brandon: Originally, this unit started out with one 2-D and one 3-D project, however the student’s excitement fueled us to expand the unit. We started with a two day presentation of designer toys, Vinylmations, and an endless stream of pictures.
The class response was so great that I went out and bought a blind box so we could open it together and they could better understand the concept. They were pretty much hooked from then on. We may have gone overboard because in the end our class did a total of SEVEN Vinylmation projects.
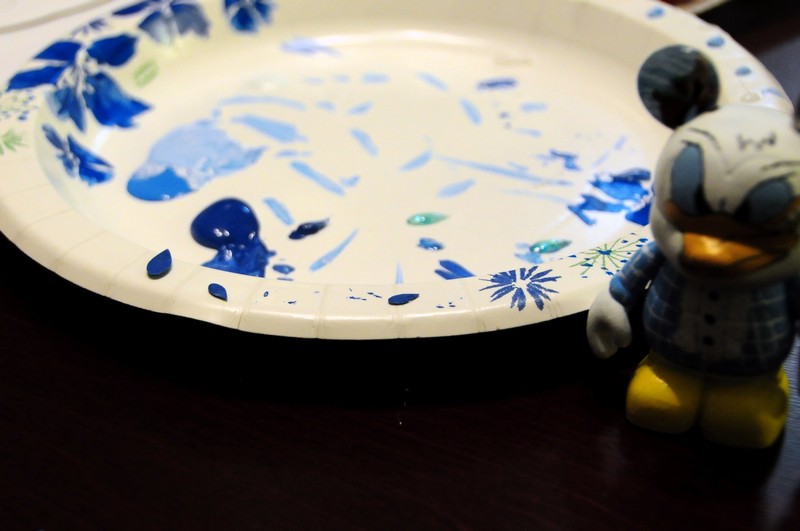
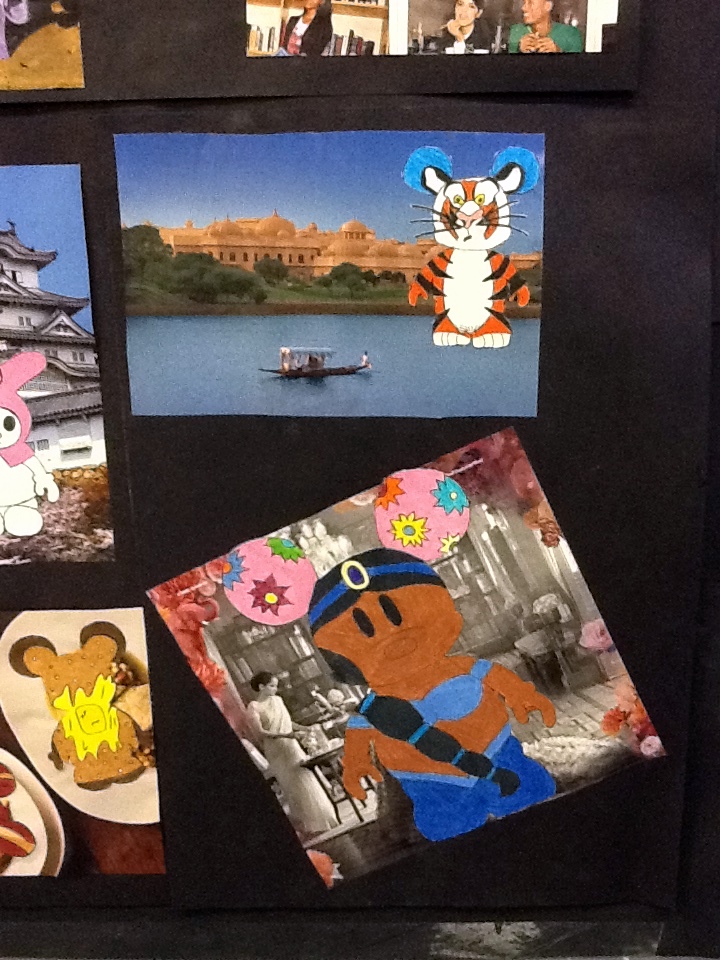
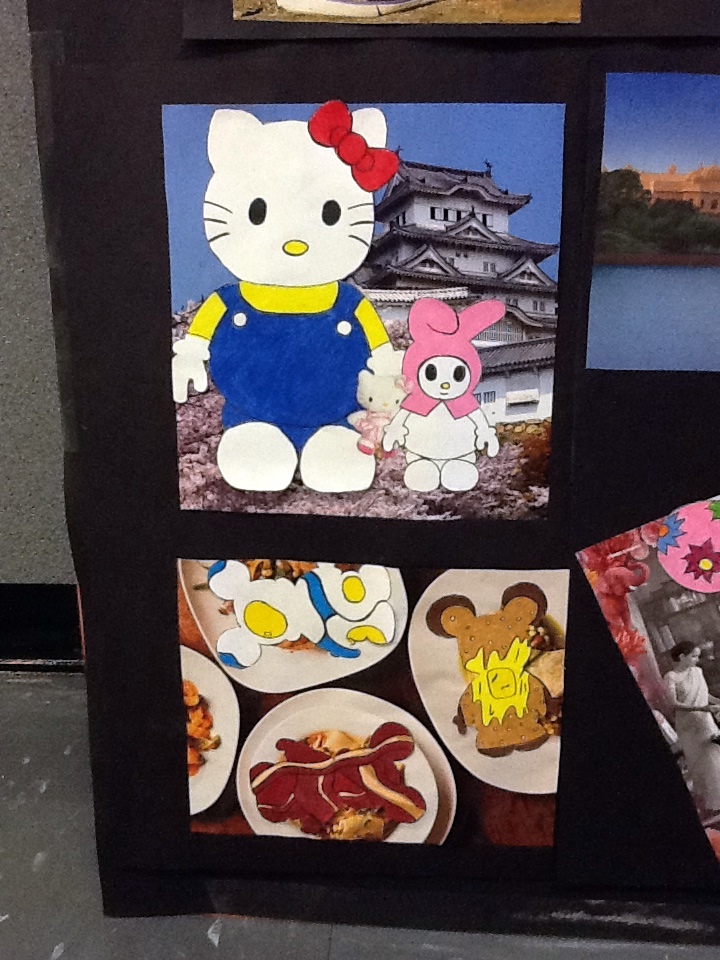
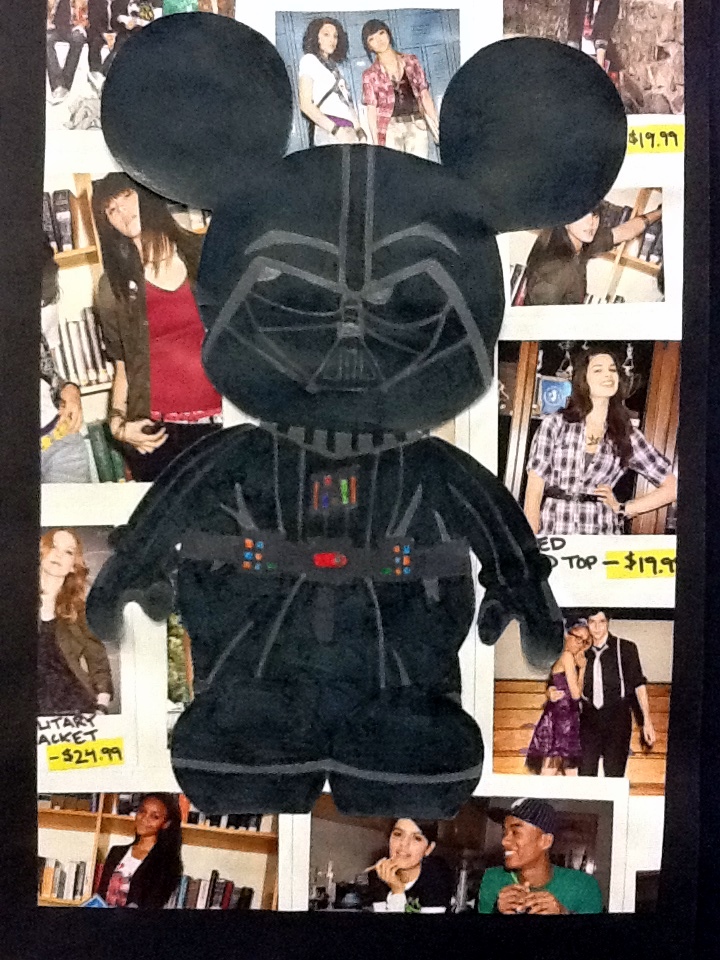
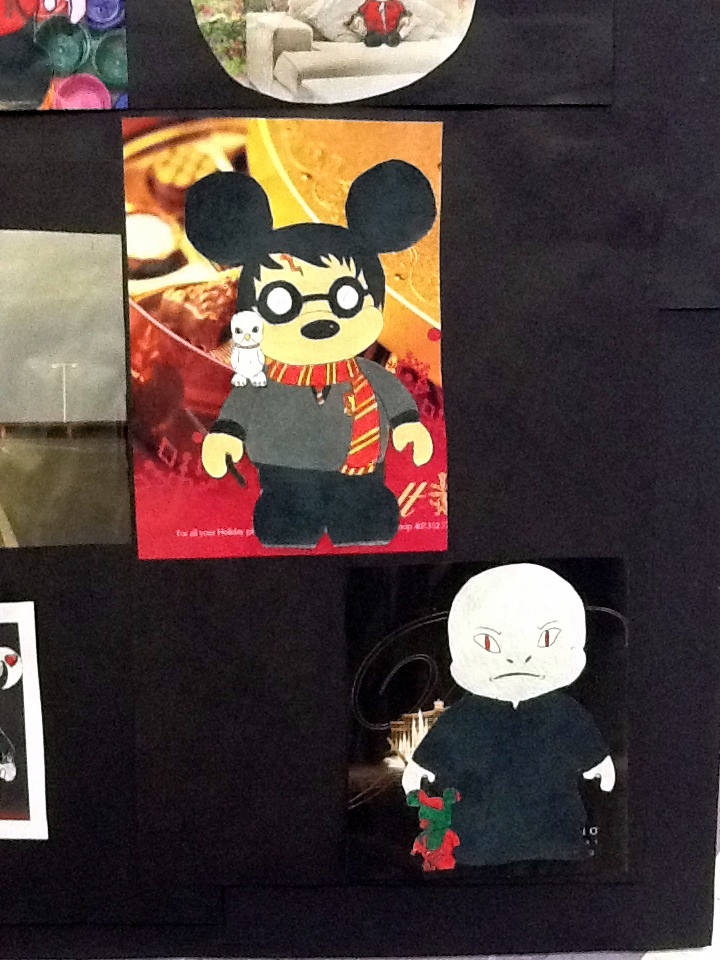
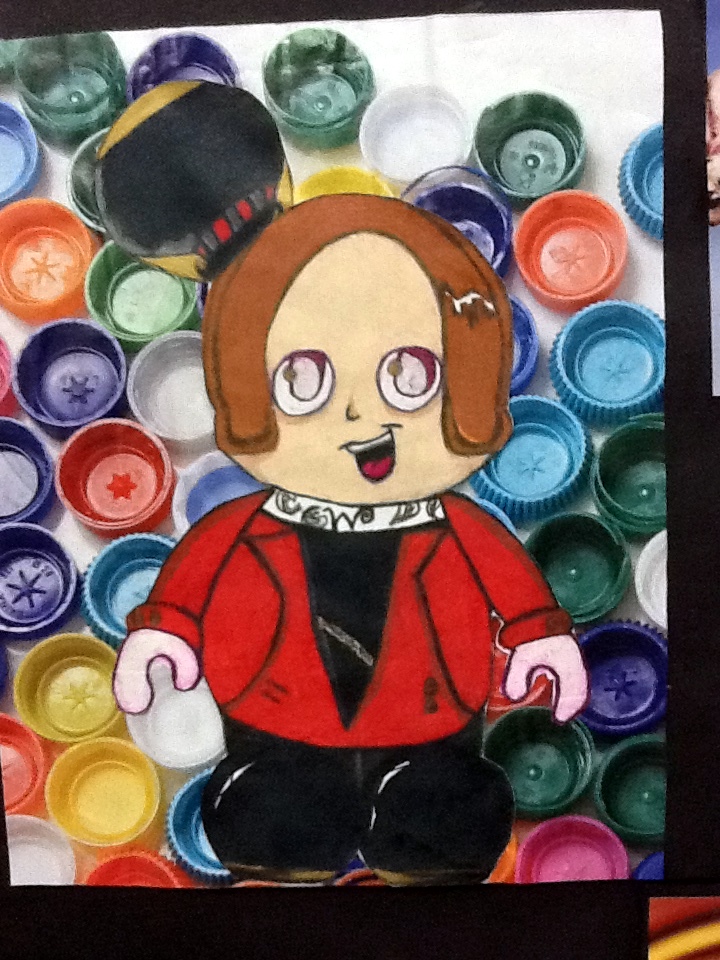
2-D Design Collage- Students created 2-D Vinylmations and collaged them onto a magazine background. This project was inspired by the pictures collectors take of their Vinylmations around the parks.
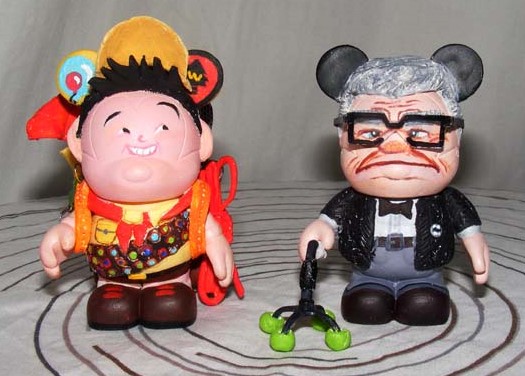
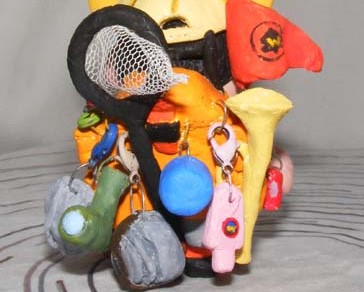
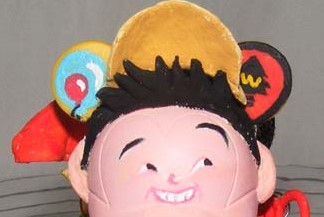
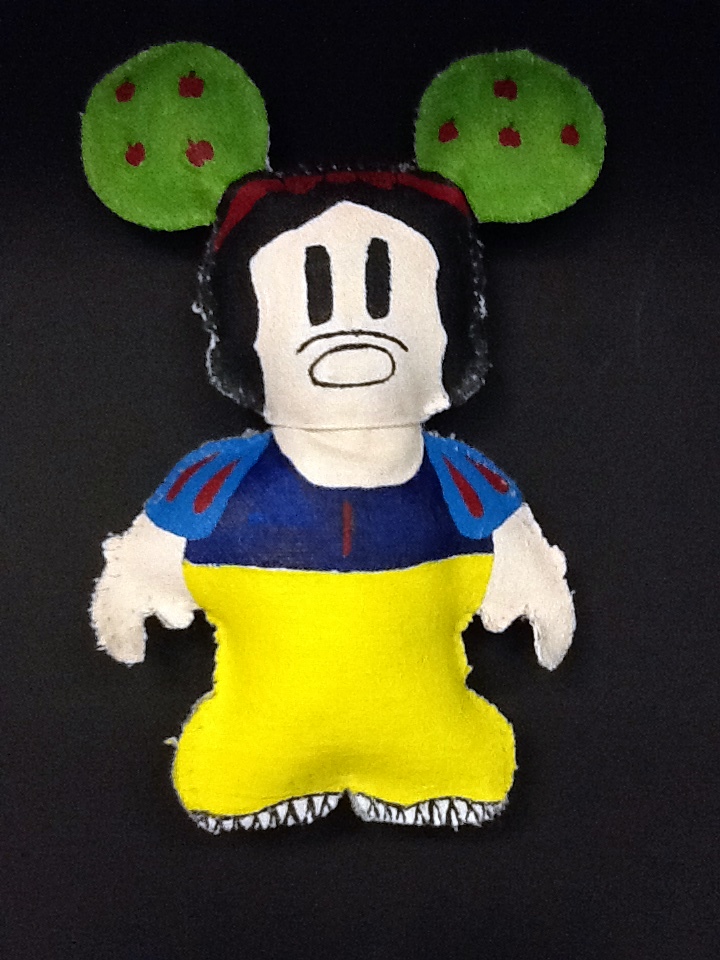
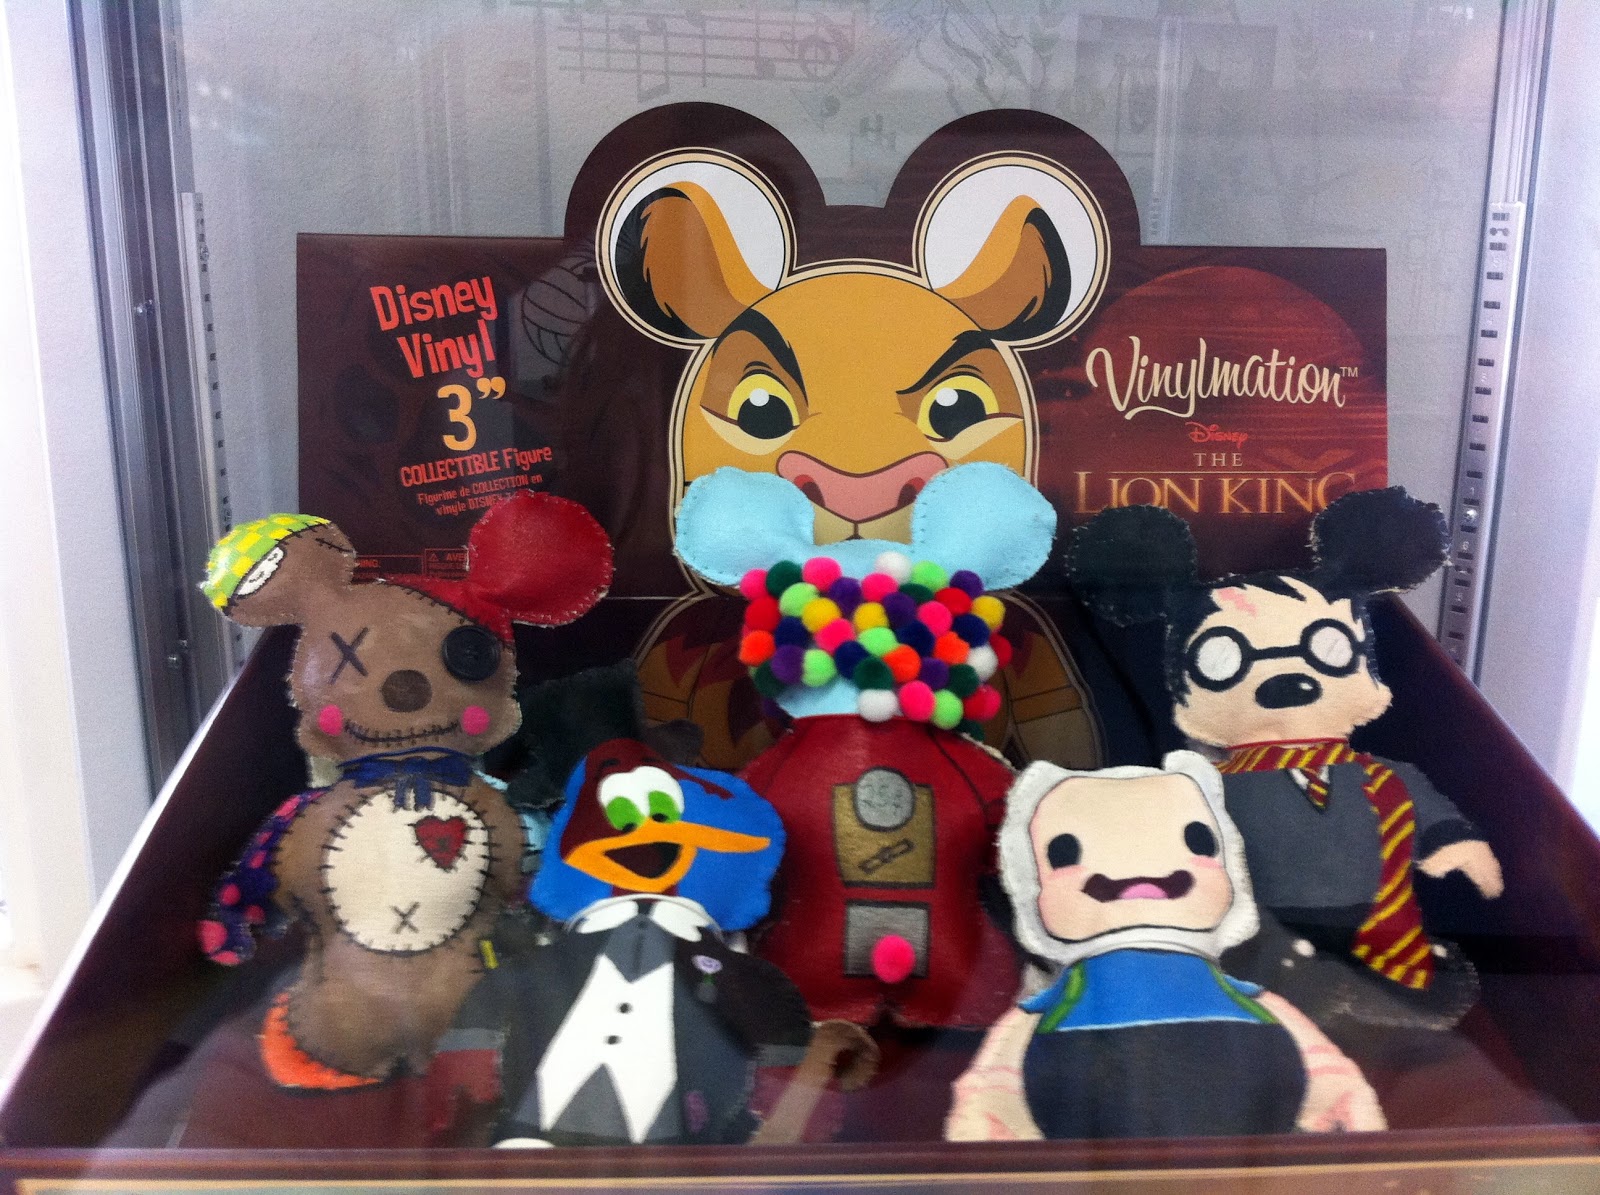
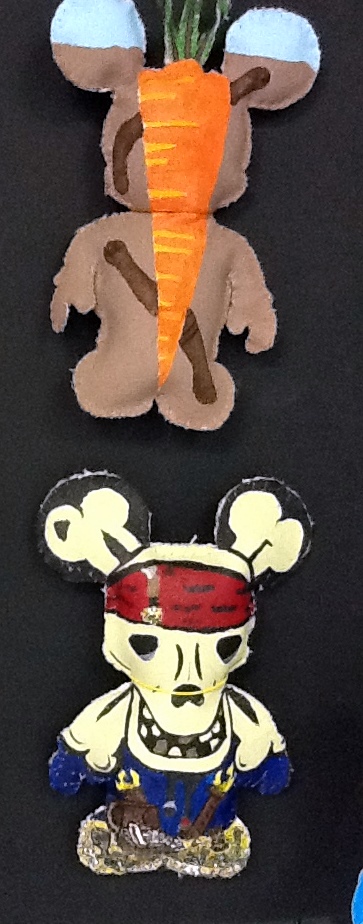
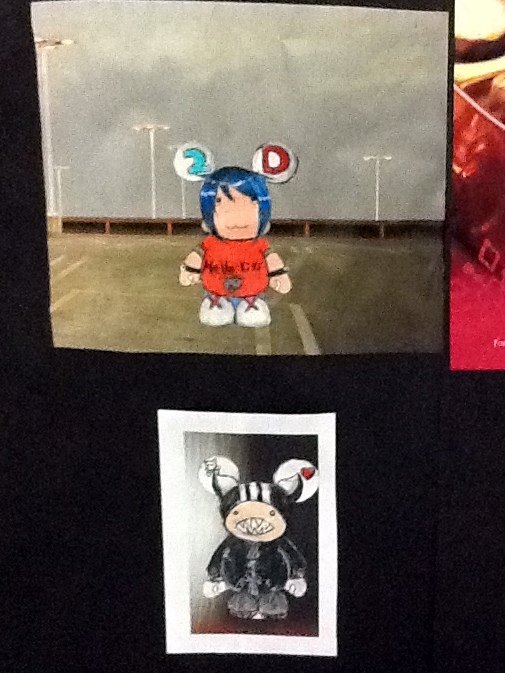
3-D Plush- Students designed, cut, and painted the front and back of a Vinylmation drawn on canvas before sewing and stuffing the canvas together to create a plush.
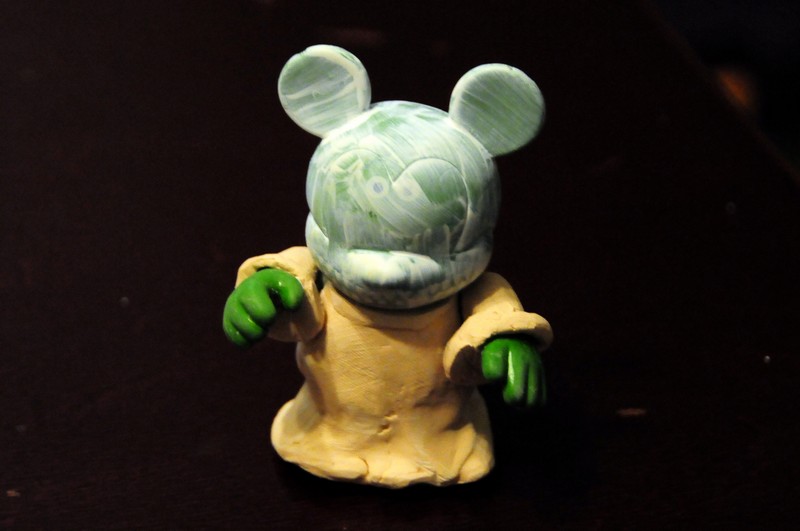
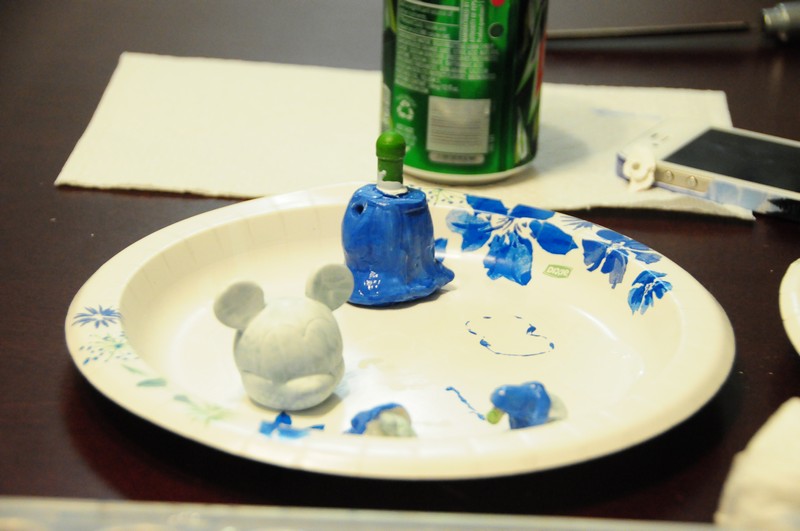
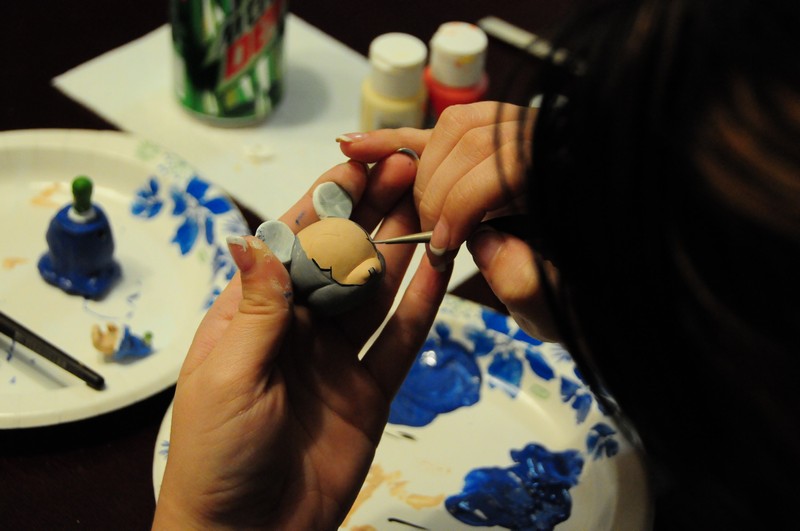
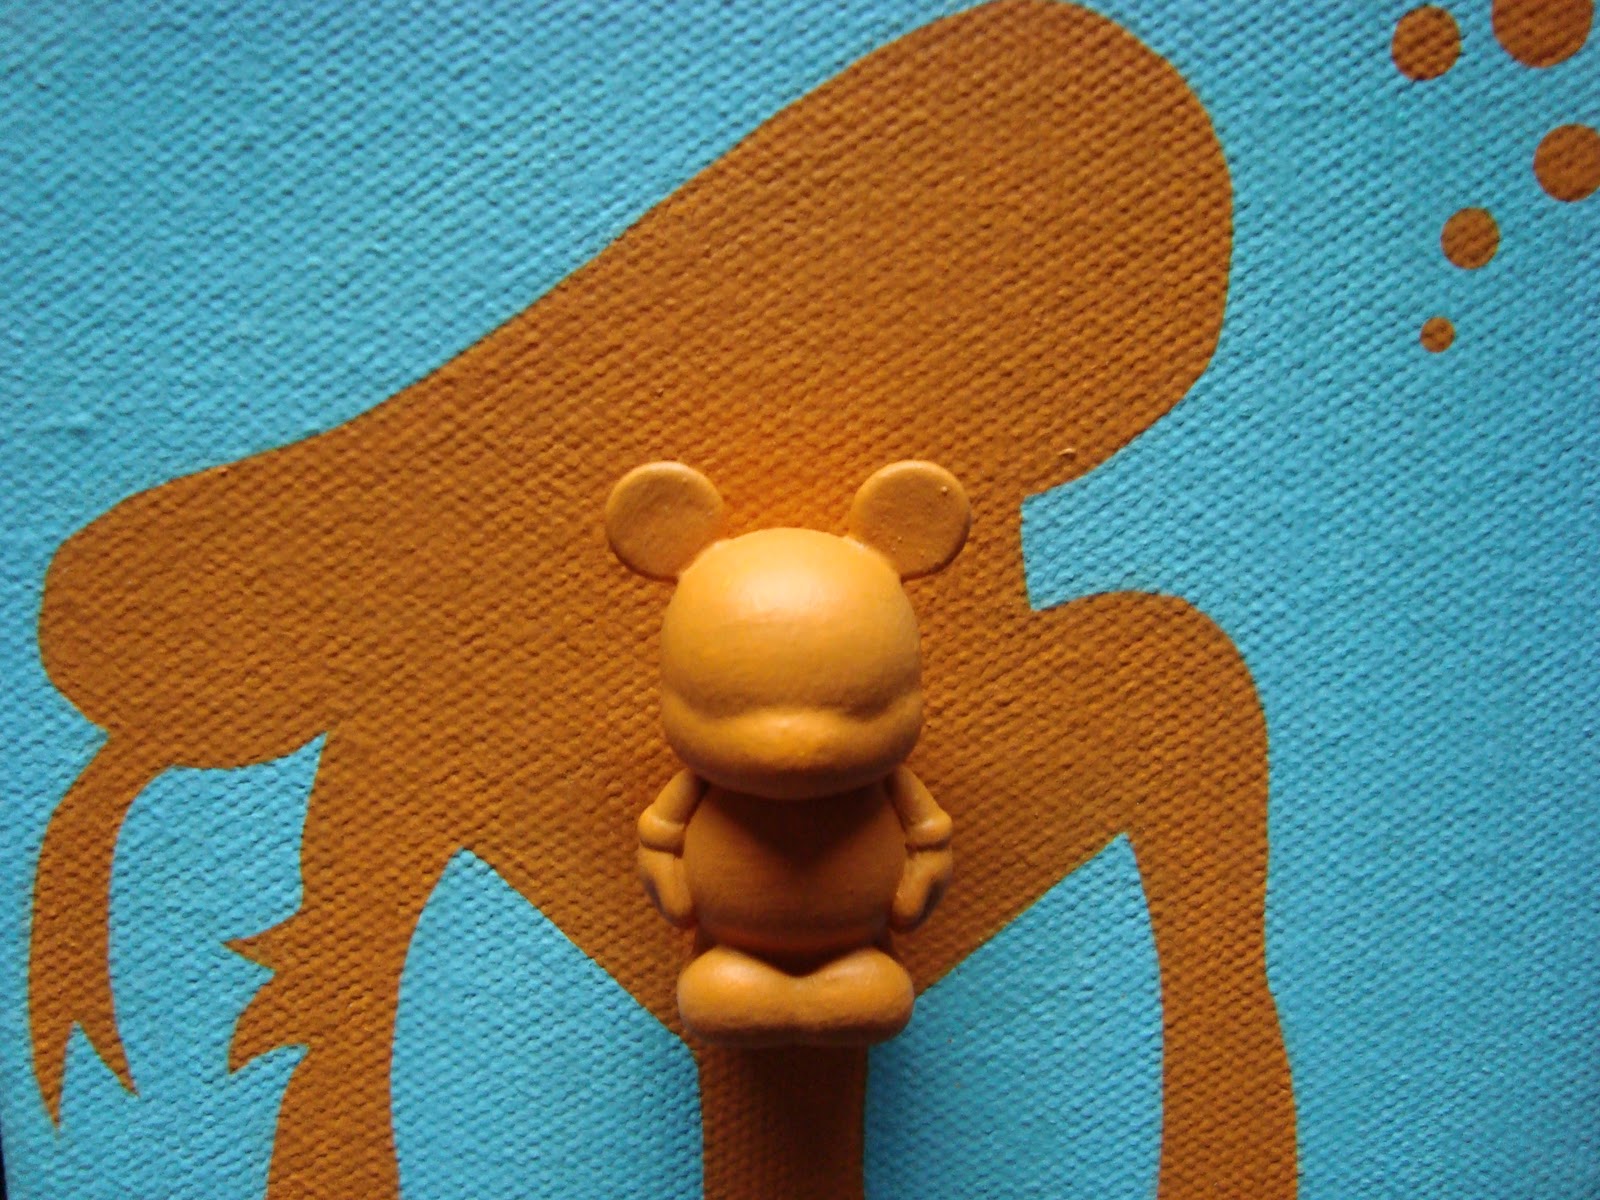
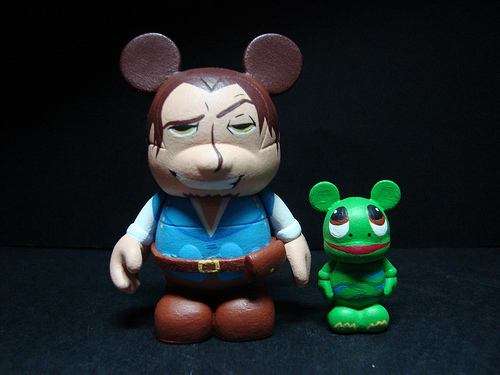
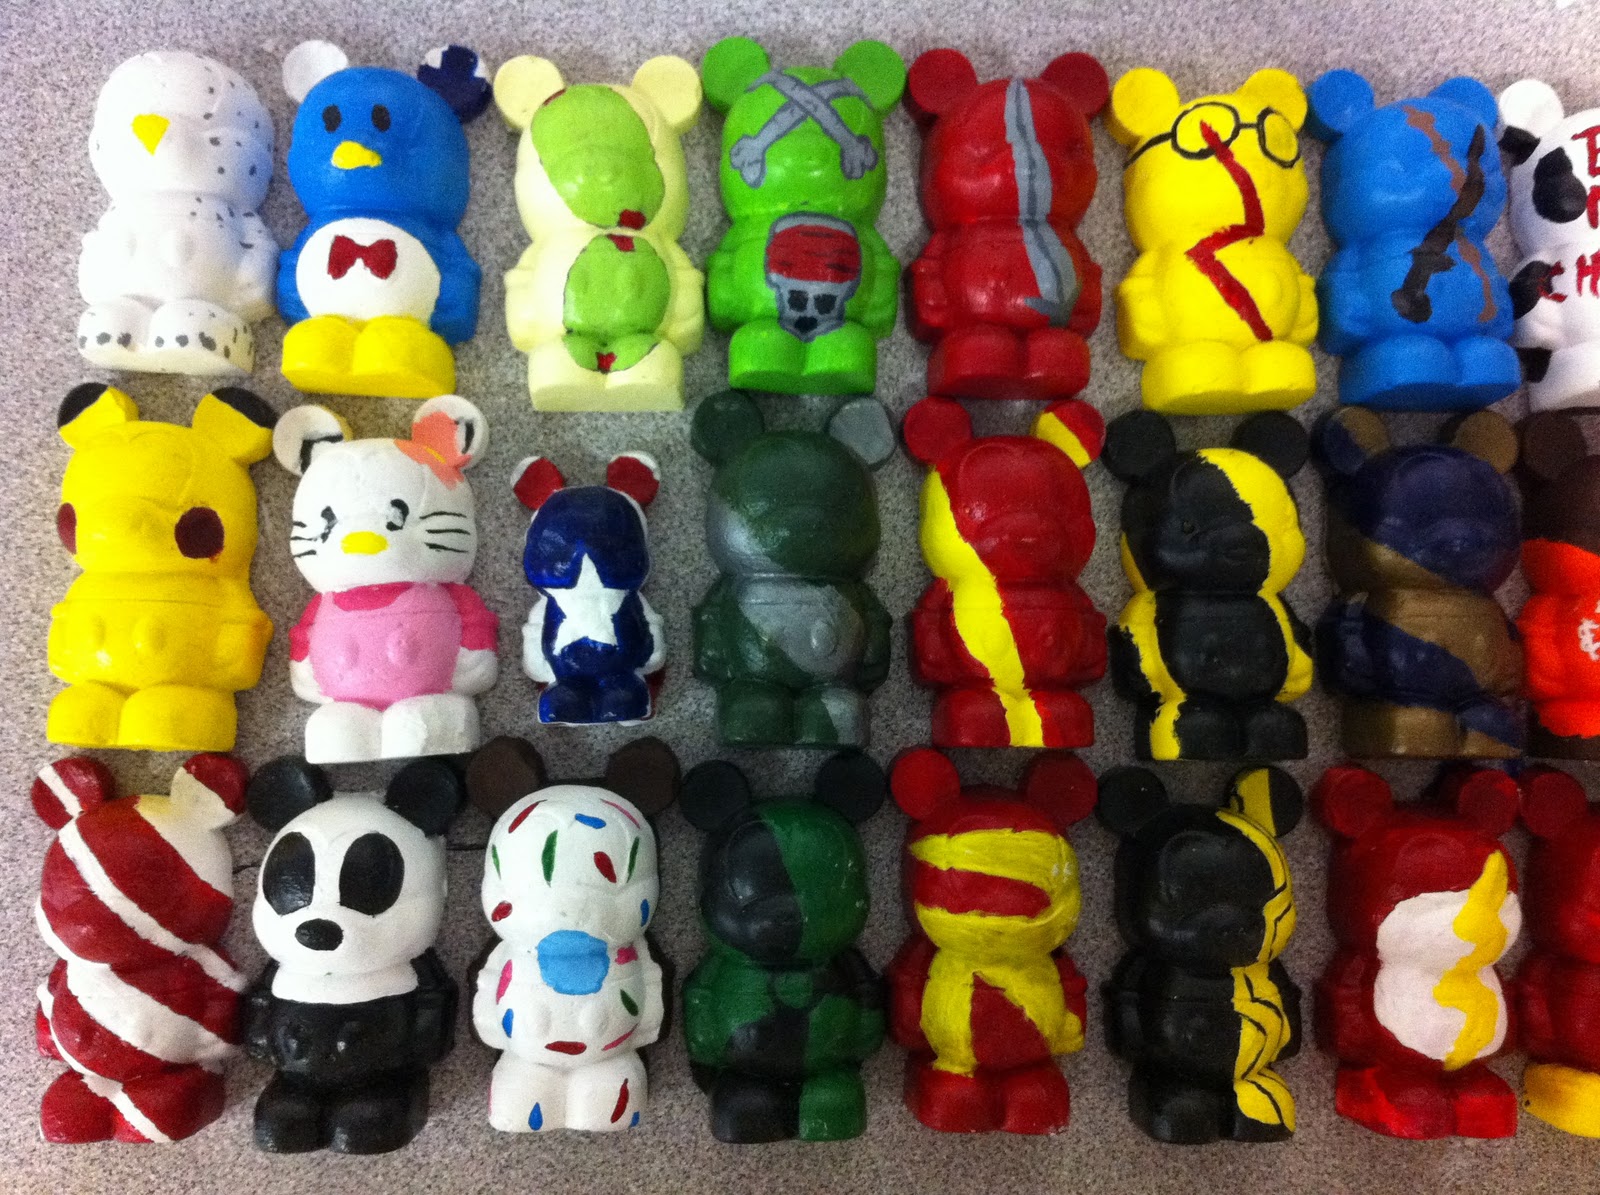
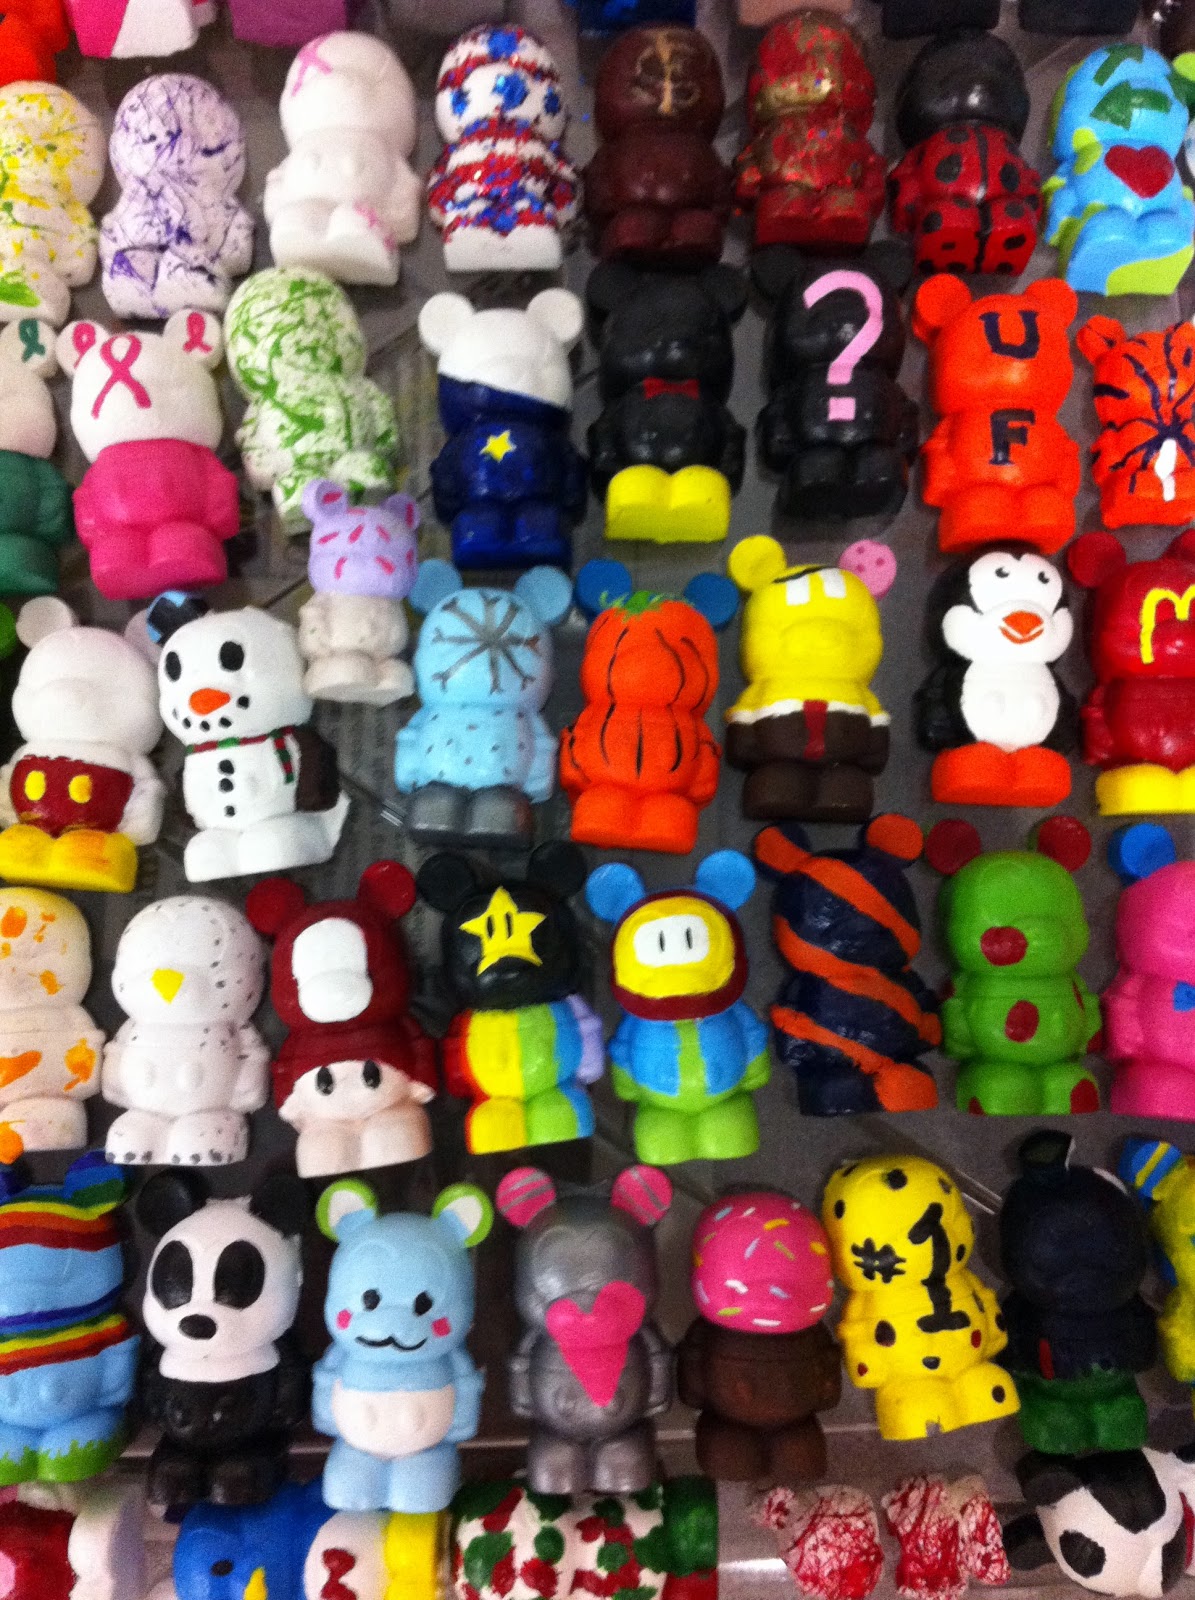
Plaster Vinylmation Jr.- We filled our Vinylmation ice cube trays with plaster to create small figures in which the students designed and painted in the minimalist style of the original Juniors series.
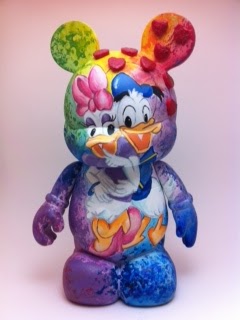
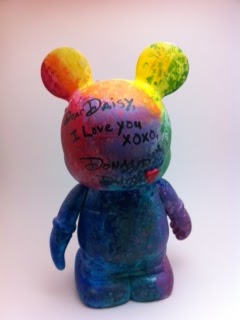
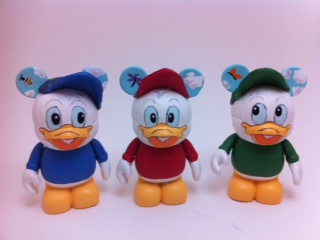
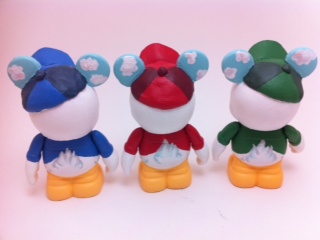
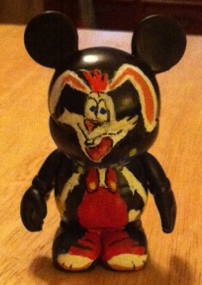
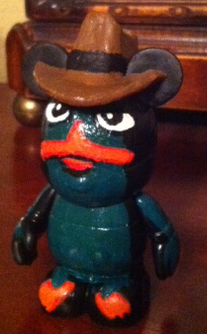
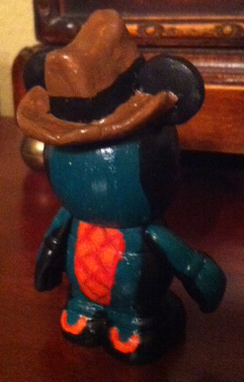
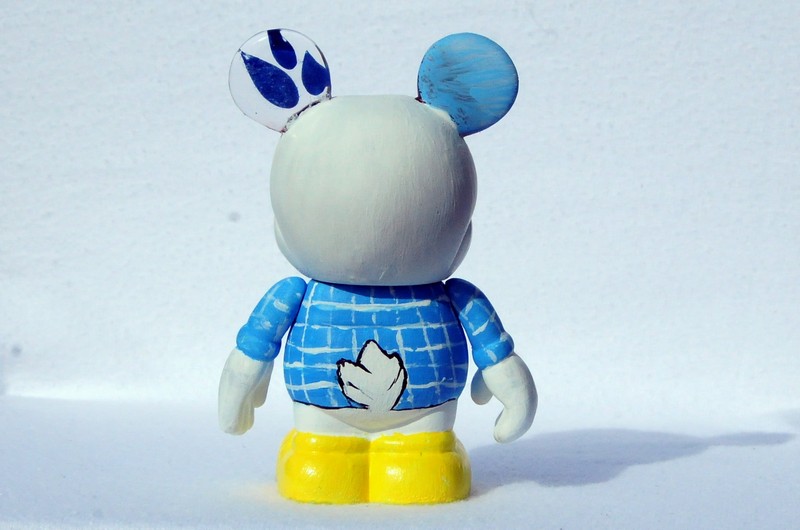
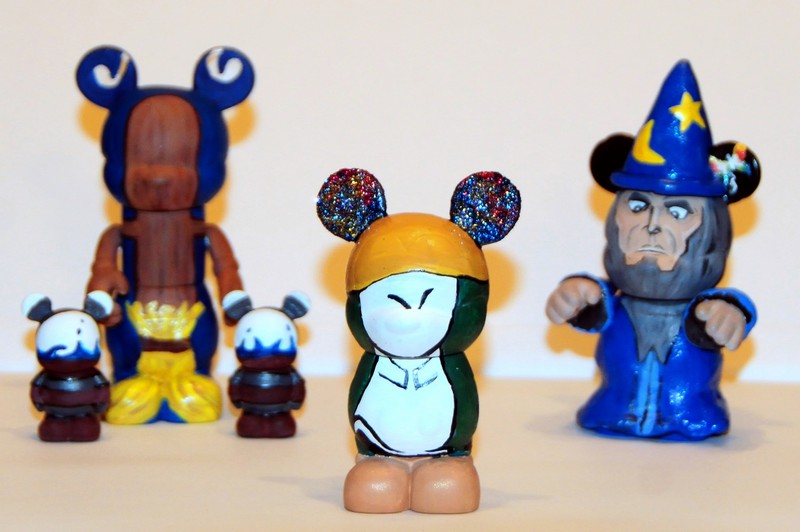
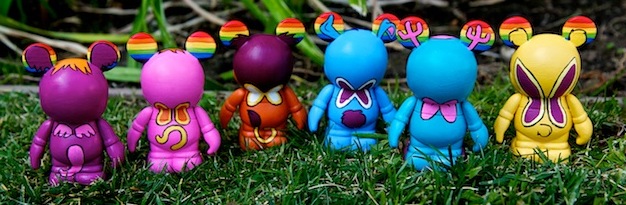
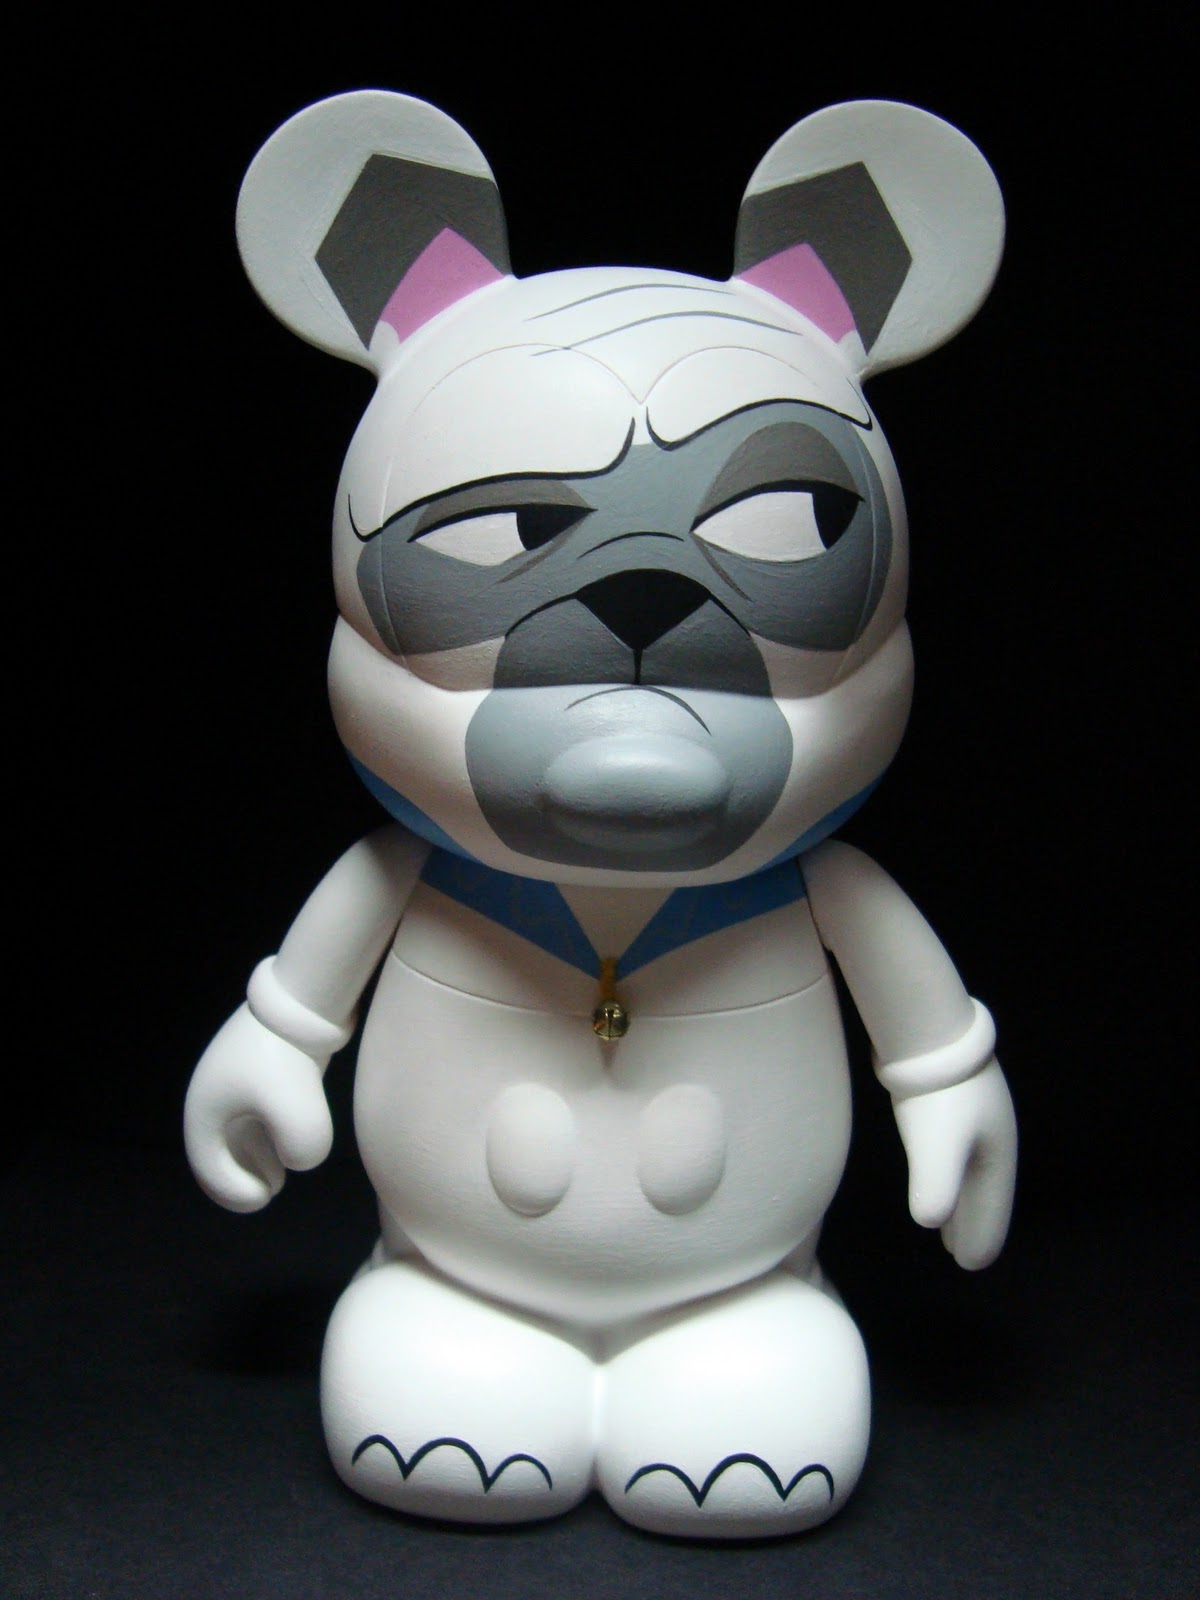
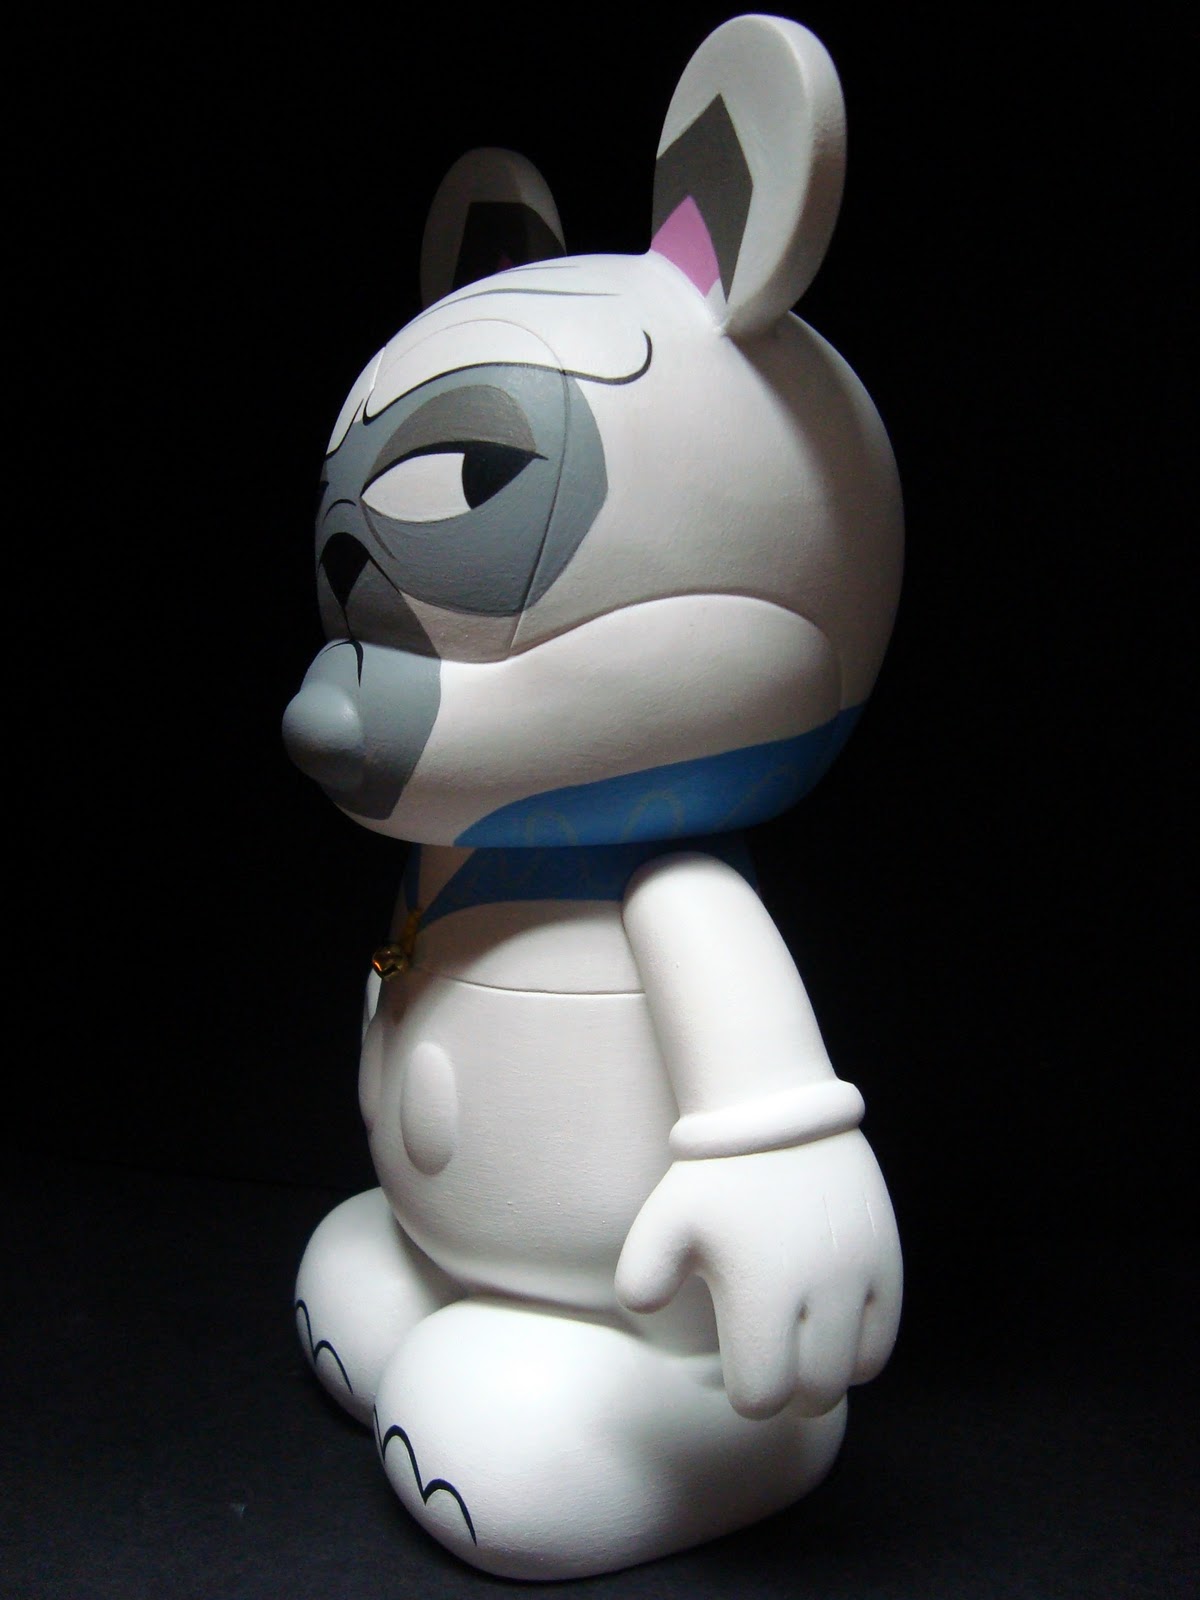
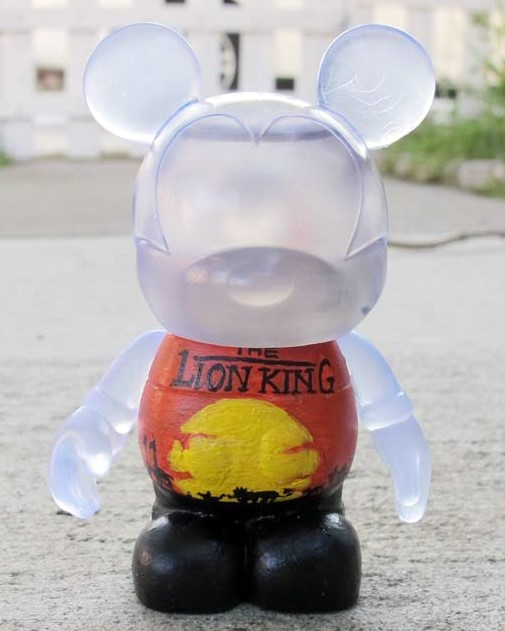
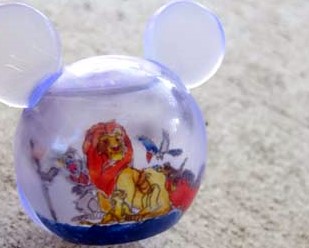
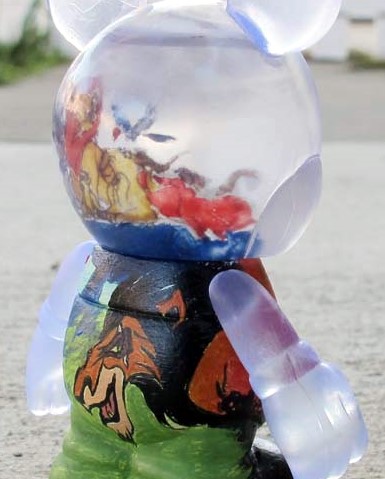
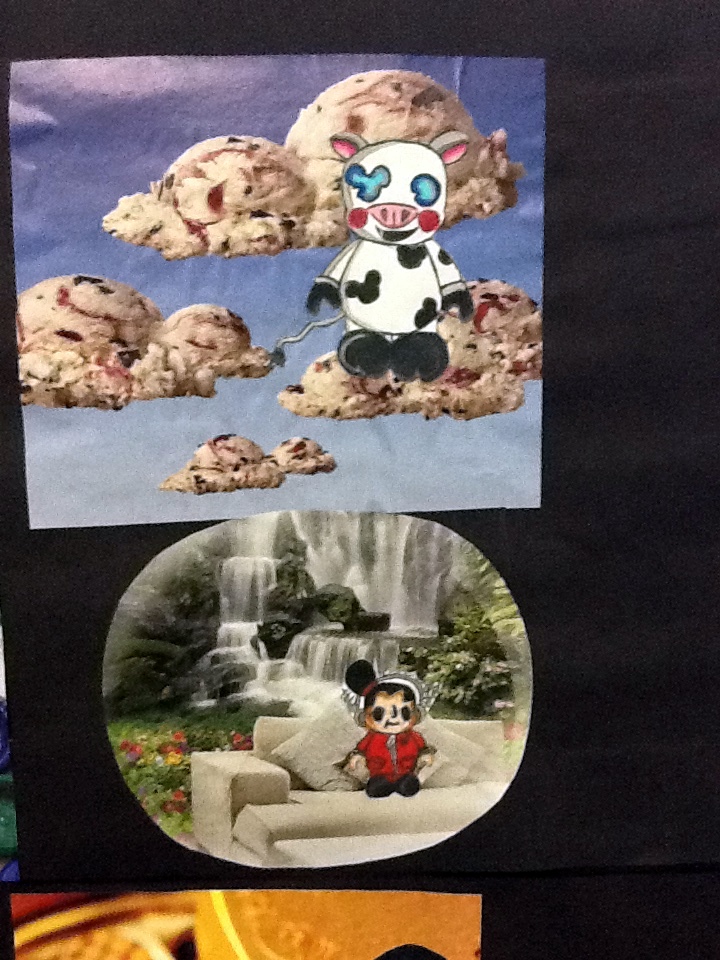
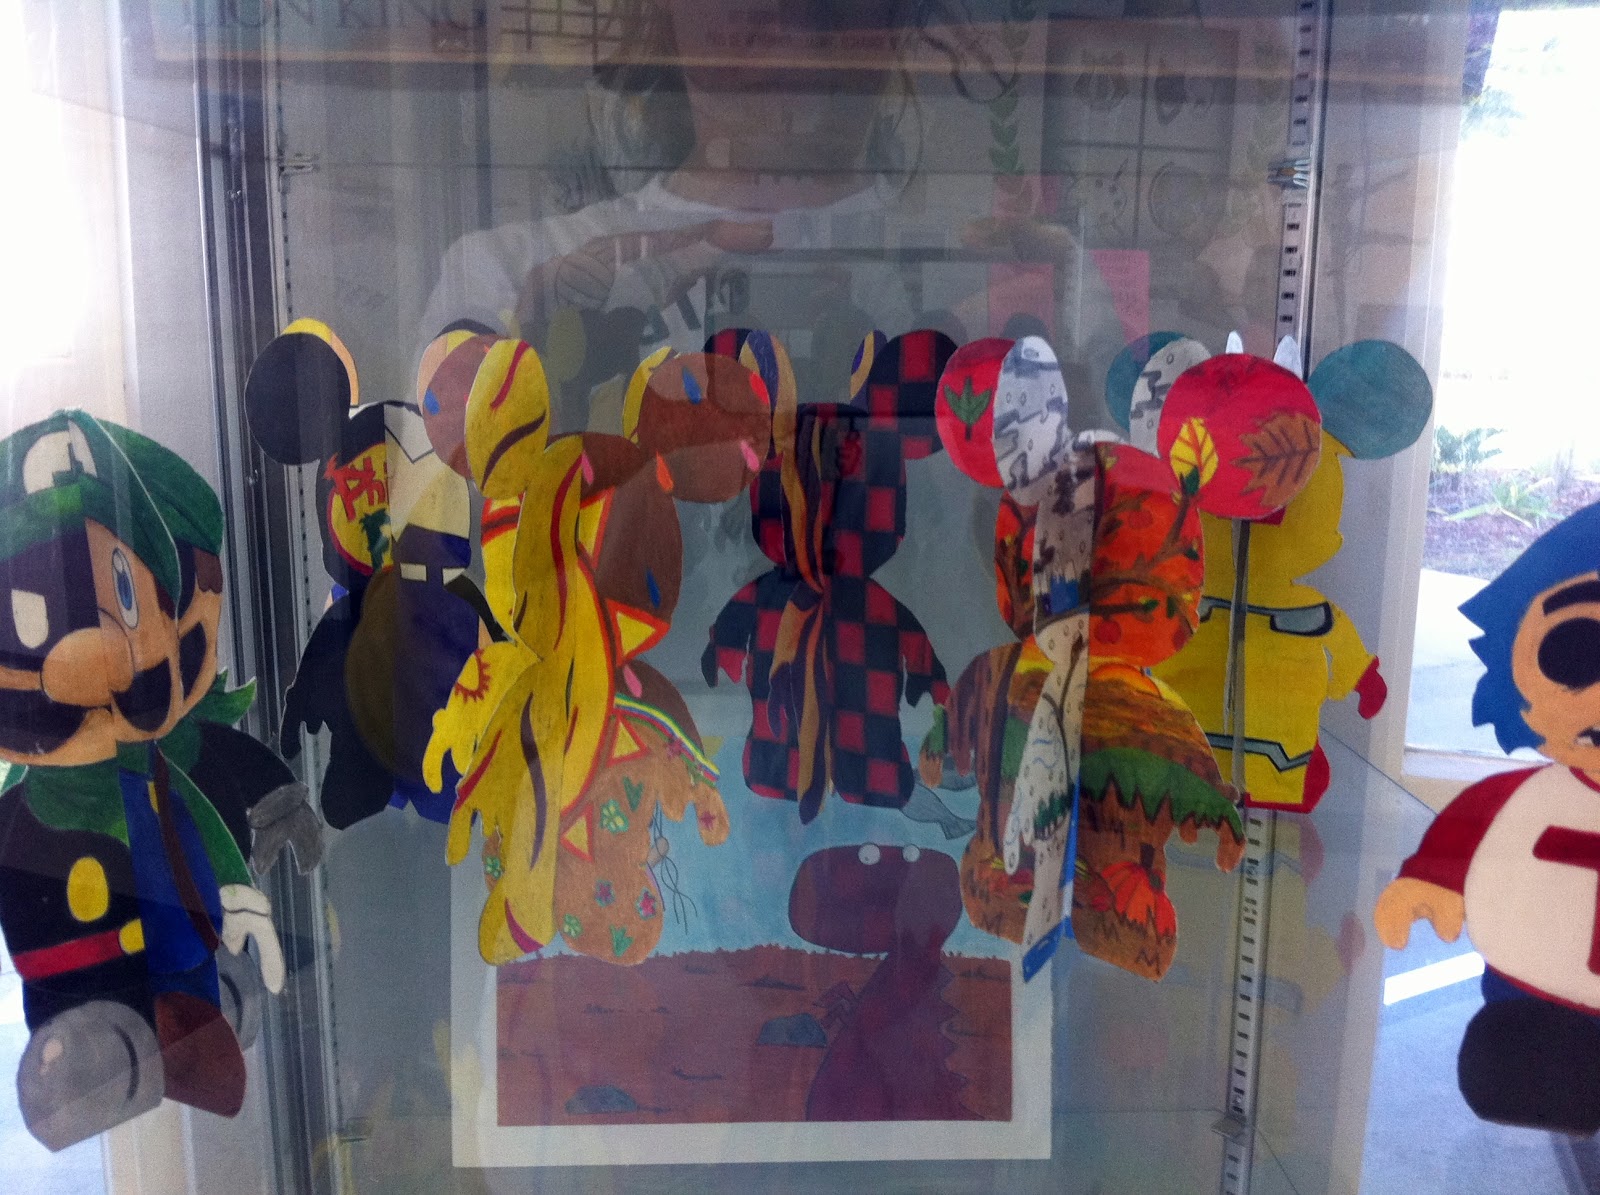
3-D Two- Faced Paper Stand-up- This project came from our students becoming so involved that they really had a hard time choosing just one character or idea for their Vinlymations. For this project, they could have created as many as four Vinylmations and many happily took the challenge. Each Vinylmation is double sided and presents a different view from each angle.
Trading Cards- We planned this before Disney did away with the trading cards, so we included it for this year. Each student made 4 trading cards of the favorite of their Vinylmations: one card to keep, one to trade, and one for each of the teachers.
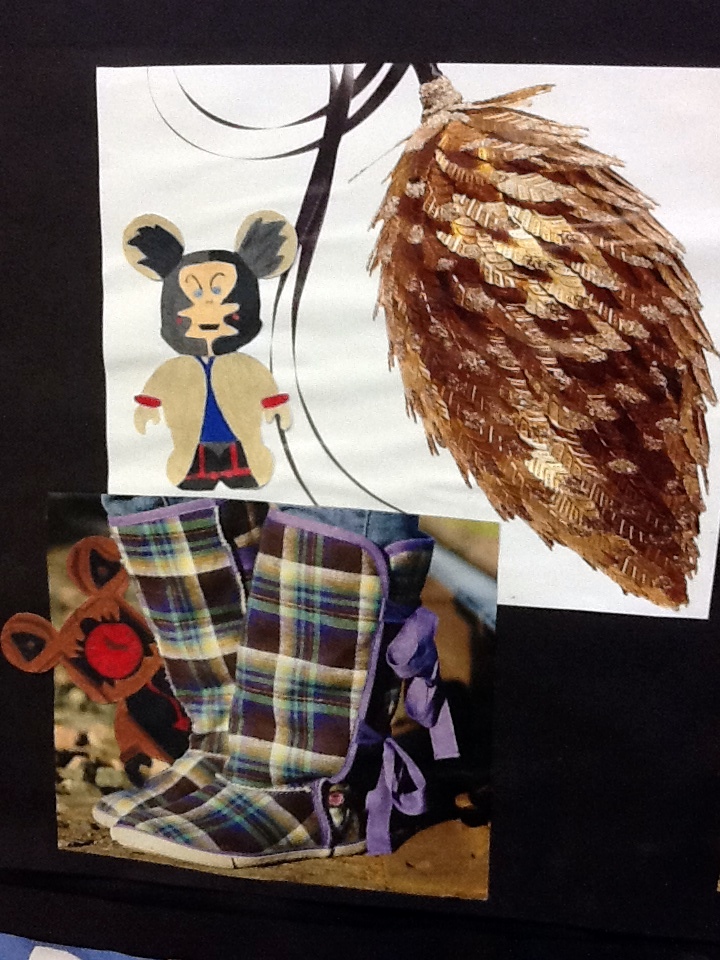
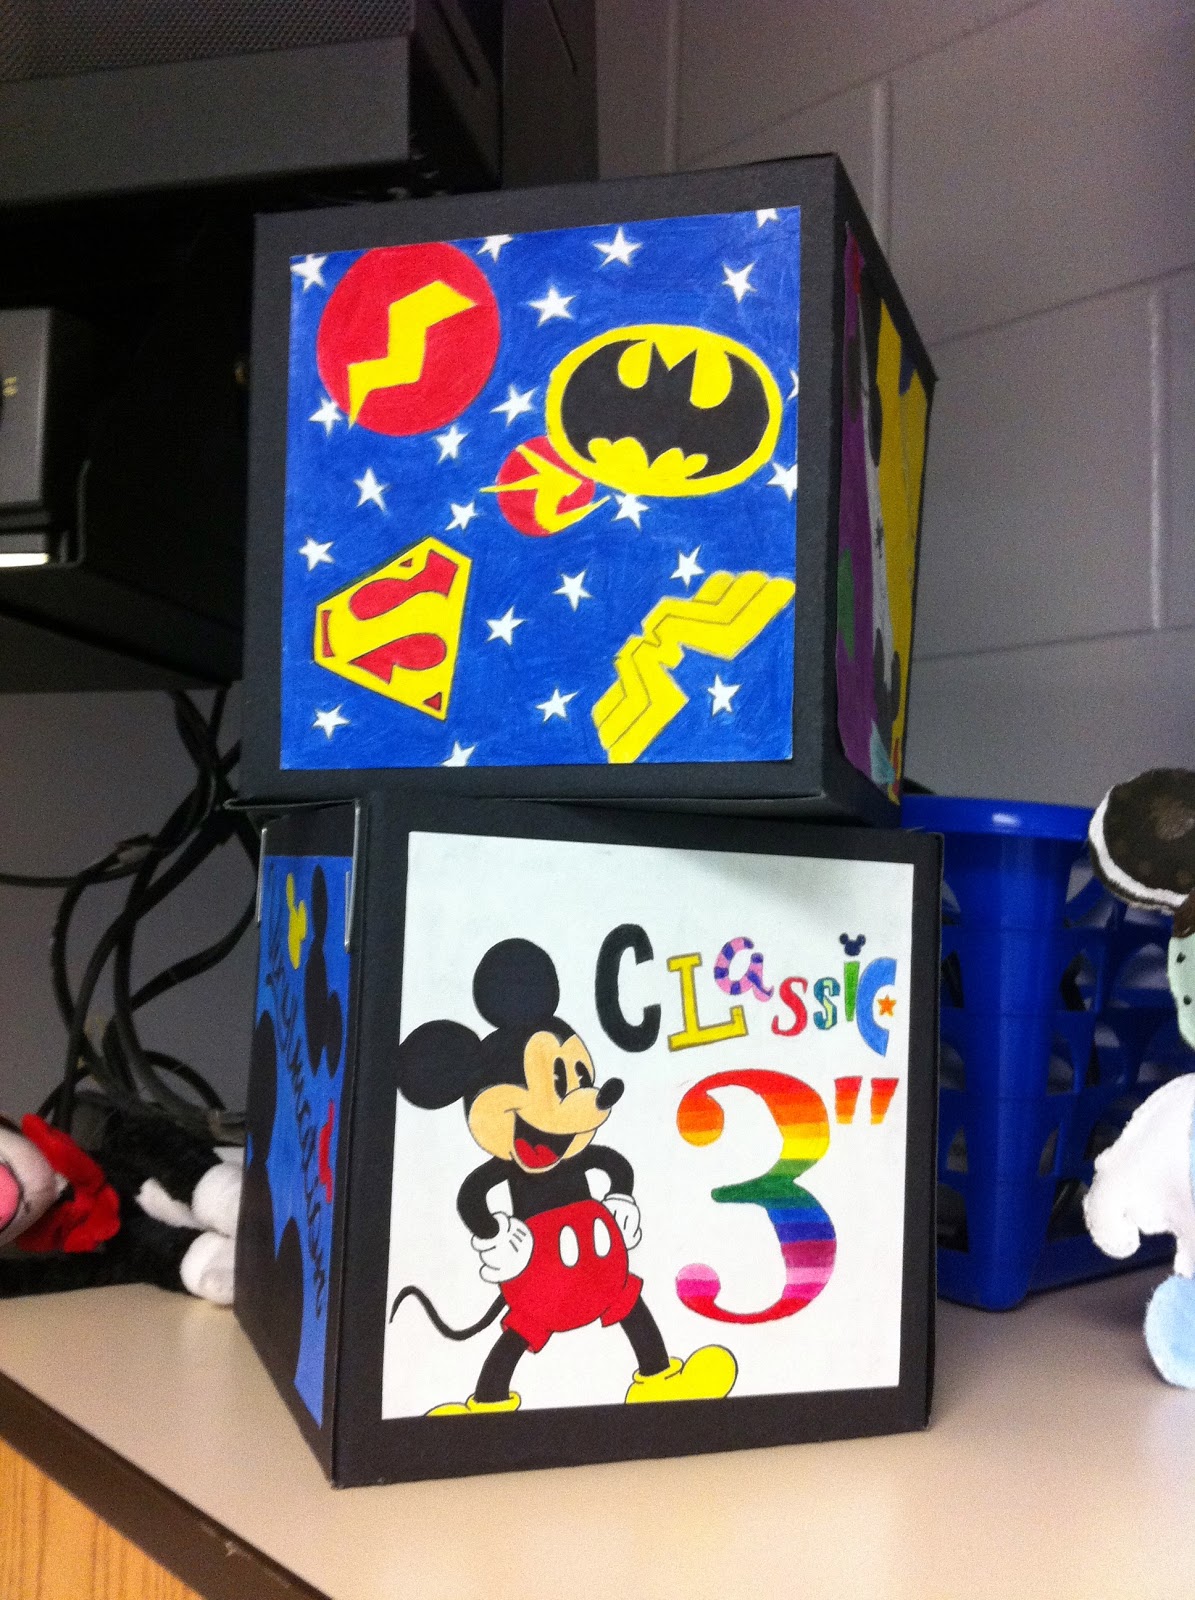
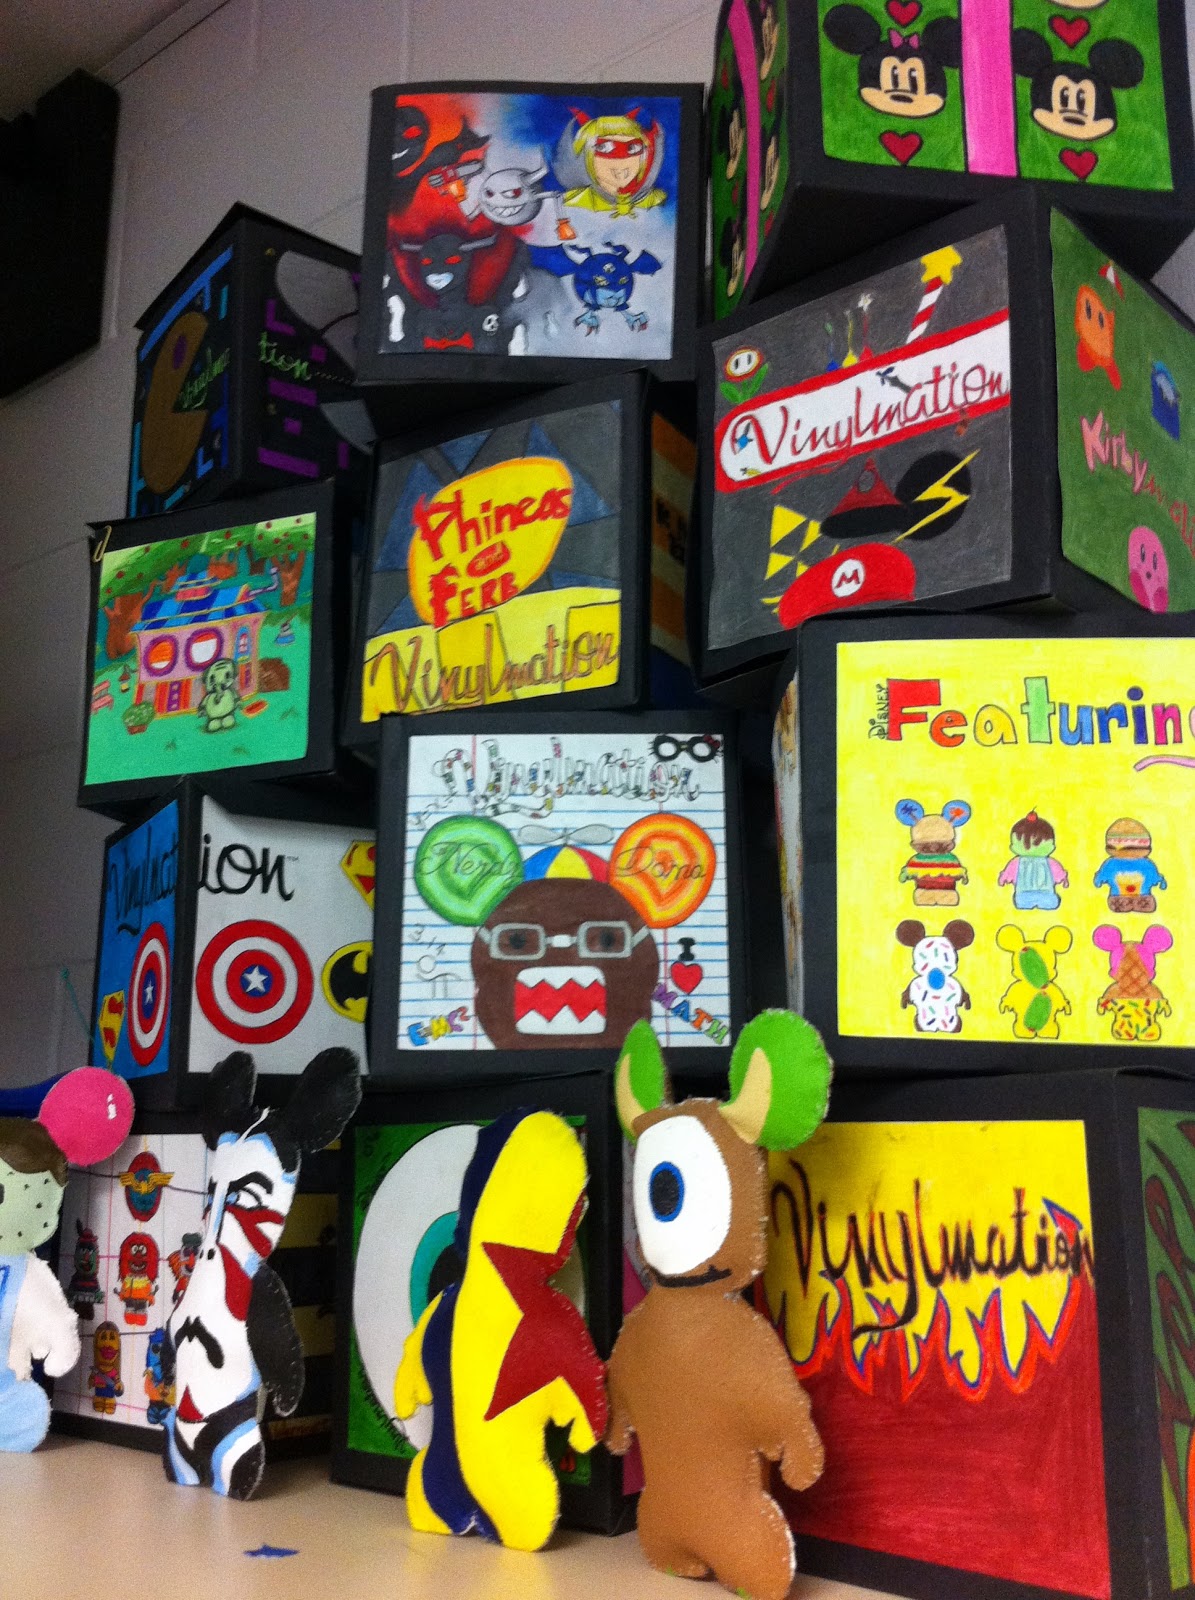
Vinylmation Box- The boxes were created to display all of their projects for the unit in a unique way. The students had to create six Vinylmation related sides for the box, in any manner they chose. Some students chose to represent their projects on the side of the box, while others were still so full of Vinylmation ideas that they created entirely new images.
Vinylmation Class Set- For our last project, every student in class created a 3” drawn and colored version of themselves in Vinylmation form. They are currently displayed with 9” versions of myself and Brandon as a kind of “class portrait”.
DV: Wow, that is an expansive project all revolving around Vinylmation. Do you find that using a subject like Disney increases the excitement about the assignments inside the classroom?
M & B: The excitement in our classroom on a daily basis was amazing. They discussed ideas and congratulated each other and really worked as a class to raise the standards and present the best collective group of work they possibly could.
As their teachers, Brandon and I fed off of their excitement everyday, creating new projects next year and really taking a serious interest in our own Vinylmation collections and sharing with the class after a weekend of trading.
DV: Do you think you have any future Imagineers on your hands?
M & B: I happily say there is a distinct possibility. Brandon and I tried to create projects in which our students would really get a feel for what a job as an artist would be like. Based on the reception, I do believe many of them are keeping creative jobs in mind for the future.
DV: Have either of you personally ever tried your hand at a 3D custom on a Mickey mold?
Melissa: I have not, but it is on my to-do list for 2012. I did receive the Vinylmation sketchbook for Christmas and am excited to fill the pages!
Brandon: It is now on my to-do list as well. Student’s aside, Melissa and I have had far too much fun developing these projects. If she is planning on doing one, there is no way that I will miss out on the fun!
Jrs
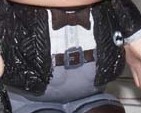
Stuffed
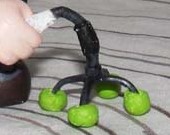
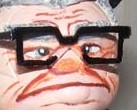
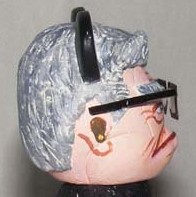
Stand ups
2D
2D
2D