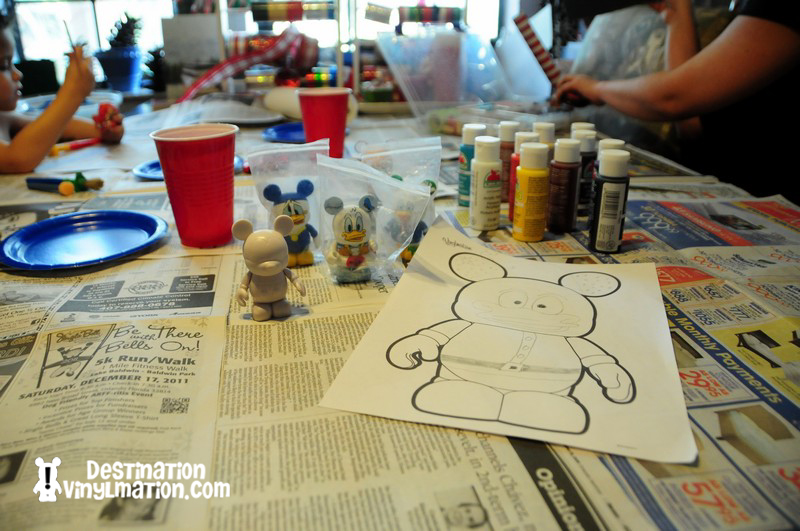
Ya, I never thought I’d be featured here either! But a few weeks back, a friend of mine, and a listener to the podcast, showed me her custom Vinylmation. She was surprised to find out that I hadn’t attempted a custom myself. Now, I had thought about it from time to time, but I don’t consider myself an artistic person. First, it looks so daunting to me. Second, I don’t have the tools and although there are plenty of tips and tricks on the net, I’d really have no clue where to start or how to attack the canvas. But she insisted that I dive right in and, with her help, give it a try. So I sat down to sketch out my first design, and before I knew it, I was hooked. I had 12 different designs drawn out! But my first idea was my favorite character Donald Duck as Santa.
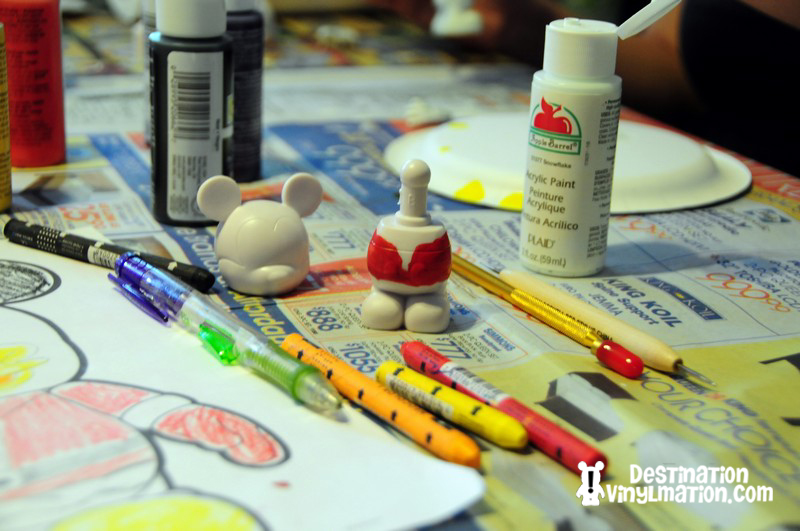
It all started with a mouse…. shaped blank white canvas.
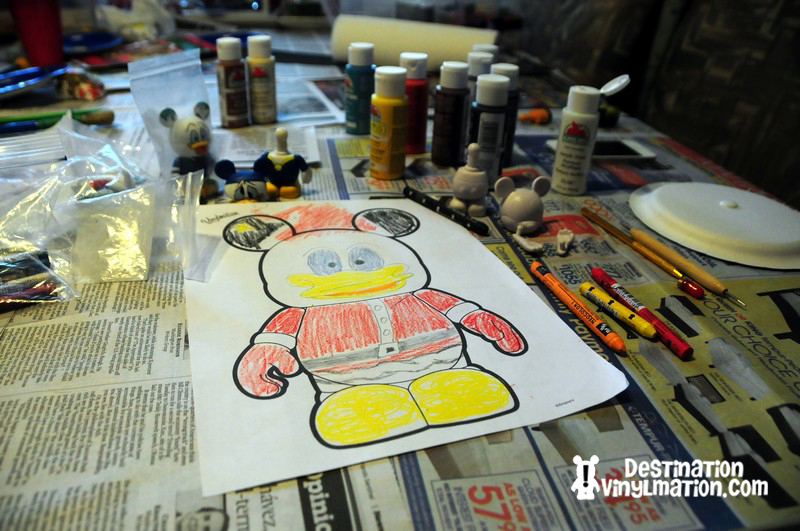
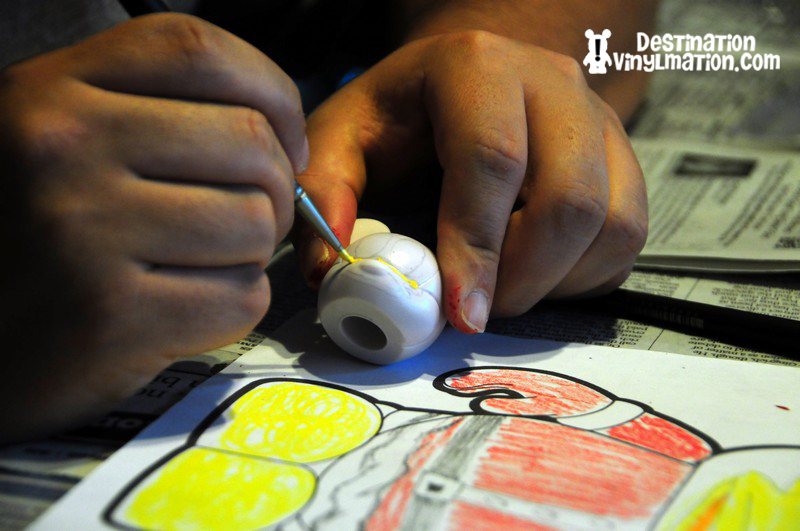
Oh, look at that great coloring job! I stayed in the lines.
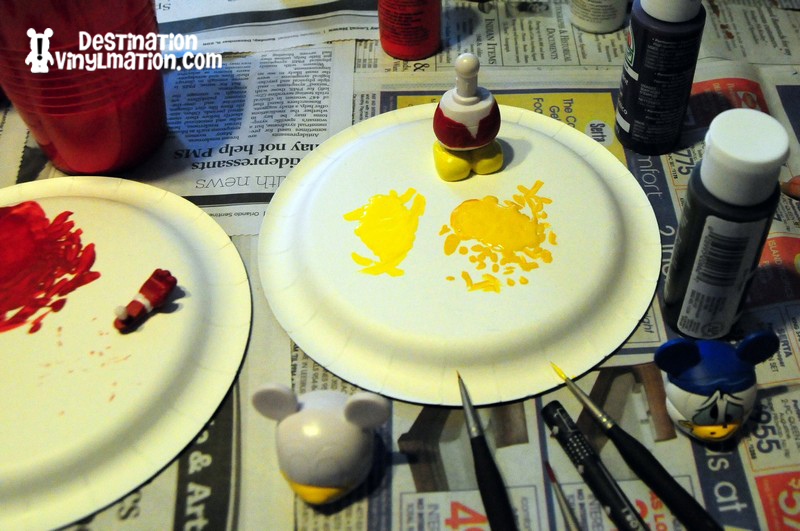
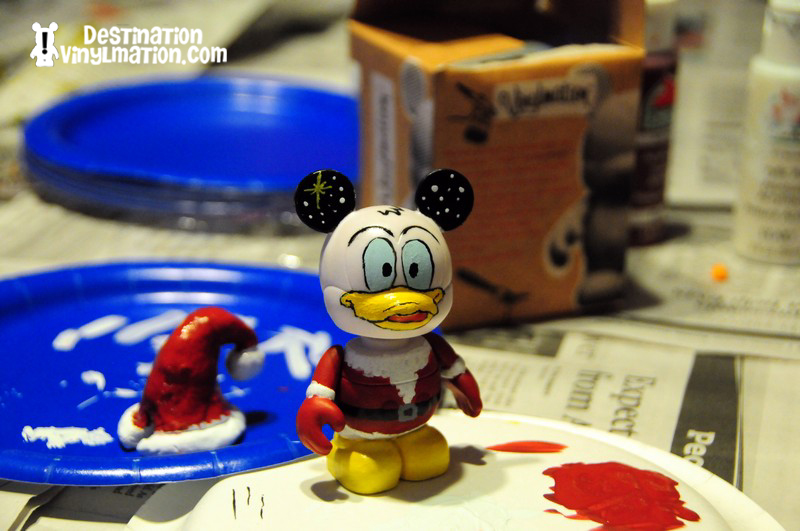
I started by painting on Donald’s red coat
I then painted his arms. I had my Disney Donald’s on hand for support and color guides.
I kept putting it off, but it was time to attack the head
I was a bit worried, it drew on well with pencil, but before the black detail lines were applied, the beak looked very off to me.
The best tip I could give is watered down, thin paint and many coats. Go slow.
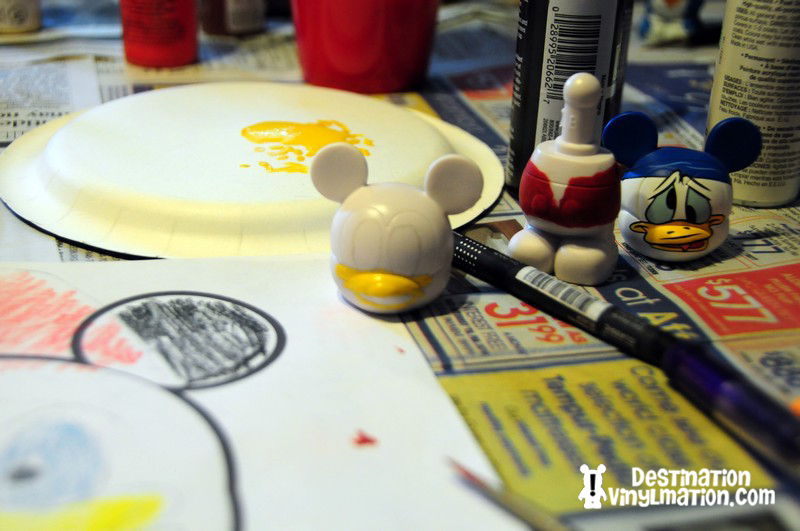
More head work. Got the perfect eye color mix.
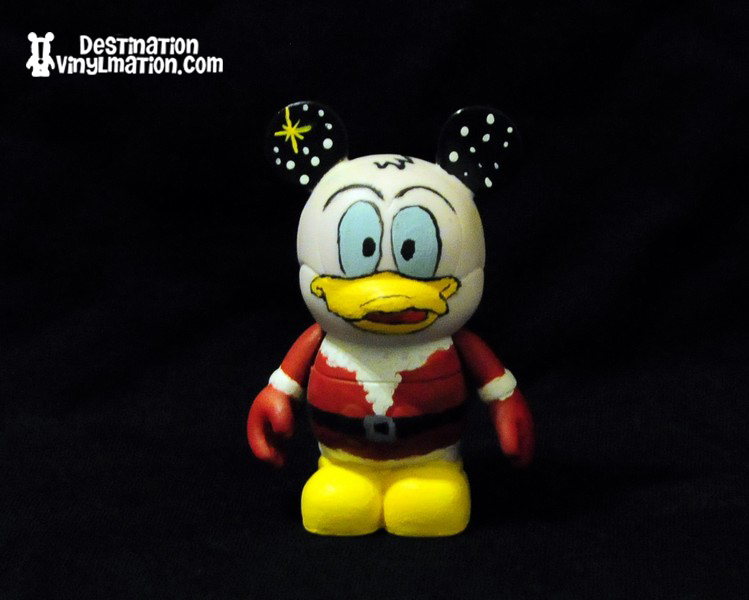
A sigh of relief, the face looks good. I couldn’t wait to snap him back together.
The brows gave me some trouble, but the tuft of hair went on perfectly
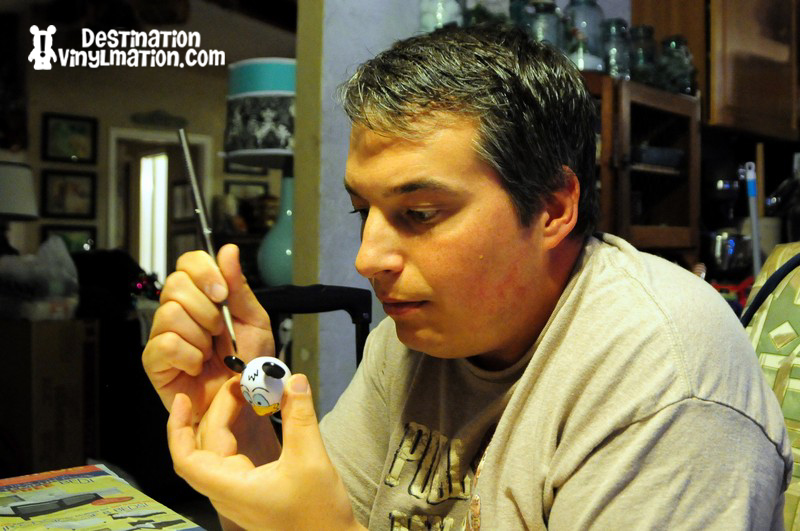
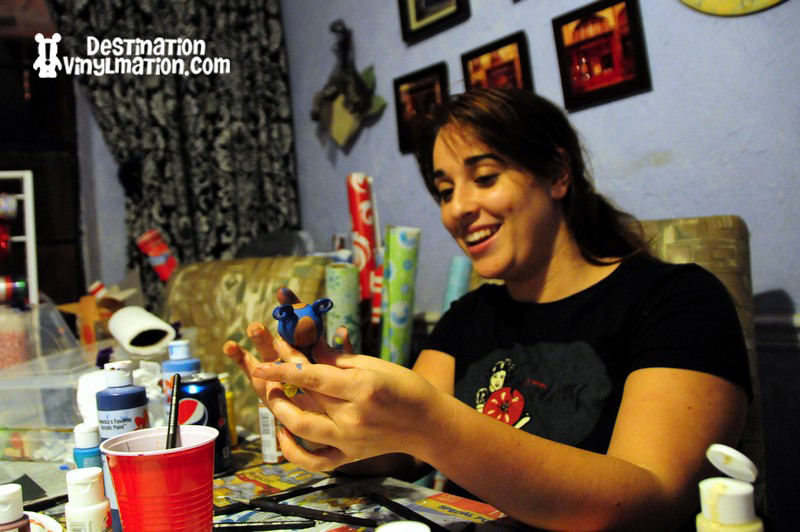
I couldn’t get over how intense I looked as I painted! I was very nervous as I never take on projects like this.
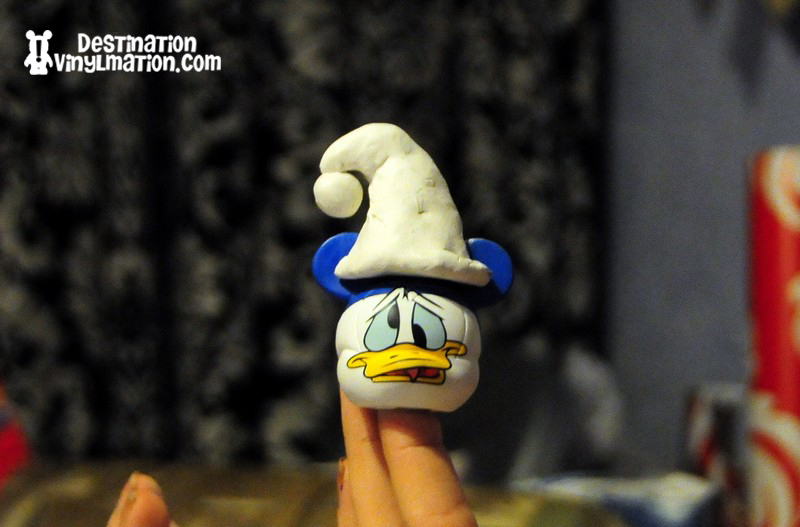
Time to mold that hat. I used a double head to stand in for proportions
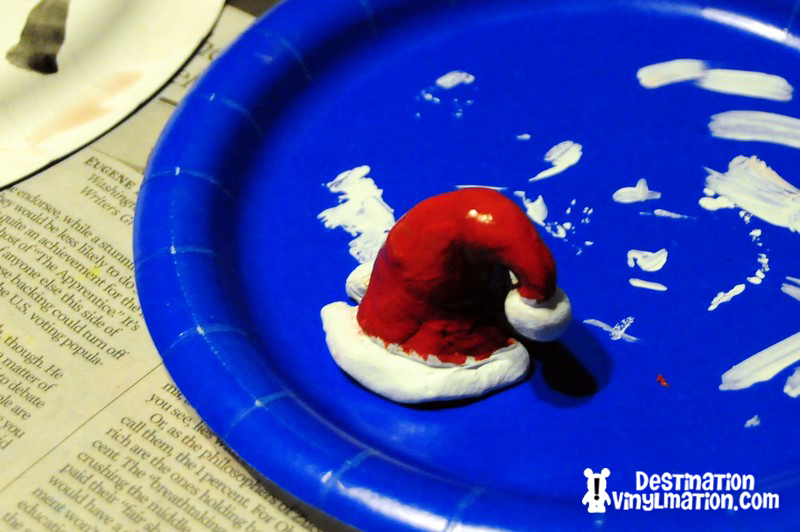
Although I painted this one, I ended up making a replacement. This one stood too tall and looked like a wizard’s hat.
For the snow in the ears, I just used a pointy metal tip and dotted the ears. The jacket came out better than I imagined. I’m sure this is a real technique, but I decided to try to just poke at the vinyl with the white paint to create “puffs” for the collar, and it worked great.
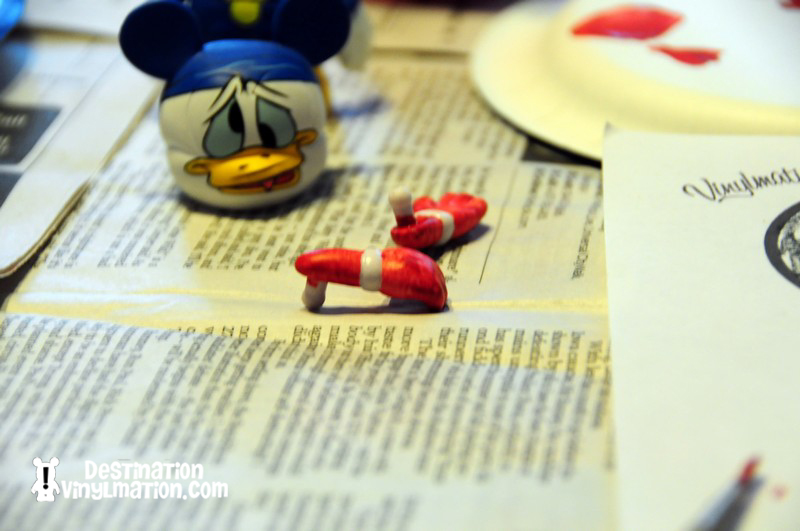
On the back, I painted on his tail that hangs out under the coat
Final version, sans hat. I always talk about use of ears, and I really like the way they came out with the snow fall and north star.
But my favorite part is the beak. It was so scary and my 2D drawings looked better than I thought my hands could draw. And somehow I placed it just right and it actually does have a 3D, sticking out effect. I am very proud of my first custom and could not have done it without the help of my friend Rachel. Speaking of… she didn’t want a spotlight of her own, but wanted to share her custom as well.
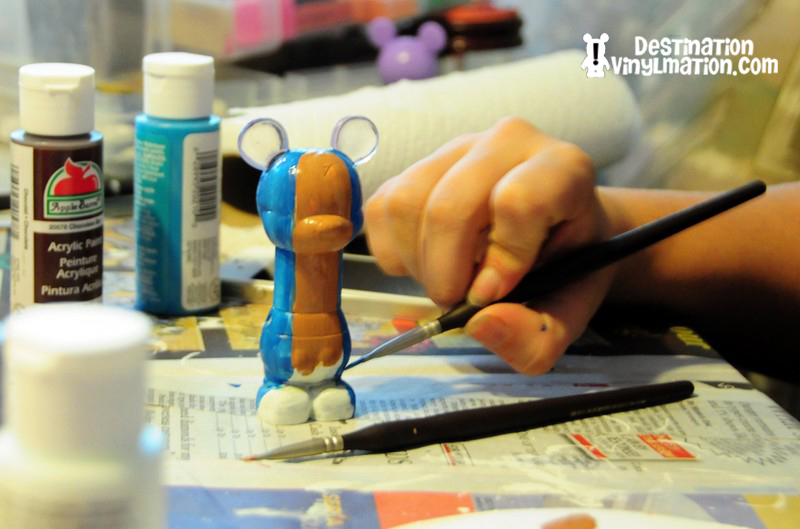
She decided to make the mop from Fantasia
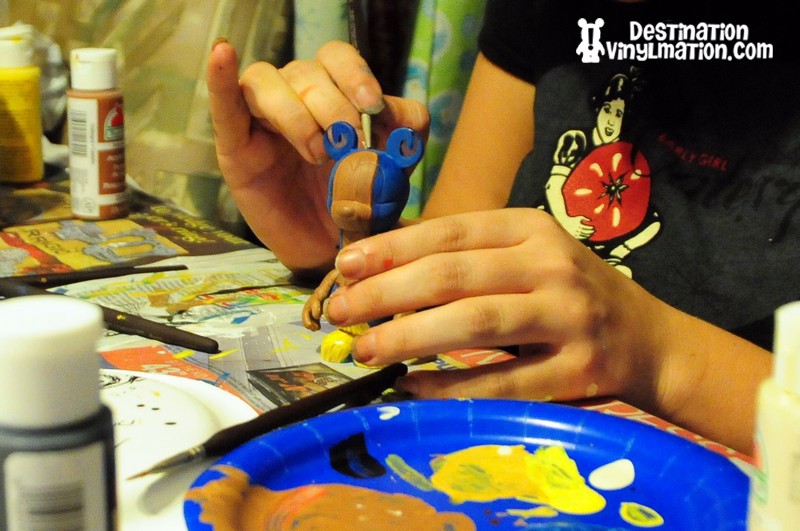
This used to be a Have a Laugh Ostrich! Until she painted over it.
Adding the details in the mop stick
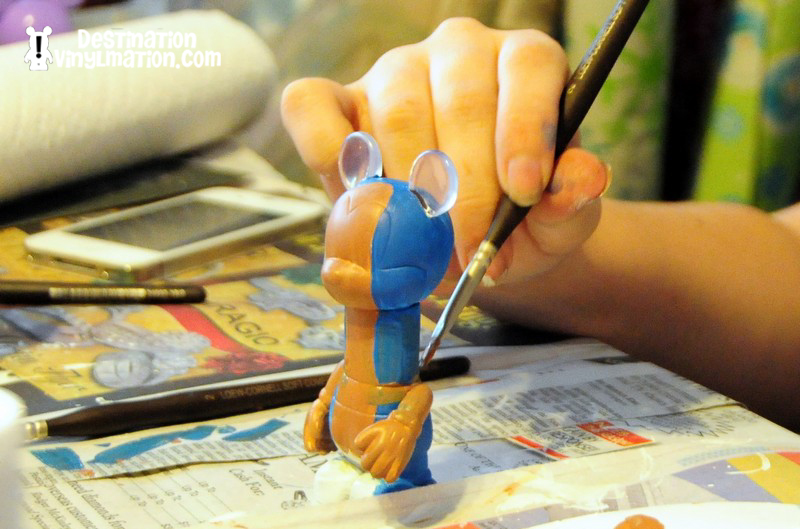
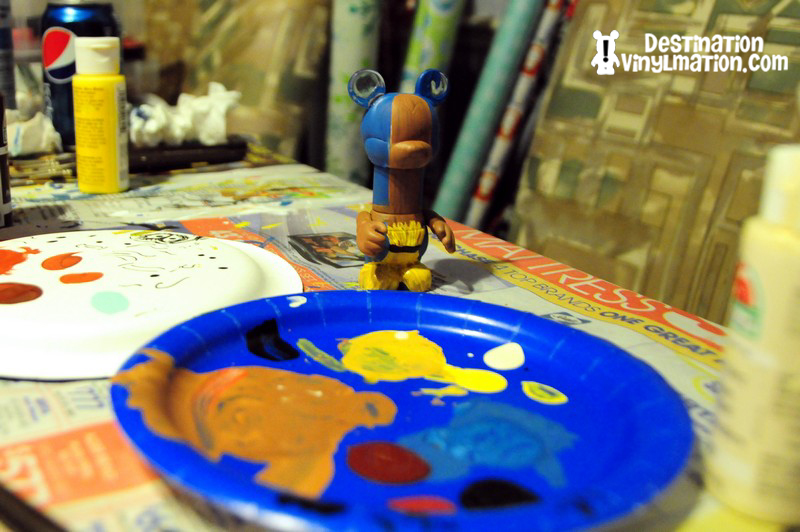
The clear ears where a perfect fit for the water splashes
The neck extension, MC’s idea, was perfect for this custom as well
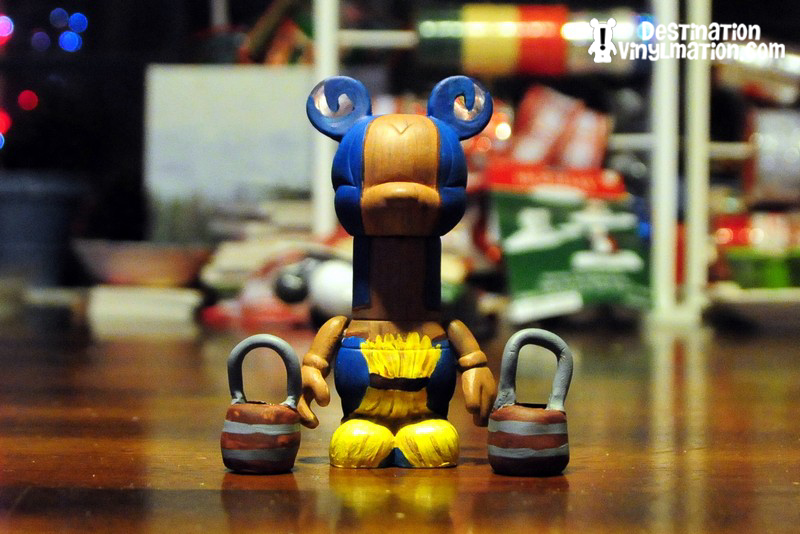
It was now time to mold the buckets
The finished product. After various attempts to have him hold the buckets, it was best, and less distracting to the design, to just have them sit by his side. We have plenty more customs in the design stage and can’t wait to start on our next ones!

 Some people might not know how Vinylmation first started. Back in 2003 celebrities decorated six foot tall Mickey statues as part of the “Celebrate Mickey: 75 InspEARations” celebration. Disney had borrowed this idea from an artistic movement that had been trending across the nation (Liz Art in Orlando in 2000, Cows on Parade in Chicago in 1999, and Lions in Zurich in 1986) where cities had been asking artists to decorate copies of the same statue and place them around the city. Once then had been seen for a while they would be auctioned off. The idea of a blank Mickey canvas lead to the very first vinylmation: plain solid colored create your owns.
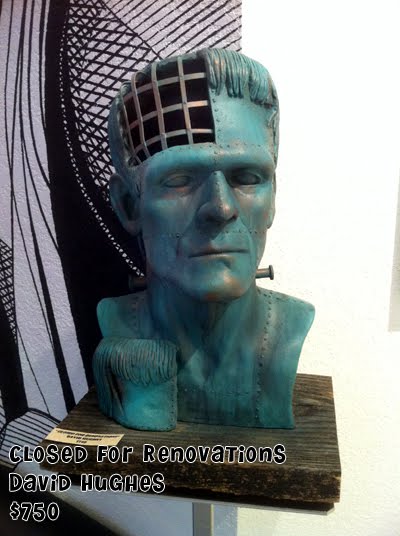
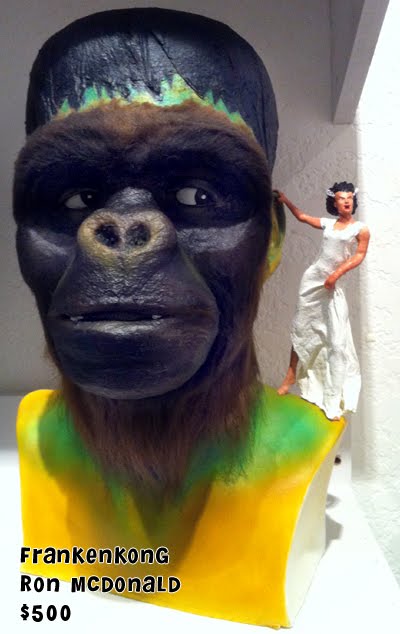
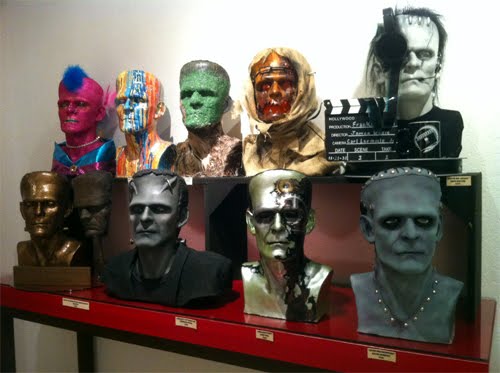
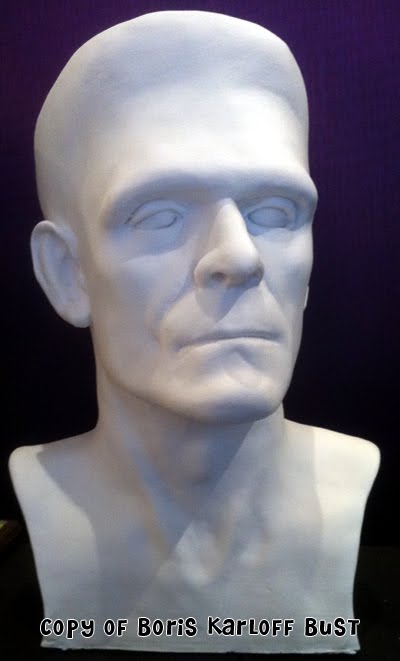 This series of 80 busts of Boris Karloff are designed by 80 different artists, as a celebration of 8 decades of the Frankenstein Monster. The show will be running thru November 15th at the CityArts Factory in Downtown Orlando. All 80 busts are available for purchase with proceeds going to the St. Jude Children’s Research Hospital. More info can be found at orlandoslice.com or by called the CityArts Factory at 407 648 7060.
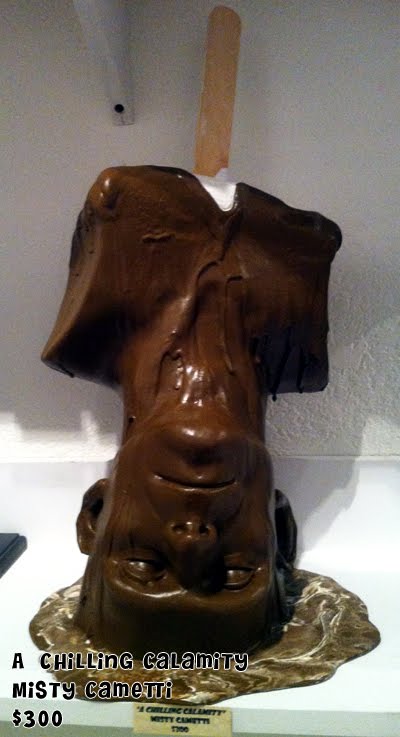
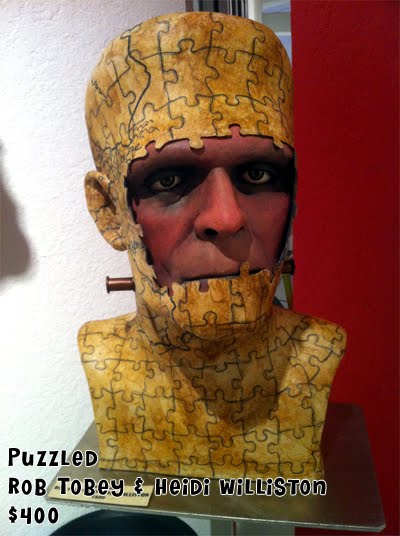
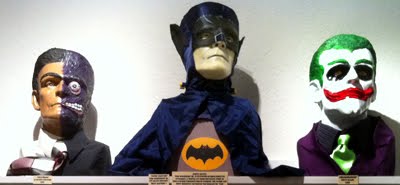
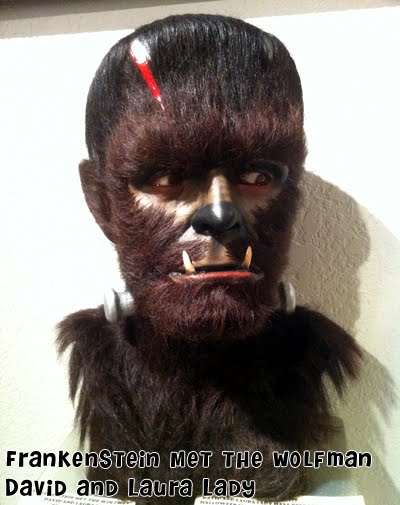