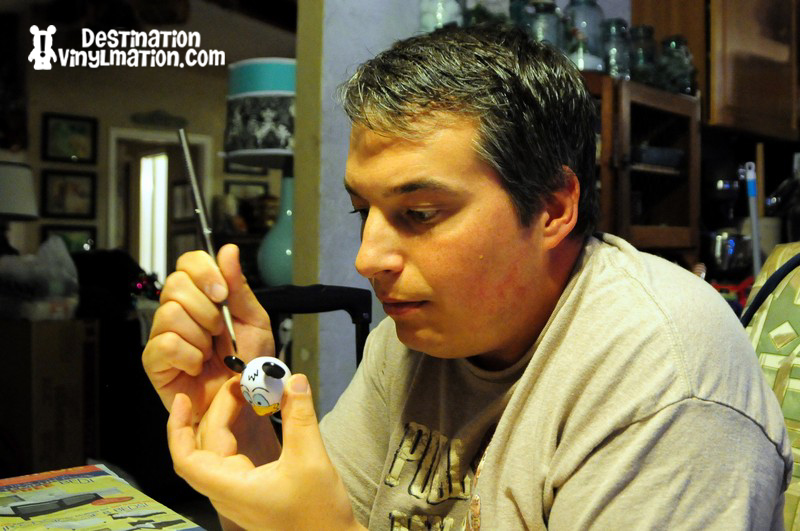
Spotlight On: Custom Vinylmation Artist Nick

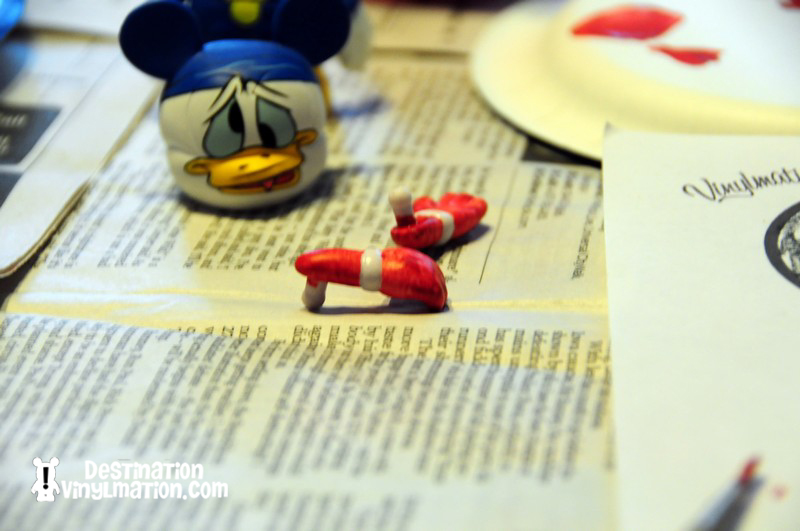
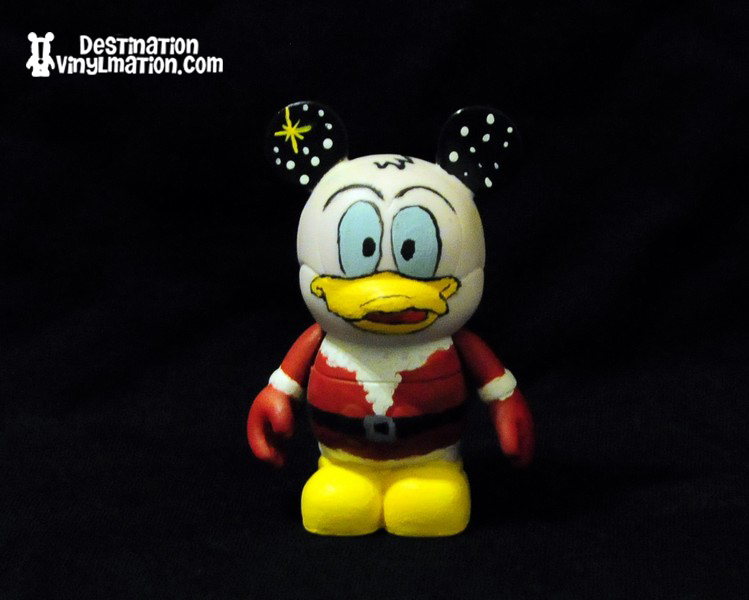
After Santa Donald, the second custom in my planned line of Donald Ducks was Star Tours Donald.

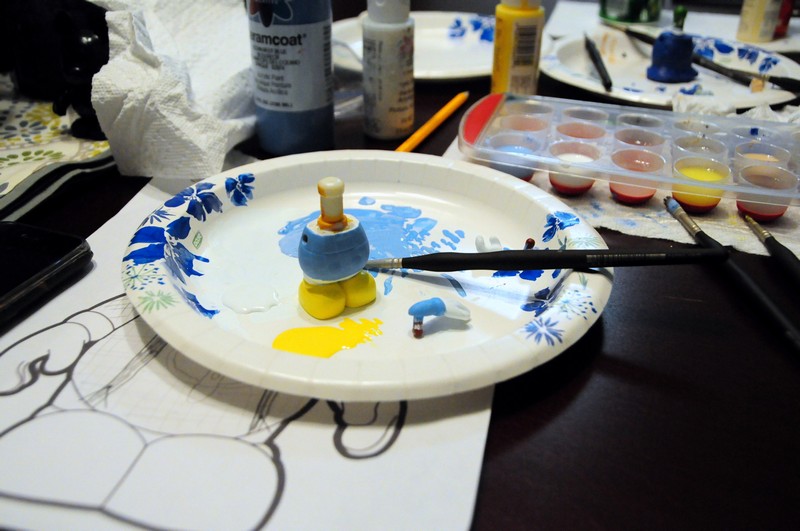
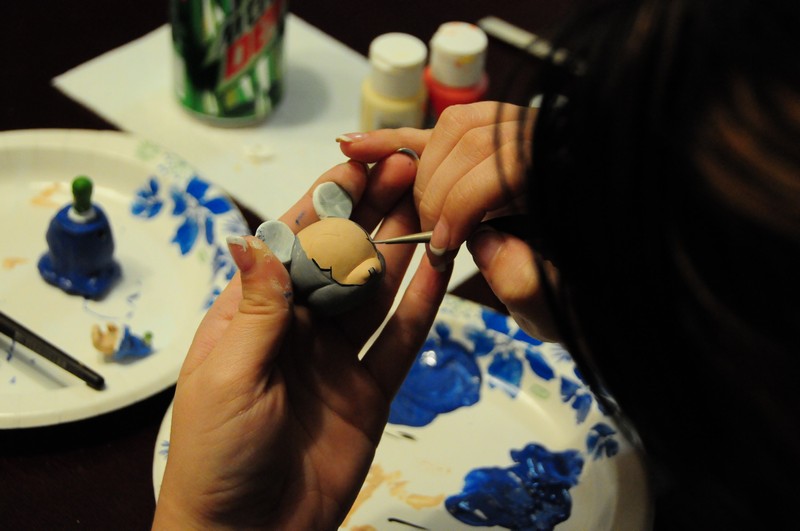
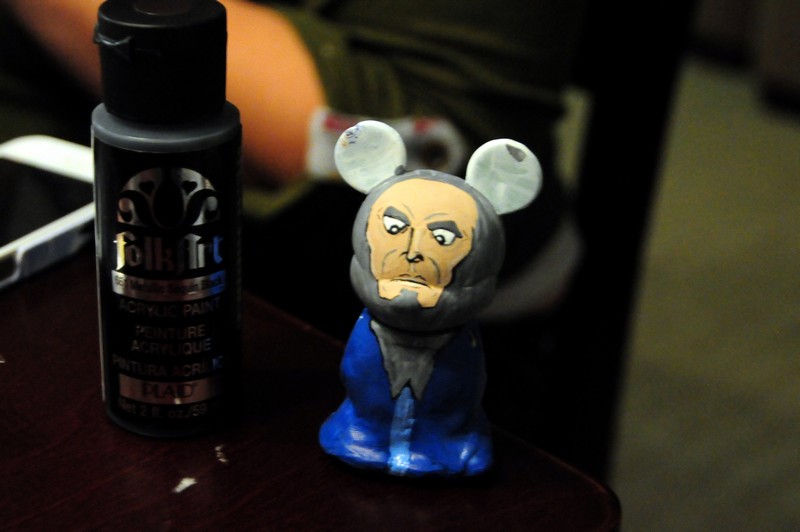
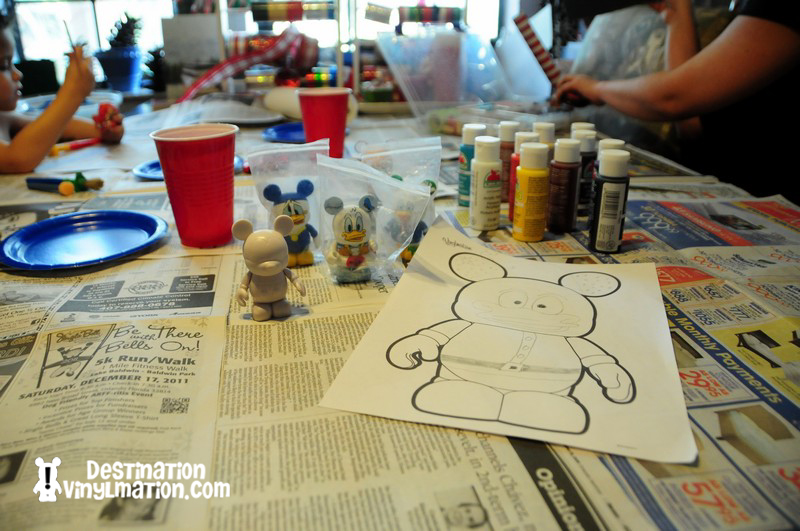
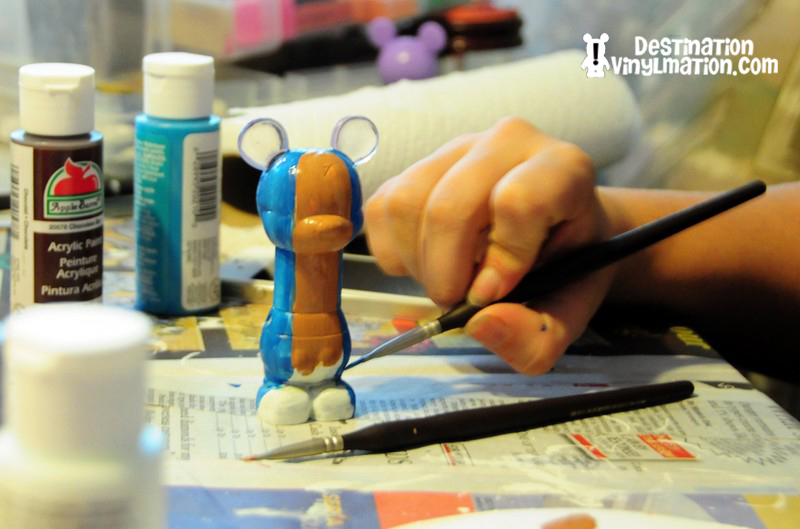
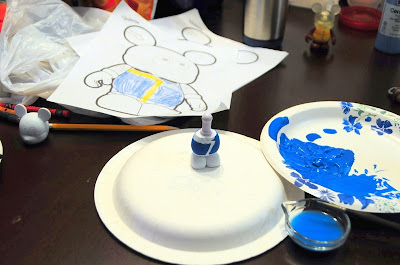
I always start with the body. Mostly because I avoid doing the head as long as possible.

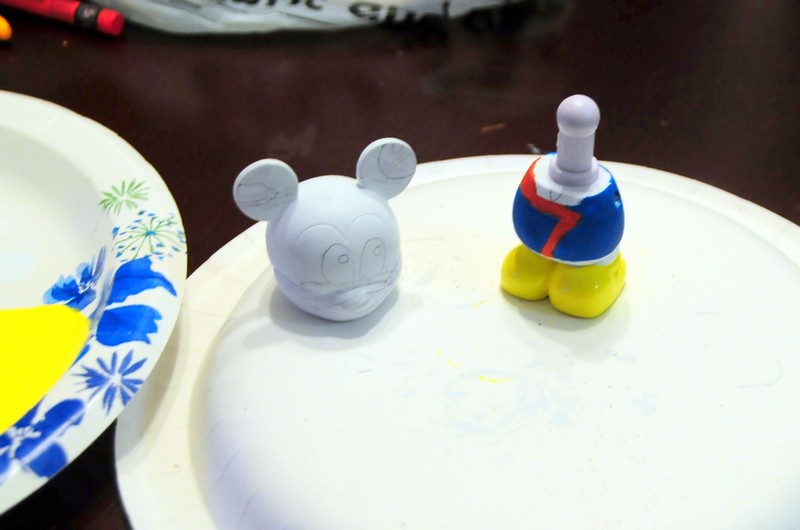
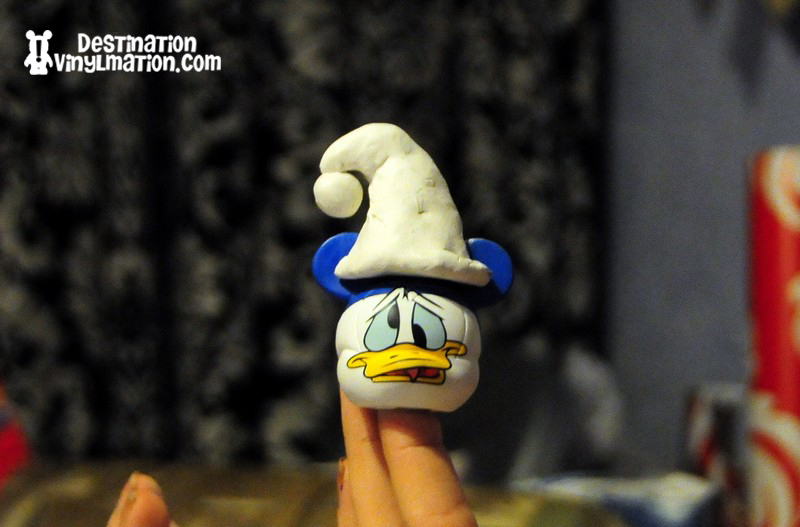
That was my first sketch of a face outline onto the canvas. One thing i learned quickly was how difficult it is to translate a 2D drawing to a 3D mold.

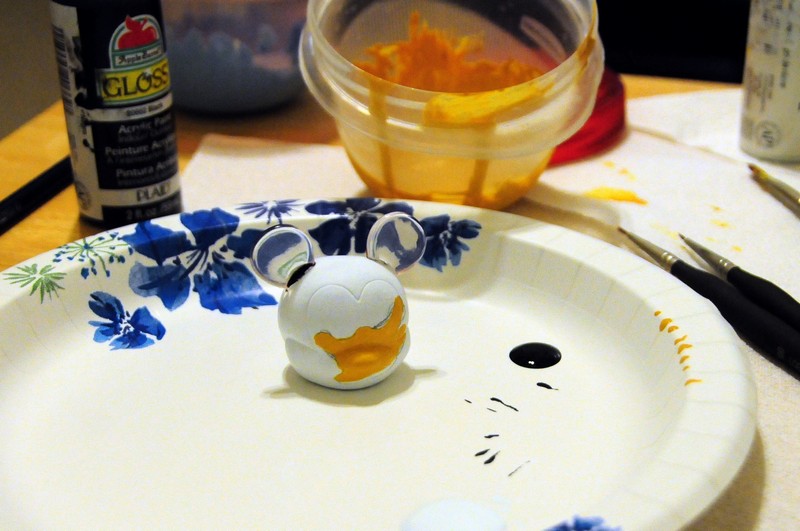
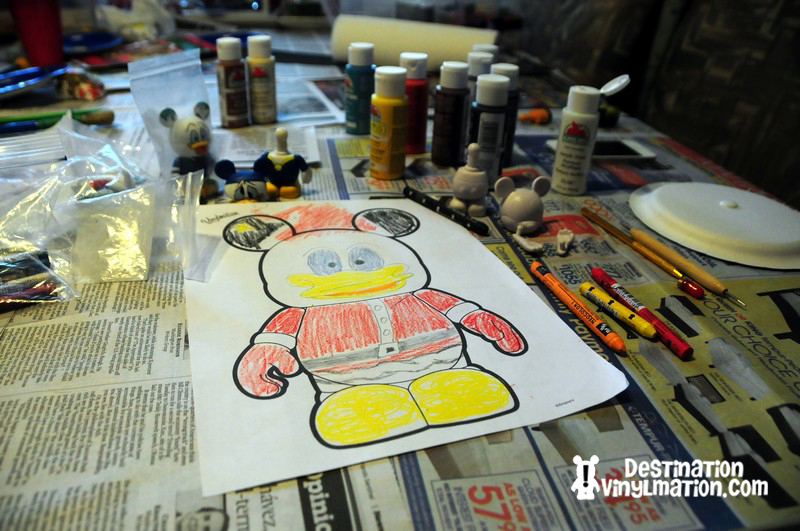
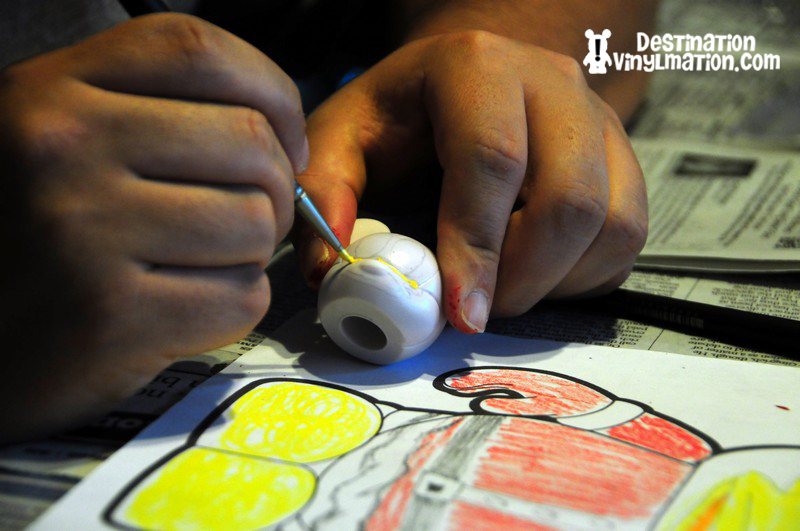
It sometimes takes a few tries to be satisfied with the outline and don’t be afraid to redesign a few times in the process so it looks best instead of trying to force anything.

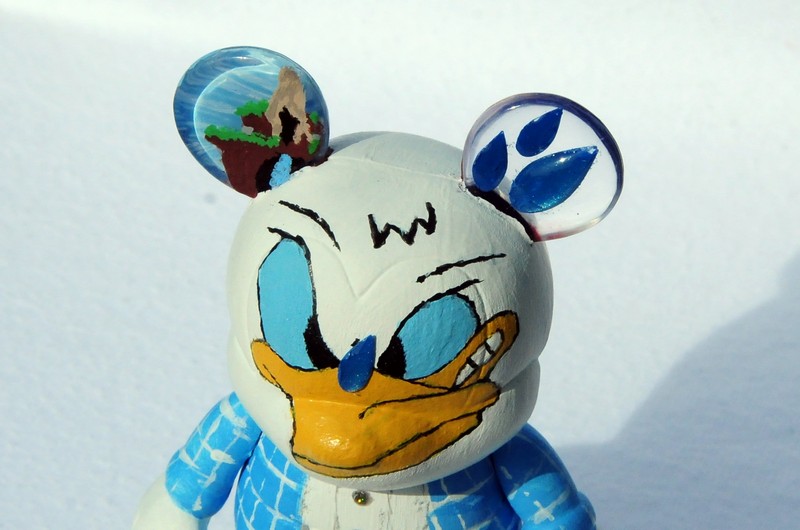
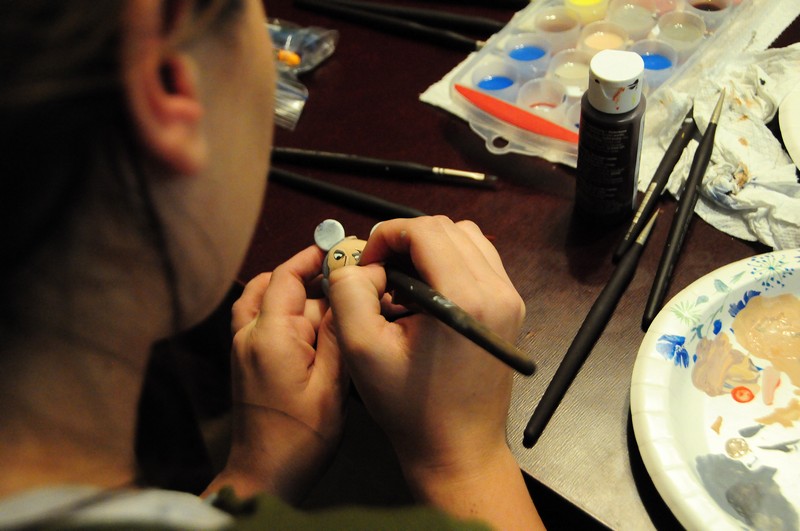
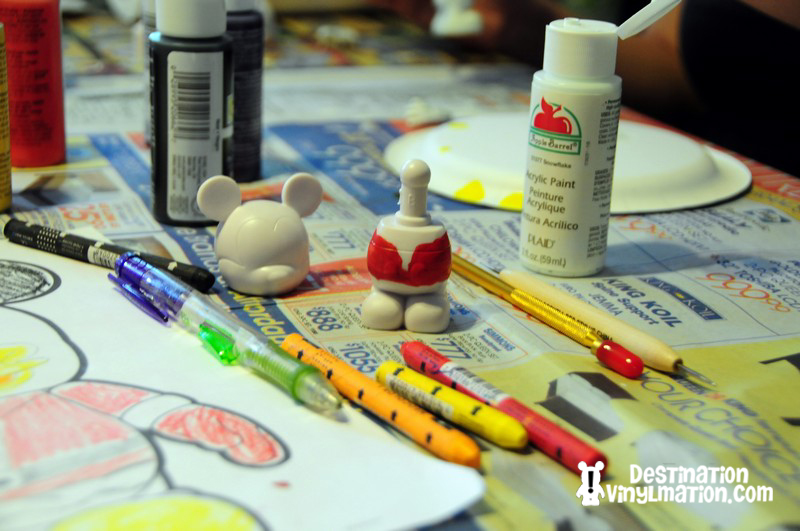
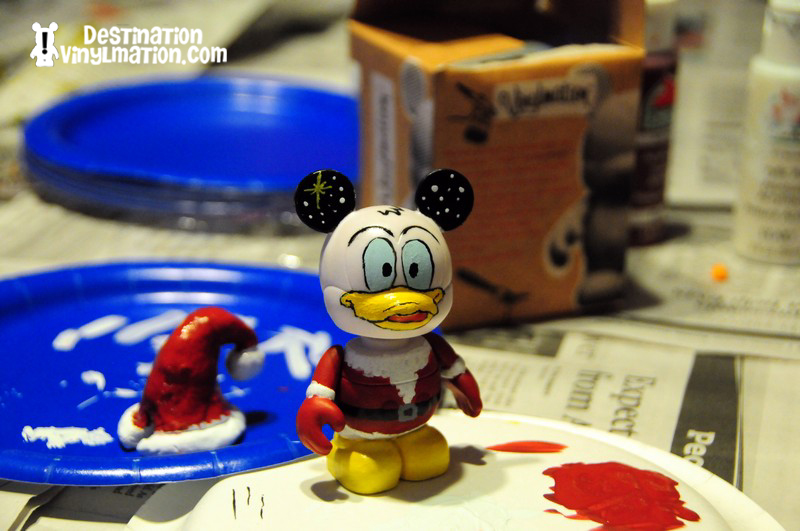
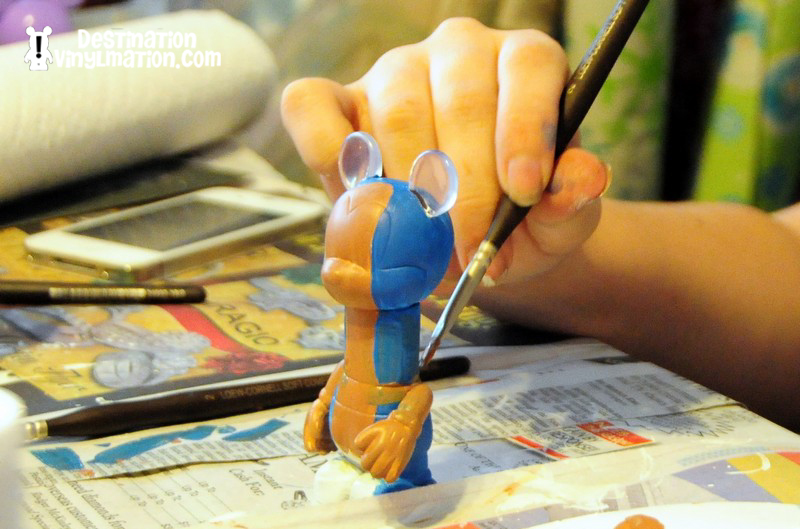
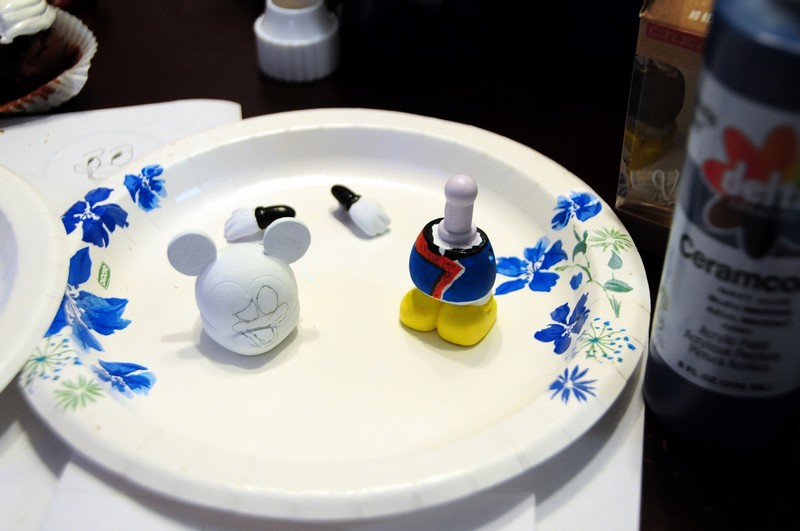
There he is without some of the facial details.

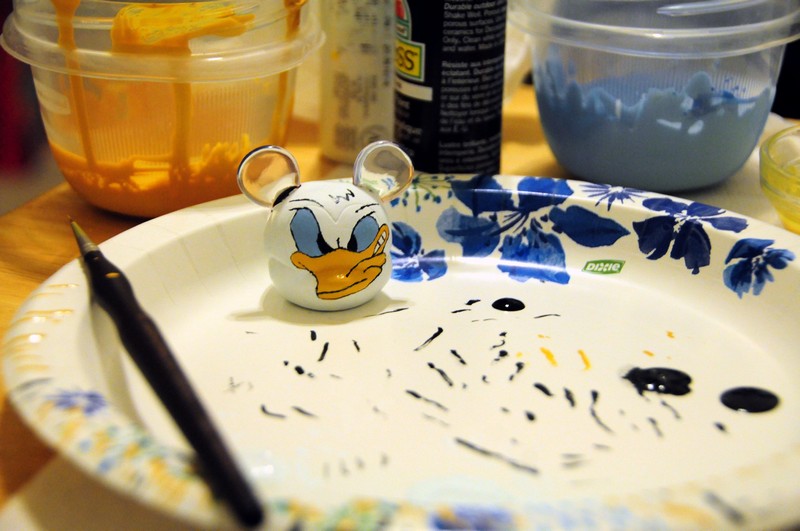
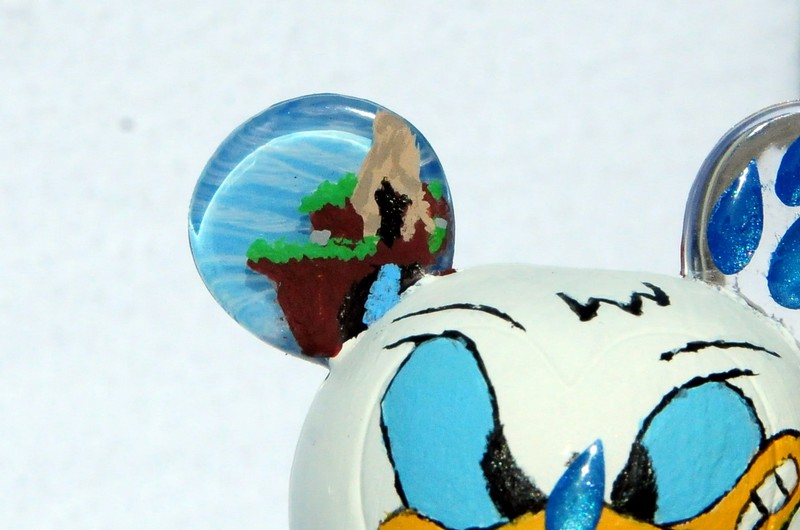
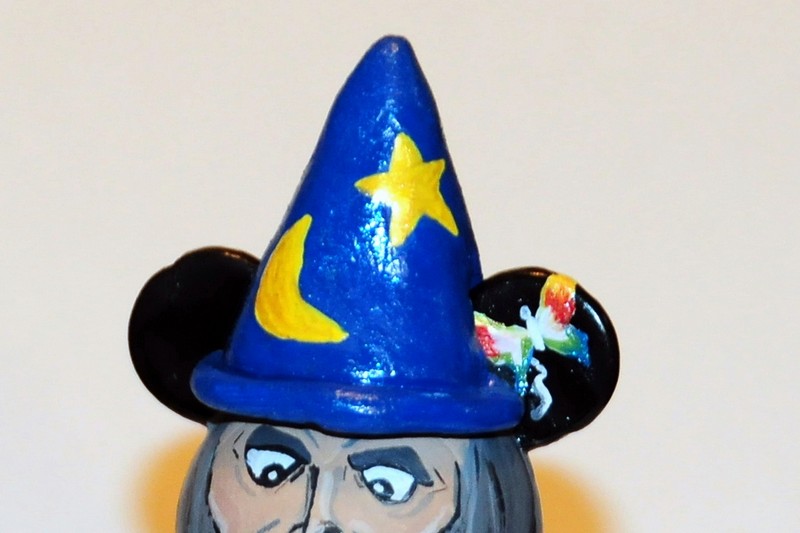
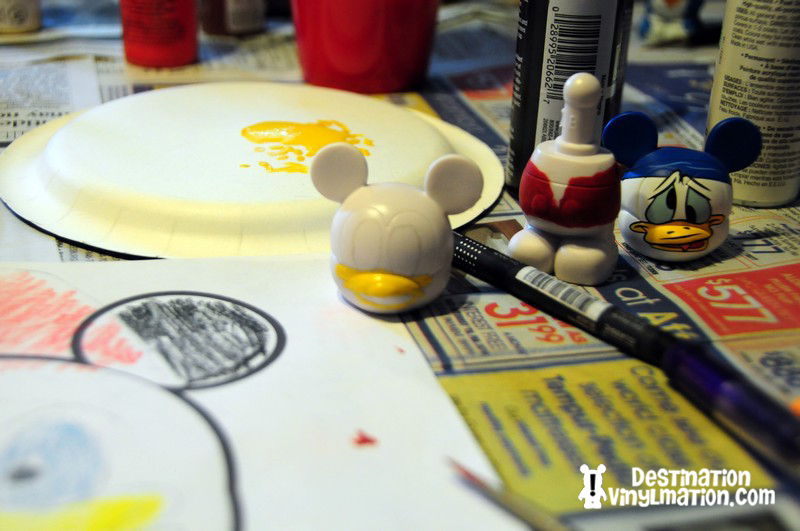
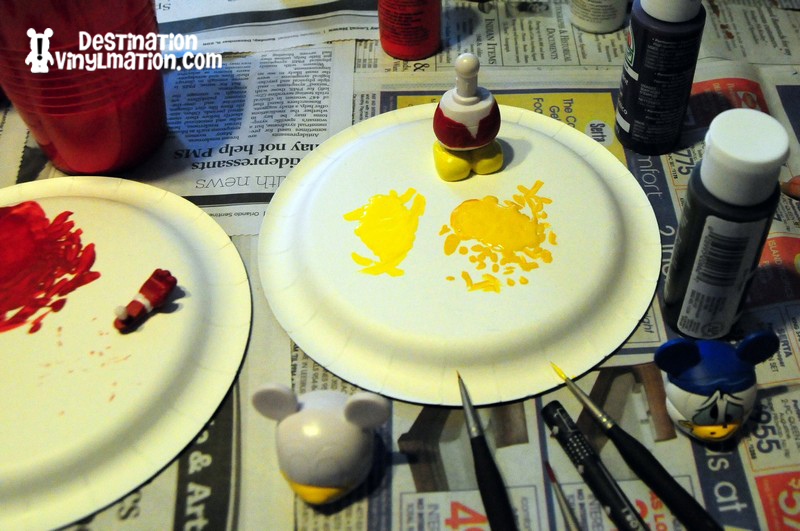
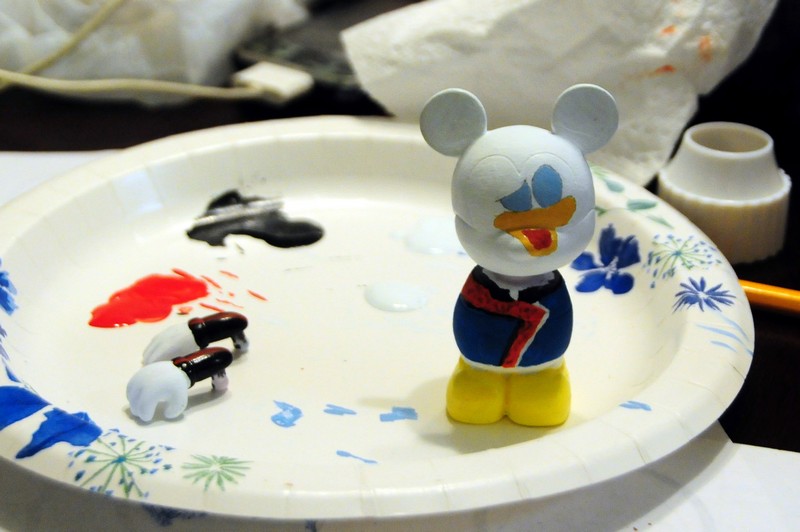
After getting the face done, I started on the ears. My idea for Star Tours Donald was he is a Cast Member that is a bit worried as he looks up to the sky and notices a Star Speeder 1000 (the vehicle the guests travel in) heading right toward the Death Star. I actually painted over that Death Star. So hard to get little details down that at my current talent level I have to kind of stylize it instead.

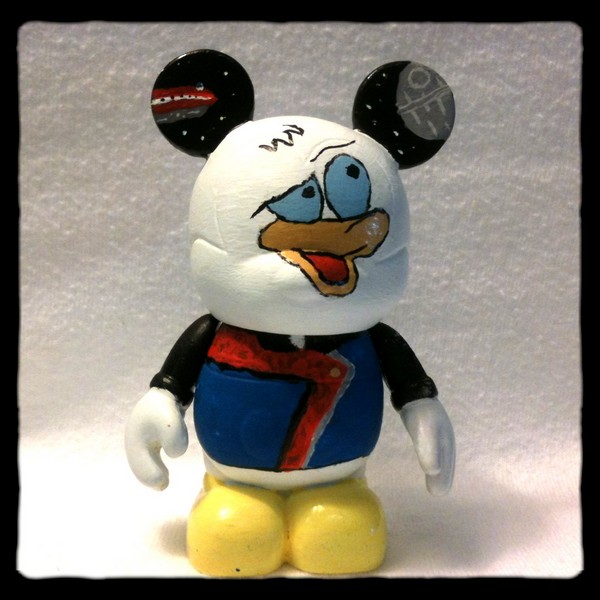
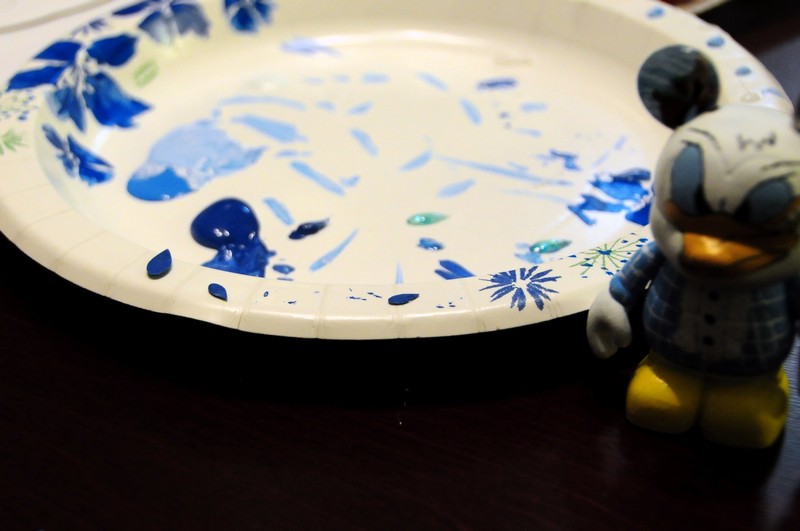
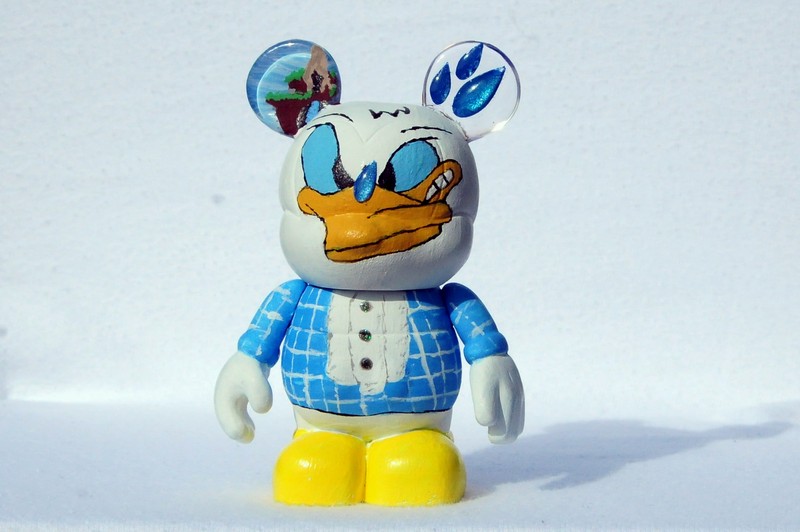
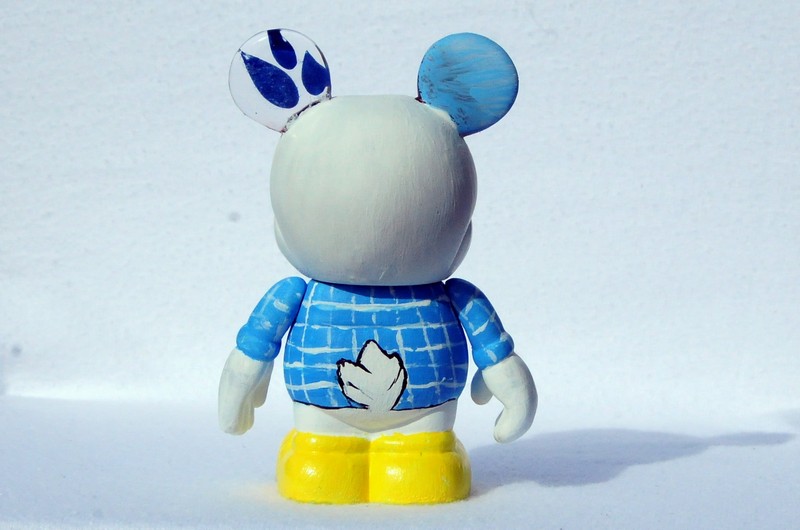
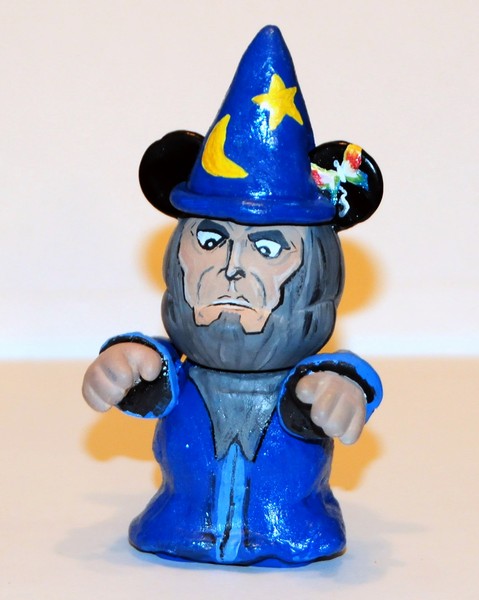
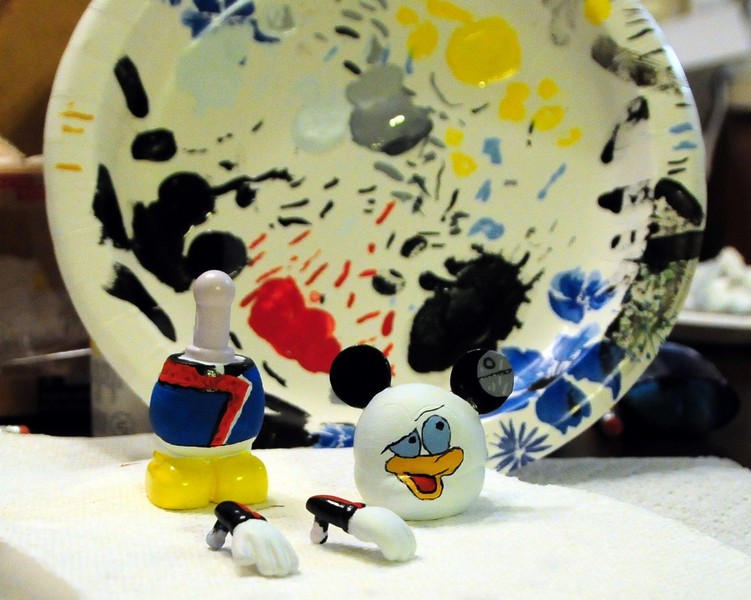
The final version. I’m very happy with the final version. The Star Speeder also took a couple tries as I learned to take out details. It is soooooo small. So the lines are not as straight as I really wanted. I like the detail on this Death Star over the previous picture, the lines and colors make more sense. I am extremely happy with the way I can draw Donald’s face. The costume was fun and well represents the real one. I did struggle with two things; the shoulder patches and name tag. I decided in the end that the patches would clutter the body and the detail was so small on them. I practiced and decided that if I couldn’t make them look great, he was better without them. The name tag was also omitted as to not clutter the front. I also found it hard to make it look right.

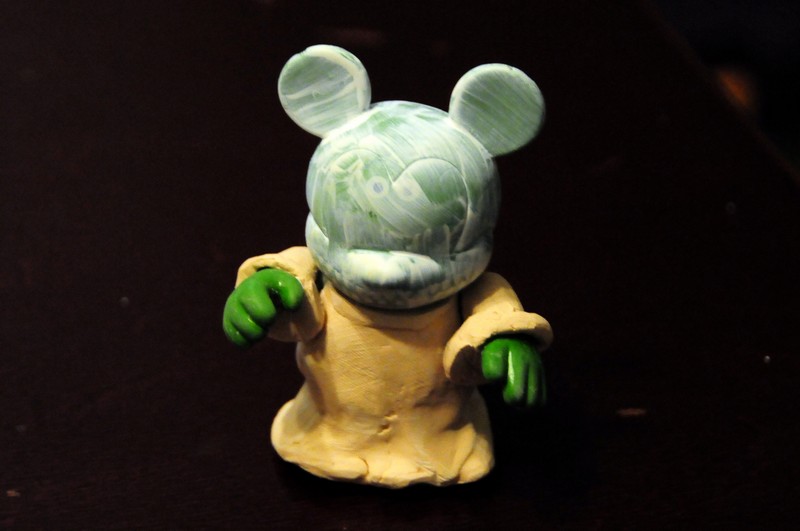
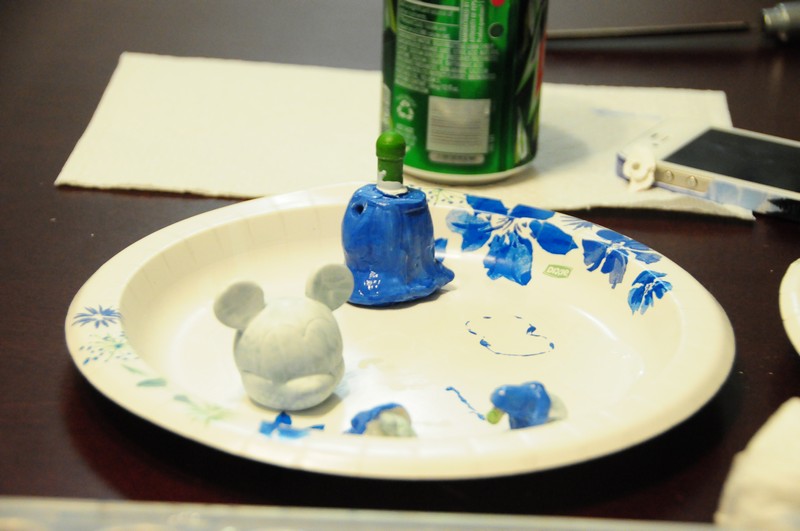
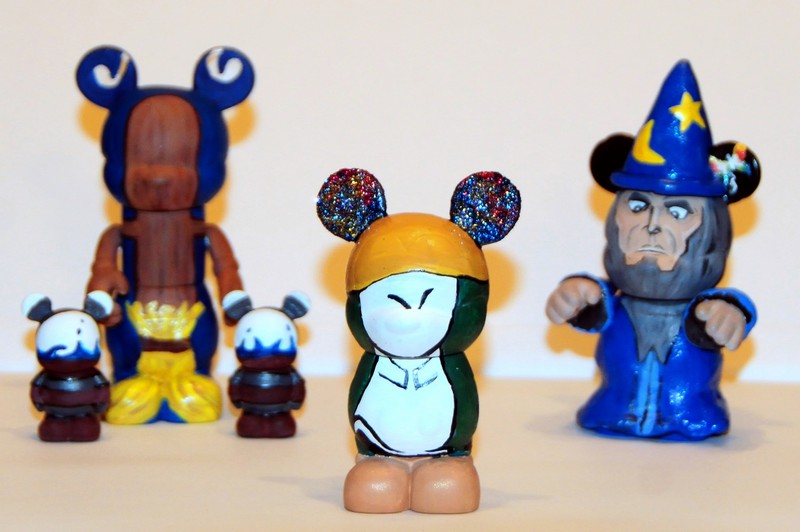
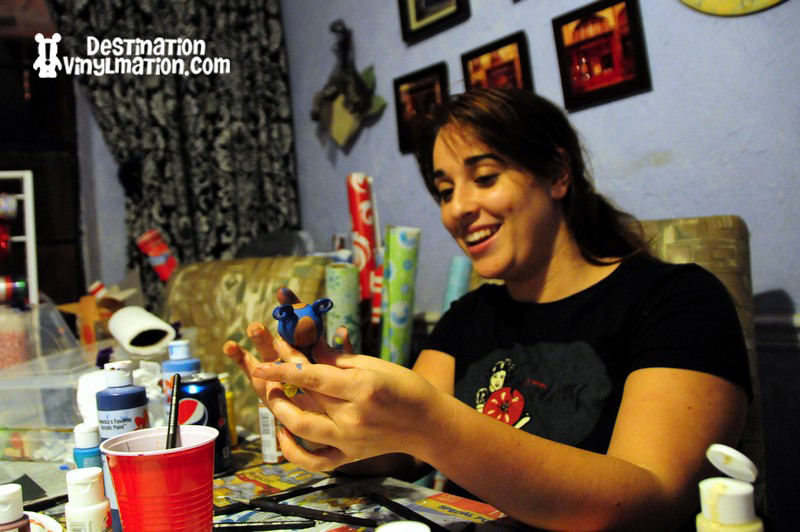
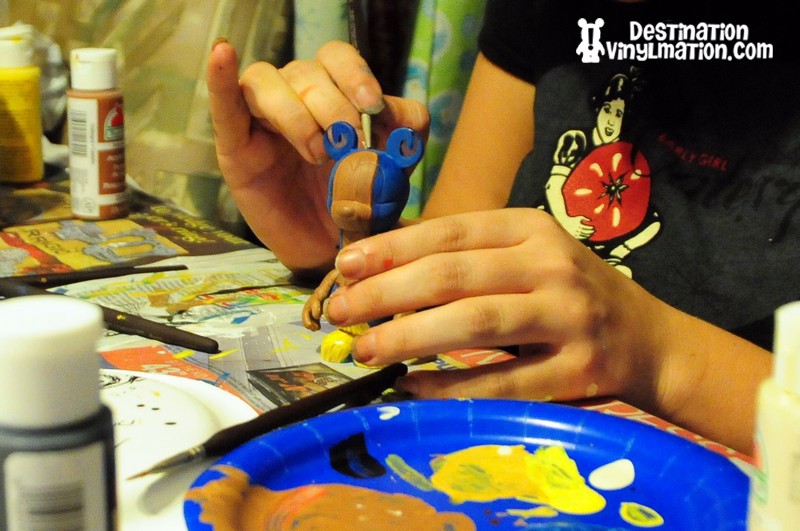
As with my previous custom, I painted along side my friend Rachel who is creating a Fantasia set. She started with the Mop and Buckets and I have an update. She originally made the buckets out of clay, but has since did a redesign and used Juniors to represent the buckets!

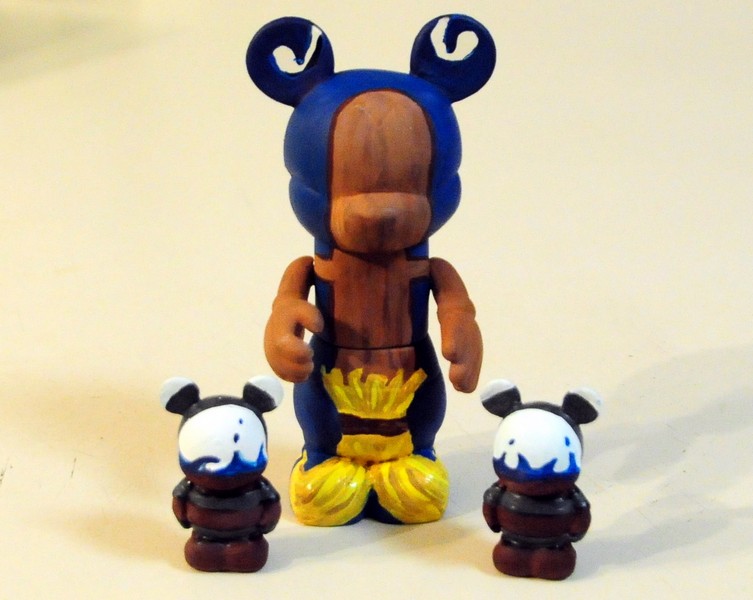
It was a great idea that was well executed.

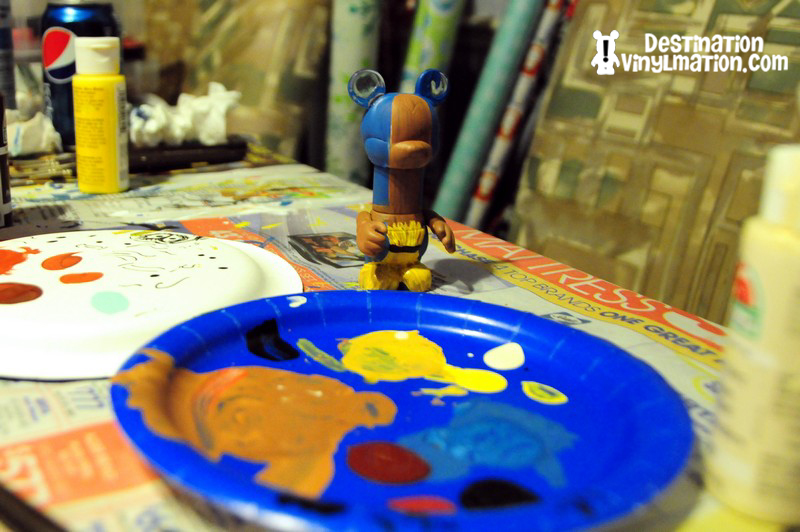
This time around, she made a Low Hop.

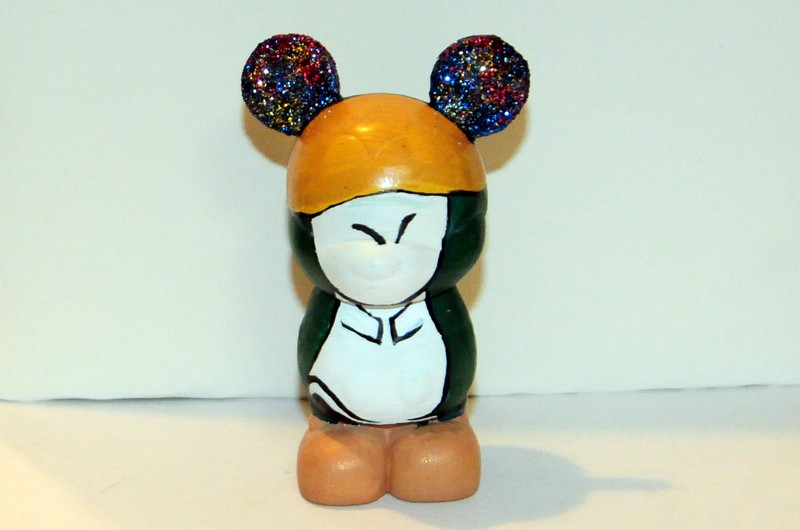
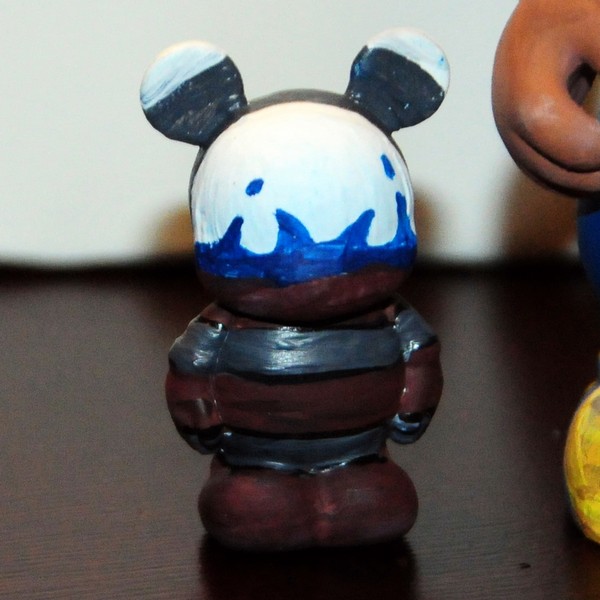
Remember I talked about the struggle to translate a 2D drawing to a 3D mold? She went back and forth with the decision to stretch Low Hop over the whole mold and wrap him around. She eventually decided against this and just painted him onto the front. One of the big factors was the foot flopping up looked best this way and that is an important feature. But then the problem of what to put on the back.

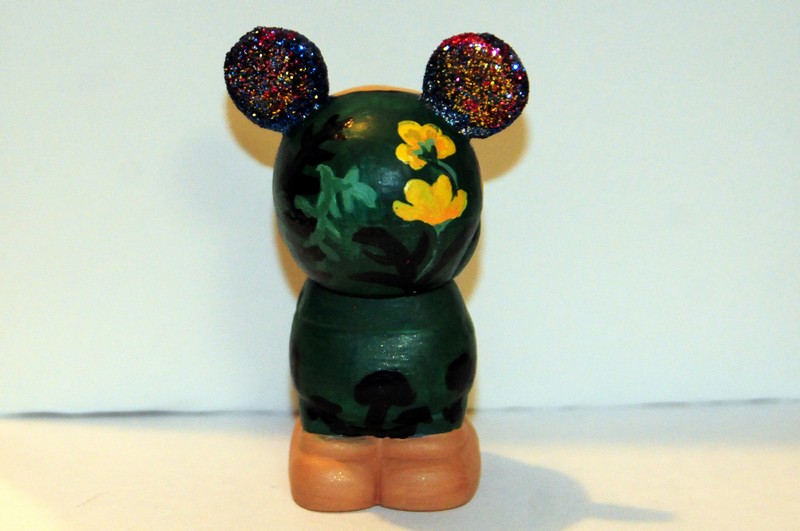
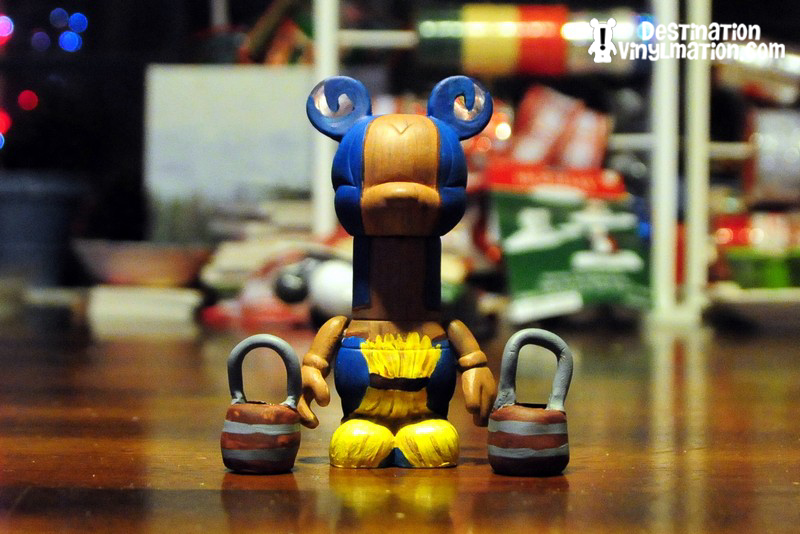
She decided on a scene we see in the movie with grass and flowers and the silhouettes of the mushrooms in the foreground. She also added multi-colored glitter to the ears to represent the dust at the beginning of scene that falls from the sky.

Spotlight On: Custom Vinylmation Artists Nick and Rachel

I just finished my third Vinylmation custom figure and the second in my Donald Duck Cast Member series. It’s great to see more and more of you out there picking up a paint brush and giving it a go at your own creations. It is daunting at first, and I had the fortune of having a friend who had all the paints and brushes I needed, but it can be a lot of fun and you never know what you can really do until you do it. I’m not saying I have any real skill yet, but I hope I am showing some improvement along the way.

The Donald I chose to create this time is a Splash Mountain Cast Member. Splash is one of my all-time favorite rides and has a unique and identifiable costume. I started with a light blue base all around the body.

I then layered over that with the white bib on the front and the cross hatching of white to create the checkered effect. I found this very difficult for my skill level to get even in anyway. So I found the best effect I can do would be a more “sketchy” type line. When I tried to draw a more perfect line, it came out too messy. I also make this work in my head by telling myself it’s fabric and it bends and folds and isn’t perfect anyway.

As you can see, I also used a clear eared vinyl. This is because I will be painting the outline of Splash Mountain in one ear with a sky behind it and water splashes in the other ear. I decided clear ears would give this an added effect.

As you know, Donald’s signature is that he gets angry. So Splash Mountain is perfect because, well you get wet. So Donald is angry here because he is being splashed.

For the “splash” I used a few clear, “puffed out” rain drop stickers. I painted the backs with a peal blue and they sprayed an adhesive on after they dried. Note: be careful with spray adhesive. We had a slight production delay when I sprayed my fingers together.

Here is a look at the finished effect of the splash in one ear, with one drop landing on his nose, and the mountain in the other ear. Honestly, the drop on the nose and even how to go about the water effect, came after the figure was almost done. The ear and head splashes were going to be paint. Then possibly hot glue gun drops painted. But these stickers provided the most polished effect for me.

My favorite part of this figure has to be the tiny Splash Mountain in the right ear. I modeled it after the classic attraction poster that is drawn like a cartoon instead of a picture of the real attraction. I am proud of how I fit the top two levels on and the tree with the little bit of detail work in it. And my effect worked as planned. By painting the mountain on the front of the clear ear and the blue sky behind it, it gives a little depth of field. The sky was not planed to have the cloud effect, but when I applied the paint and saw it, I was impressed. Some things just happen by accident and work out for the best.

The complete finished figure from the front.

And the back. Now of course, I’m not the only one painting a series of figures. Let’s check in on Rachel’s progress with her Fantasia set.

Here next figure is a very ambitious one, Yensid. As you can see, she began with a Toy Story Rex figure and molded a robe out of clay.

She applied blue paint to the body and arms and white to the head.

Then, with paint, she carefully drew the frame of Yensid’s face.

Steadily, and with much attention to detail from the film, she applied his facial features.

Yensid’s face was nearly complete, but his ears and head still needed some final touches.

She sculpted a hat to place upon his head and painted in the colorful butterfly Yensid conjures up in the film.

The finished Yensid has magnificent detail in his face. The robe has a beautiful flow to it. And the hat and robe were finished off with a slight sparkle in the paint.

Yensid now joins his fellow Fantasia creations.

Spotlight On: Custom Vinylmation Artist… Nick???

Ya, I never thought I’d be featured here either! But a few weeks back, a friend of mine, and a listener to the podcast, showed me her custom Vinylmation. She was surprised to find out that I hadn’t attempted a custom myself. Now, I had thought about it from time to time, but I don’t consider myself an artistic person. First, it looks so daunting to me. Second, I don’t have the tools and although there are plenty of tips and tricks on the net, I’d really have no clue where to start or how to attack the canvas. But she insisted that I dive right in and, with her help, give it a try. So I sat down to sketch out my first design, and before I knew it, I was hooked. I had 12 different designs drawn out! But my first idea was my favorite character Donald Duck as Santa.

It all started with a mouse…. shaped blank white canvas.
Oh, look at that great coloring job! I stayed in the lines.
I started by painting on Donald’s red coat
I then painted his arms. I had my Disney Donald’s on hand for support and color guides.
I kept putting it off, but it was time to attack the head
I was a bit worried, it drew on well with pencil, but before the black detail lines were applied, the beak looked very off to me.
The best tip I could give is watered down, thin paint and many coats. Go slow.
More head work. Got the perfect eye color mix.
A sigh of relief, the face looks good. I couldn’t wait to snap him back together.
The brows gave me some trouble, but the tuft of hair went on perfectly
I couldn’t get over how intense I looked as I painted! I was very nervous as I never take on projects like this.
Time to mold that hat. I used a double head to stand in for proportions
Although I painted this one, I ended up making a replacement. This one stood too tall and looked like a wizard’s hat.
For the snow in the ears, I just used a pointy metal tip and dotted the ears. The jacket came out better than I imagined. I’m sure this is a real technique, but I decided to try to just poke at the vinyl with the white paint to create “puffs” for the collar, and it worked great.
On the back, I painted on his tail that hangs out under the coat
Final version, sans hat. I always talk about use of ears, and I really like the way they came out with the snow fall and north star.
But my favorite part is the beak. It was so scary and my 2D drawings looked better than I thought my hands could draw. And somehow I placed it just right and it actually does have a 3D, sticking out effect. I am very proud of my first custom and could not have done it without the help of my friend Rachel. Speaking of… she didn’t want a spotlight of her own, but wanted to share her custom as well.
She decided to make the mop from Fantasia
This used to be a Have a Laugh Ostrich! Until she painted over it.
Adding the details in the mop stick

The clear ears where a perfect fit for the water splashes
The neck extension, MC’s idea, was perfect for this custom as well
It was now time to mold the buckets
The finished product. After various attempts to have him hold the buckets, it was best, and less distracting to the design, to just have them sit by his side. We have plenty more customs in the design stage and can’t wait to start on our next ones!