Spotlight On: Custom Vinylmation Artist Tyler Carantit


Destination Vinylmation: This custom is a little different than what we usually feature here, but the design as a whole makes it very interesting. Who did you create this for?
Tyler: I have a client that I actually introduced Vinylmation to the CEO, and she now collects them. They have an annual conference and in 2013 it will be at Disney’s Contemporary Resort! I was asked if I could make a custom vinyl to be given away with a complimentary full registration in a raffle to promote the conference.
DV: Can you tell us about the design process?
Tyler: This was the first time I have ever tried to do a custom Vinyl. I had a few concerns before I started. “What type of paint to use to make it look as factory finished as possible?” “How do I get the logo on the figure and still be legible?”

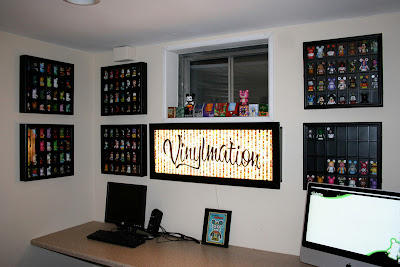
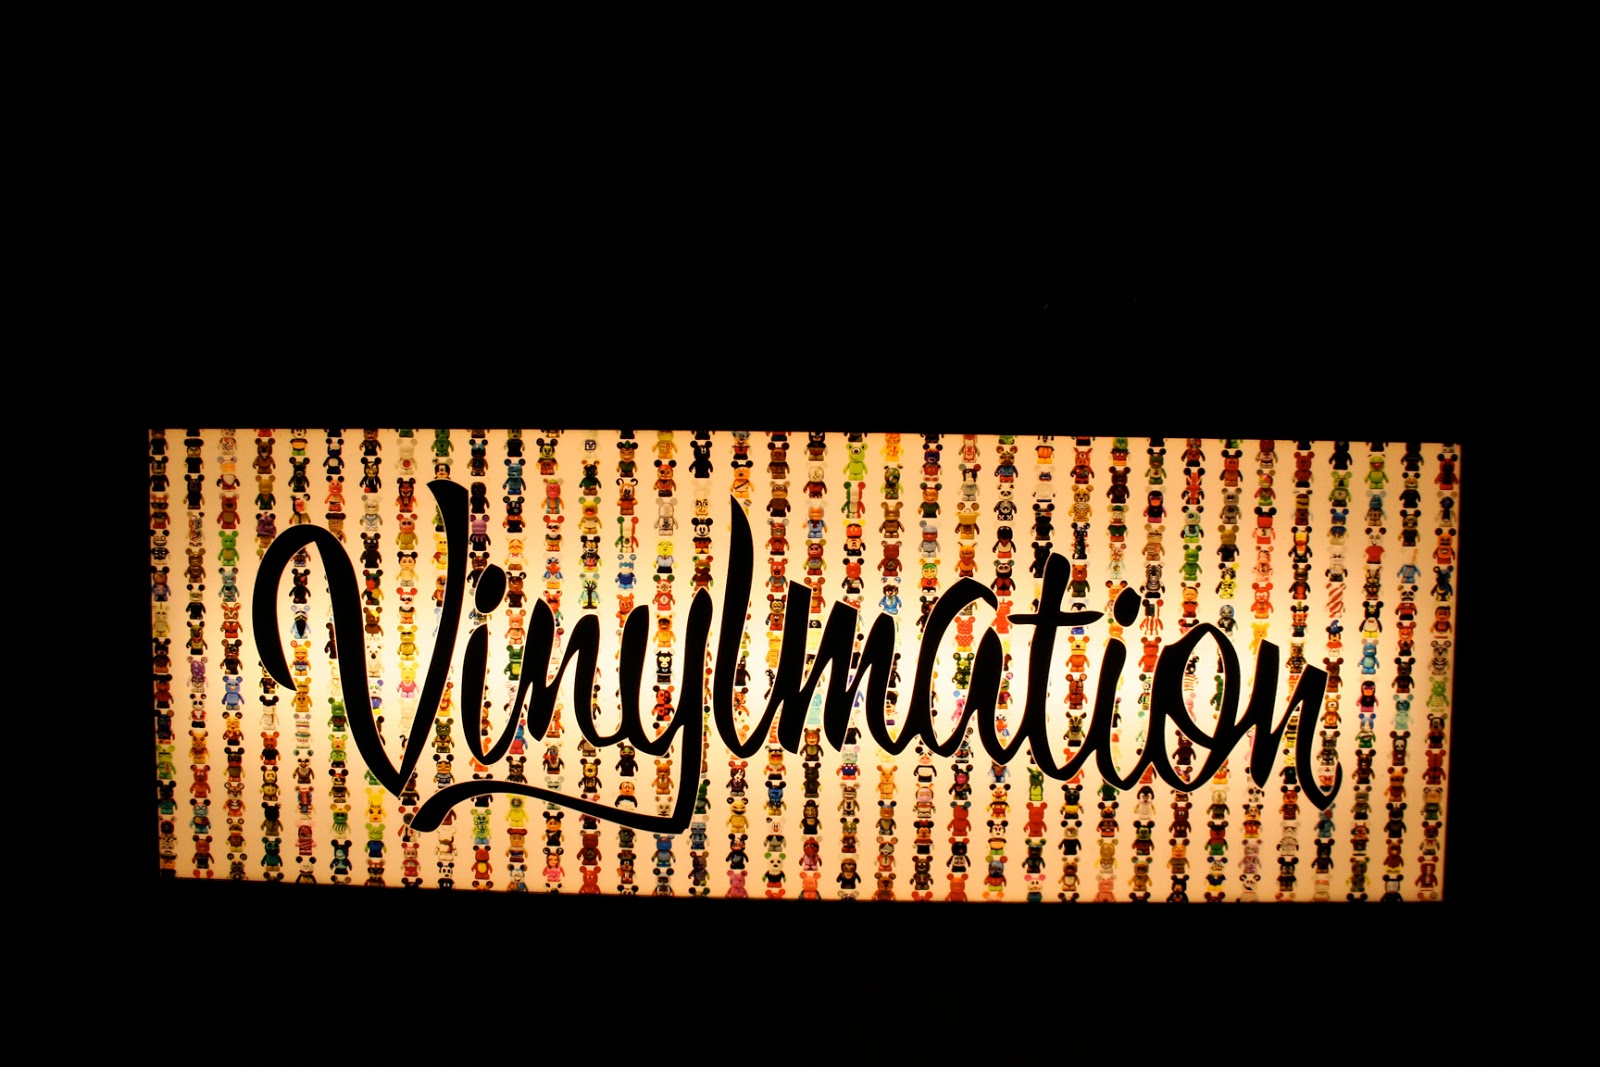
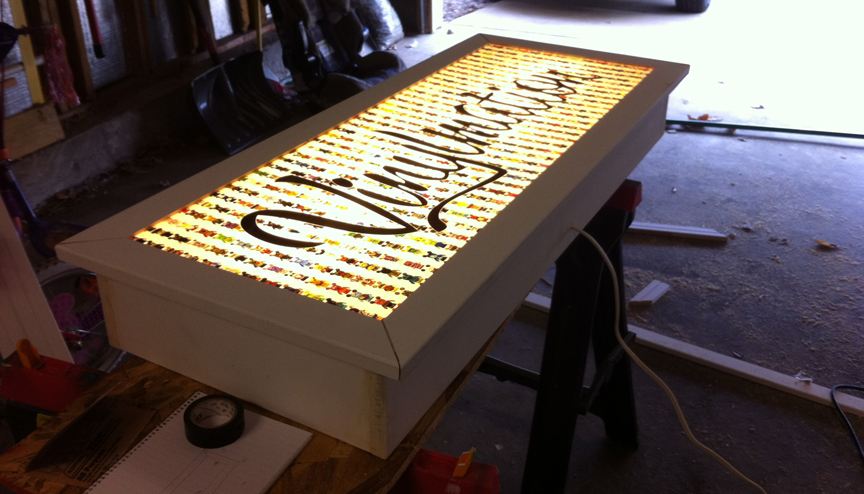
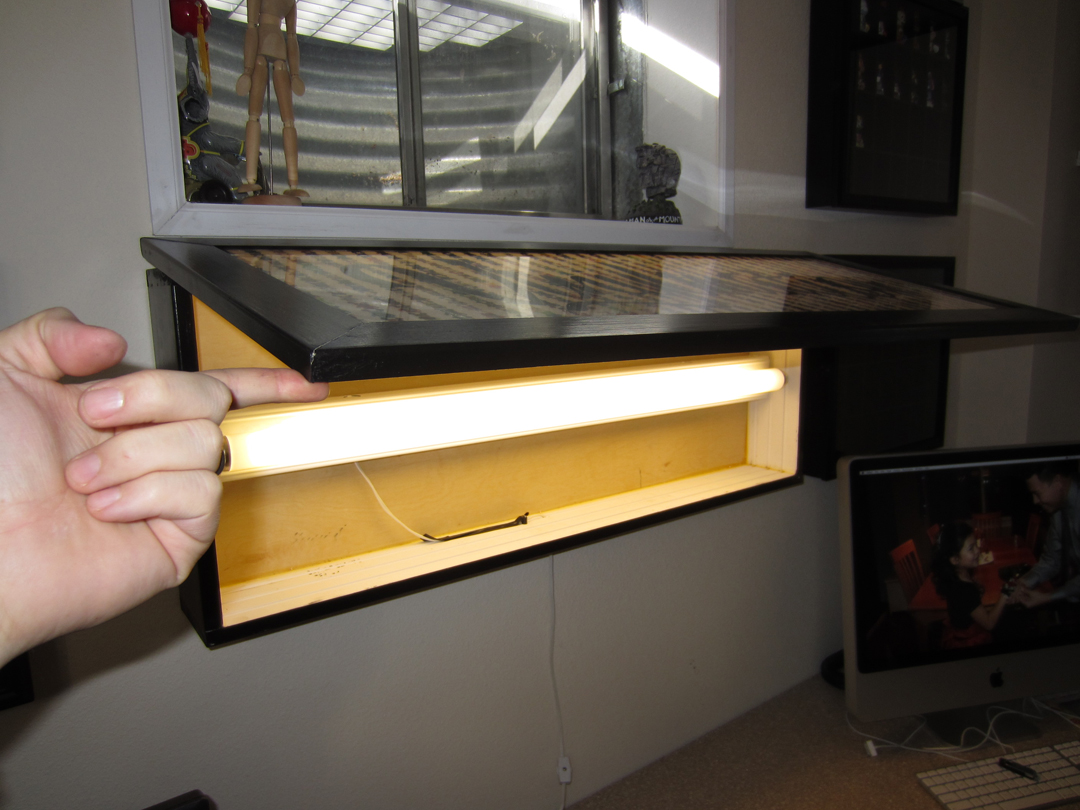
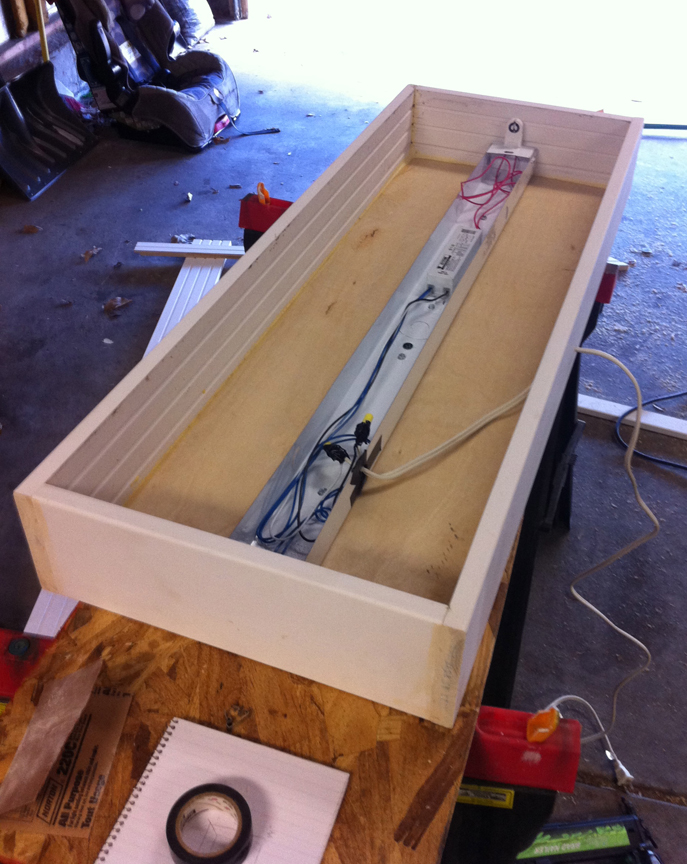
I started the process by first going to my local printer, who helped me with my custom Vinylmation light box. We actually tried a sticker material they use to wrap cars with for advertising. You heat up the material and it conforms to the shape of the object. Problem is there are many small creases and areas where the material wouldn’t adhere to. I then did some research into craft paints. It seemed like that type of paint would be better for a more detailed design, however with such large areas of solid color, I thought you would see some brush strokes. I ultimately decided to try to use spray paint, I figured it would give me the most uniform color and finish.

For the design of the Vinylmation, I wanted to incorporate the colors of the logo and the logo itself. With spray paint as my medium, I figured I would have to make the design simple. Earlier renderings had the logo running down his back, but I figured if it was going to be displayed in the box, I wanted it to be on the front of the face. I painted the ears black to make them stand out; almost like a set of Mickey ears you would get at the park and recognition of where the conference would be held.

Let me just say, I give everyone props who make custom Vinylmations! So much work goes in to them! A few problems I ran into with spray paint were first, to take my time to achieve a nice and uniform finish, and second to apply many light coats of paint. I saw some pooling of paint a few times. Also, just touching them would leave fingerprints on them. I also masked out the paint on the face too early and it pulled up the paint on the finished parts. The two problems I did have once the piece was complete, was a little over spray between the black and white on the head and a little sticking between one of the arms and the body. I did put a clear coat over the Vinylmation after I was done and that made it so much more durable.
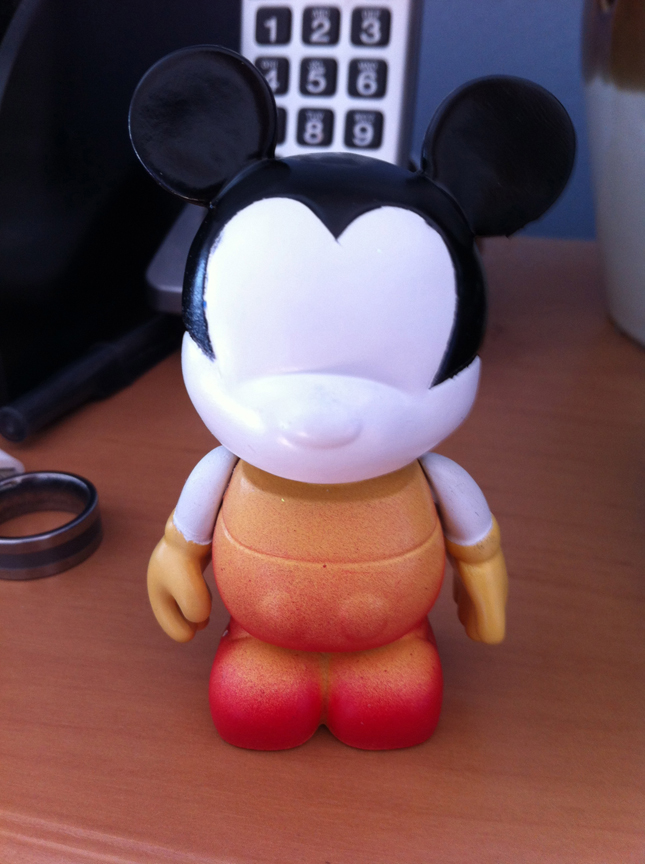
One thing I did want to share is the application of the red spray paint on the feet that gradually turns to yellow on the chest. I basically had one shot to get the paint to look good, so I put the Vinyl on a revolving tray (lazy Susan) and while spinning it, I sprayed from the bottom up!
For the logo on the face, I just had my printer make me some vinyl stickers that would be applied after the figure was done. Kind of the easy way out, but I wasn’t going to even try to paint it on after all the work I just did!
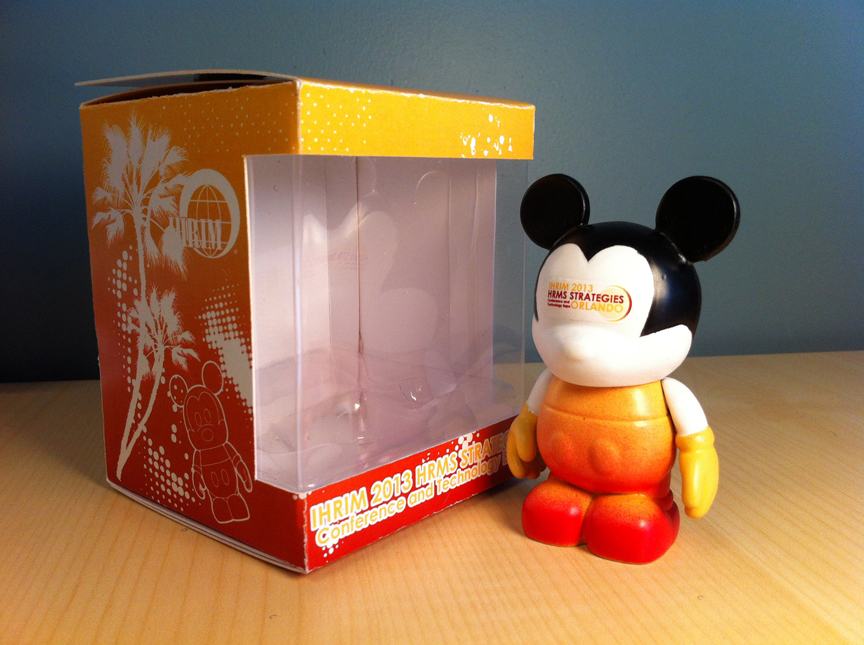
DV: One of the striking features about this creation is box. I really love the Contemporary on the back. It’s a great design and something we don’t usually see along with a custom.
Tyler: The box was actually an afterthought! As I was finishing up the figure itself, I thought to myself, “How do we promote the conference more?” I saw the box as a perfect promotional piece! It would also protect the Vinylmation itself!
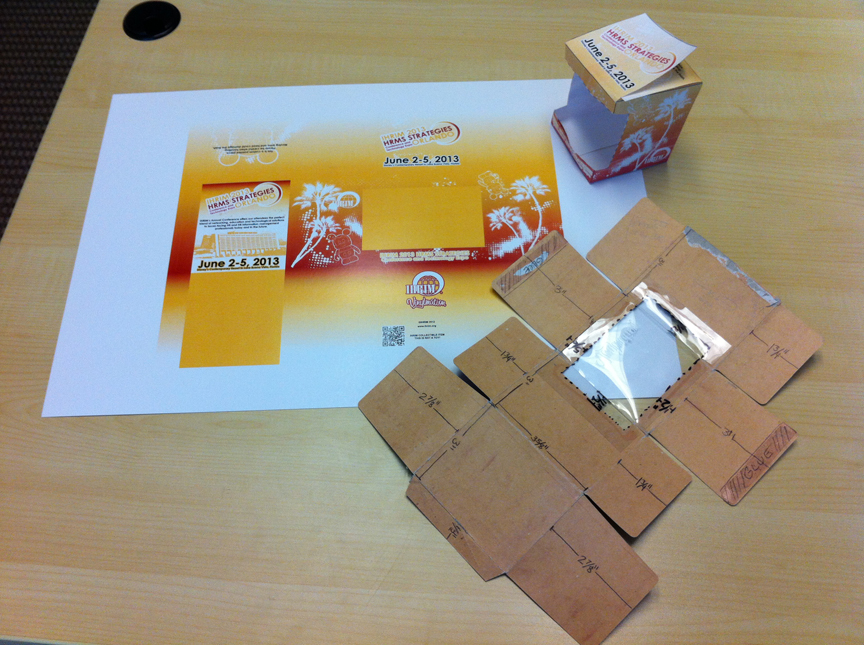
I took apart the Create Your Own box, got all the measurements and then designed the box. I tried to add more info about the conference to the box because the figure was so simple.

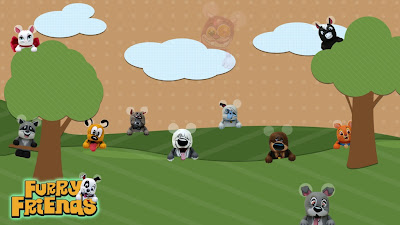
DV: This is Tyler’s first custom Vinylmation, but he does have a web gallery full of Vinylmation themed desktop wallpaper he created that he has shared with all of us.