Spotlight On: Rust This World’s Two Toned Vinylmation

Listeners, you are in for a treat today. We spoke to one of our favorite custom artists Rust This World about his latest series “Two Toned”. He was happy to share this series, and how you could own a piece of it, with us.

Destination Vinylmation: Welcome back Rust, explain your latest set.
Rust This World: Vinylmation 2-Tone is the culmination of several months work. My intention was to create an extremely stylized but also cohesive set of 12 figures. Since I incorporate a lot of shading into my figures anyway, I wanted to see what it would be like in a 2-toned black and white only style, giving it a super contrasted comic-book look.

DV: It looks great! What characters did you use?
RTW: Included in the set are Ariel, Beast, Donald Duck, Pinocchio, Cheshire Cat, Jessica Rabbit, Buzz Lightyear, Maleficent, The Evil Queen, Scar, The Hatbox Ghost, and Sorceror Mickey. There 3 different versions of Mickey because as soon as I showed him off on Facebook, I got over 10 messages of people wanting him.

DV: I don’t blame them, these figures look great! How can I get one?
RTW: There are 14 figures in all and in order to make it fair to everyone who wishes to purchase a figure, I will be selling them blindbox. The price will be $65 per blind box and they will be sold exclusively through my online store at rustthisworld.bigcartel.com starting at 10 am PST (1 PM EST) on Sunday, January 13th and will be available until they’re gone. There is no set limit on how many you can purchase.

DV: Here’s $650. Can I have 10? Just kidding. Good luck on the sale. Where can people find more of yours?
RTW: Visit my website at rustthisworld.com or become a fan on facebook at facebook.com/rustthisworld or follow me on twitter @rustthisworld

DV: Can you tease us about what you’re doing next?
RTW: My next project after this series is working with 11 other artists for the Custom Artist Project series 2. For info on that, join our group facebook.com/groups/ArtistProject/

DV: That project last year was beautiful, I can’t want to see what they do this year. Thanks again, and keep on collecting!

Episode 091 Super Mouse

Ep. 091 Super Mouse

This week we discuss the releases of the Nursery Rhymes and Popcorns series. We review the new Tony Food and Wine figure. We give you the first details about the 2012 Dee Vee Award nominations. And we have an interview with artist Rust this World who is heading up the Custom Artist Project and the upcoming release of the blind box Sidekickz series.

Listen in Popup Player


Download podcast

Spotlight On: The Custom Artist Project

We were happy to get a preview of the custom figures that will make up Series 1 of the Custom Artist Project at Mickey’s Circus. We also now know more specifics about how and when this series will launch. In the coming weeks we will try to spotlight the individual artists and talk with the project’s creator Rust this World on an upcoming podcast. For now, I’ll now turn it over to Rust this World to give you some of the details:

The Custom Artist Project is a group of 11 of the best custom Vinylmation artists in the world who have come together to make their own blind box series. Series 1 is called “Sidekickz” and is a mix of different Disney sidekicks from films or TV. We aim to replicate a real Vinylmation case, so the entire series is 24 figures. There are two of each figure with the exception of one chaser and one variant.

Celeste Villanueva
Sidekick: Booster Munchaper (Buzz Lightyear of Star Command)
Christopher Avalos (Evilos)
Sidekick: Lefou (Beauty and the Beast)

Josh Edwards (Crazy 4 Vinyls)
Sidekick: Iago (Aladdin)
Are Jay
Sidekick: Diablo (Sleeping Beauty)
Mark J Hoffmann
Sidekick: Grumpy (Snow White)
Brian Shapiro
Sidekick: Creeper (The Black Cauldron)
Heather Kattelman (Vinylmation Customations By Heather)
Sidekicks: Flotsam and Jetsam (The Little Mermaid

Dylan Pommer (Rust This World)
Sidekick: Eeyore (Winnie The Pooh)

Aaralyn Montgomery
Sidekick: Rajah (Aladdin)
Nanette Simard Belgen (NRB Relic)
Sidekick: Flower (Bambi)
Dylan Pommer (Rust This World)
Sidekick (Chaser): Smart Ass Weasel (Who Framed Roger Rabbit)

Jenny Grinsell
Sidekick: Little John (Robin Hood)
Date of Launch : October 6th
How to purchase: The price of one blind box is $65, including shipping within the US. We’re looking into international shipping right now, but it will probably be another $5-10 if it works out.Paypal is going to be the accepted payment. It is limited to one household per blind box.
What you get: You will get one blind box (yes, I’m actually making boxes) with one of 24 different figures. Some figures come with accessories. You will also get 11 different cards, 1 from each artist.

Custom Class with Rust This World: Lesson 3 – Stripping Paint

This week in Custom Class, I’m going to be showing you how to strip paint off of Vinylmation figure. Paint removal is kind of advanced technique, and definitely only applicable in very specific situations. With the I Heart Mickey series that just came out, us custom artists now have a cheap and easy source for Buzz bubble helmets. Unfortunately, they all have some sort of paint on the inside of the back part of the helmet. I’ve had a lot of people asking how to strip paint from something. I’m going to show you two different ways.

Here are the two products I’ll be using. On the left is a bottle of acetone nail polish remover. This is the stronger of the two liquids I’ll be using. It strips paint off figures really easily, but is also a lot easier to mess something up with. On the right is my bottle of brush cleaner that I use to clean the paint out of my brushes after I’m done painting. It’s definitely more gentile than straight Acetone, but it may take a bit more work.

So I’ll start with the helmet. I’m using the brush cleaner for this because I don’t want to accidentally mess up the inside of the helmet, since it needs to be clean when I’m done. What I do is dip my brush into the brush cleaner and just brush over the spot I want to remove the paint from. Depending on the paint, sometimes I’ll brush the stuff on and then give it a minute to dilute the paint, before wiping it off.

As you can see, I can not wipe off some of the paint.

It takes a few layers of brushing, then wiping, then repeat until it’s completely removed.

Next up I have a Bambi 25th Anniversary figure that I want to completely remove the paint from except the face, which I’ll just paint over. I start by brushing on brush cleaner just like before.

With the ears completely clear, I move onto the body. I don’t know how the glue and glitter will react to the brush cleaner, so I sanded it down to just the figure and paint.

Using the same technique, I gradually am able to remove the paint from bamboo’s body and arms. She had several layers of paint, so it took longer and was a bit messier than just the writing on the helmet.

Eventually, I was able to get his entire body down to just the plastic.

For the last part of the lesson, I’ll be using Acetone. You don’t want or need any industrial strength acetone as there’s a good chance it will melt your figures. Nail polish remover with Acetone in it will work fine. If it can’t eat through the plastic bottle it comes in, it won’t eat through your figure. If you’re buying the acetone in a metal can, you’re over doing it. I’m going to be turning this I Heart Mickey figure into just a clear red figure. Because Acetone is more acidic than the brush cleaner, I use a cue tip instead of my brushes so that I don’t destroy my brushes.

I pour a little bit of acetone into the cap to dip my cue tip into and begin to wipe away the paint.

It may takes several passes and multiple cue tips to remove all of the paint and sometimes it will just smear around.

I probably went through 7 cue tips, using both ends, to get it to this stage where it’s completely clear.

To stop the acidic effects of the acetone and make sure it doesn’t melt my figure, I run the figure in some water and dish soap. The soap acts as a base to cancel out the acetone.

And finally, I end up with a plain clear red figure on the current mold.

By stripping the paint from the Bambi figure and the bubble helmet, I was able to make this Madame Leota figure, which I like so much more than the version from Haunted Mansion.

Spotlight On: Custom Vinylmation Artist Rust This World

I’m fascinated with trying to create my first custom Vinylmation, and being impressed with Rust this World’s tips last week, we invited him back to talk about a few more of his customs and how they came to be.

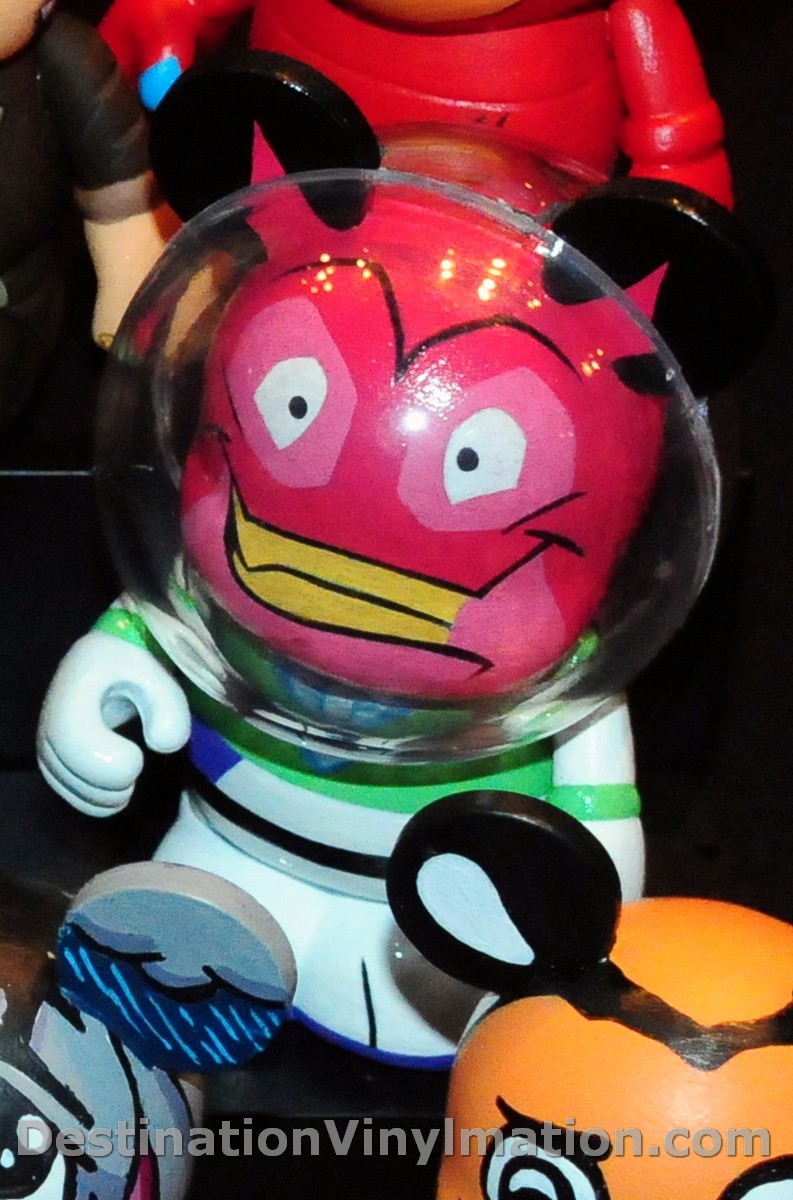
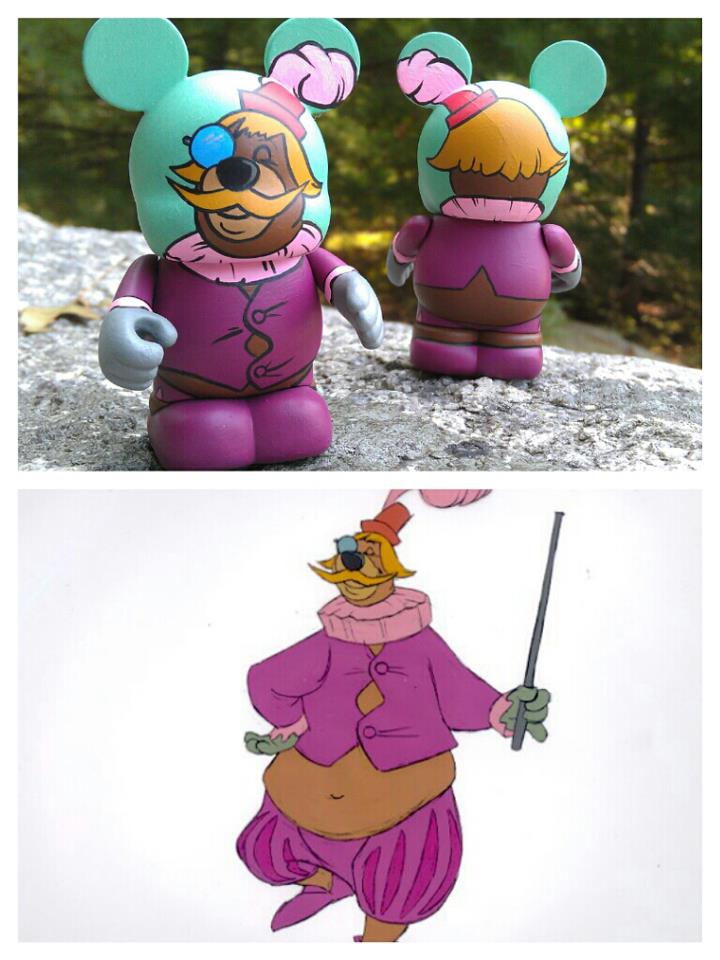
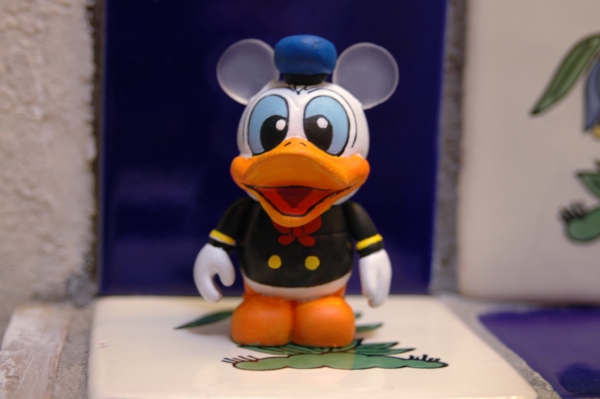
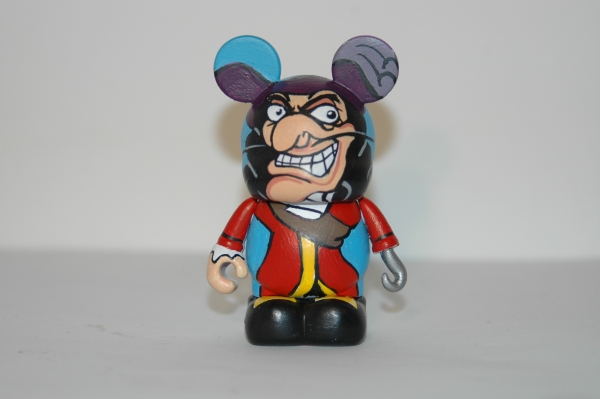
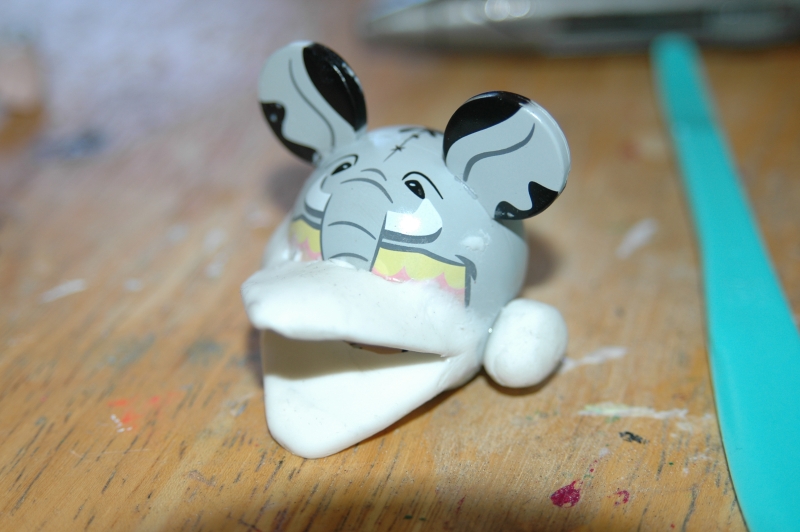
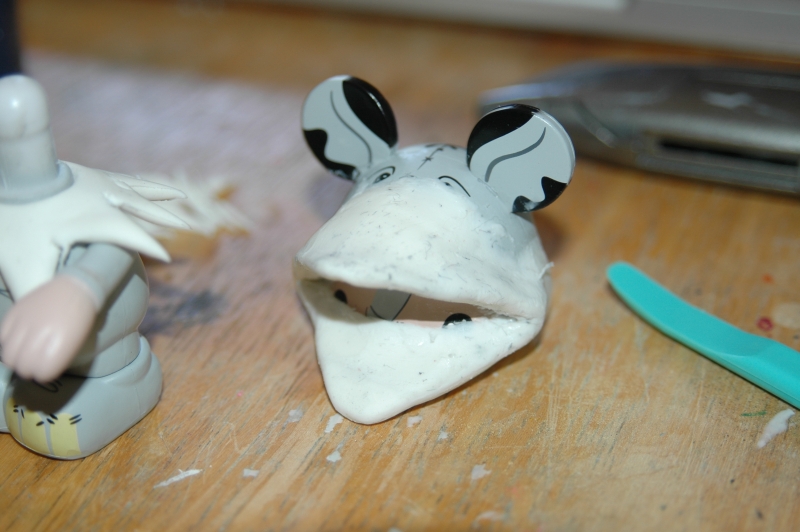
Destination Vinylmation: Looks like you solved the problem some designers have with drawing a duck beak on the Mickey canvas. Can you give artists out there some tips on molding parts onto a custom vinylmation like you did with this beak?
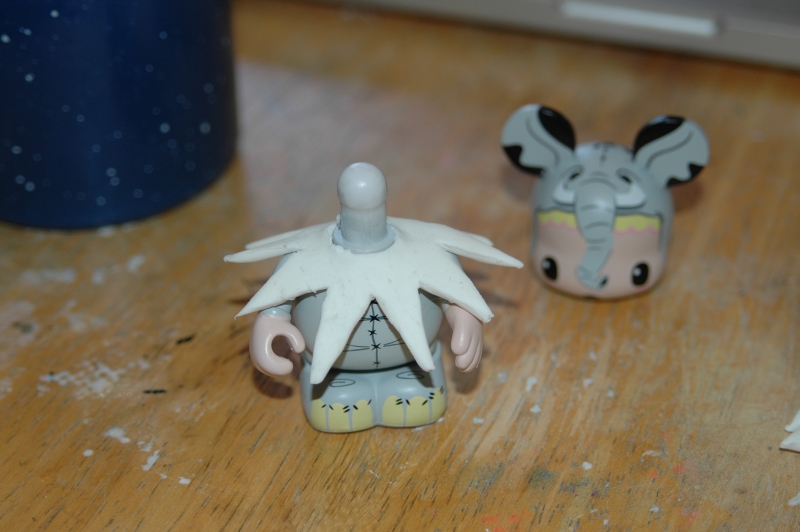
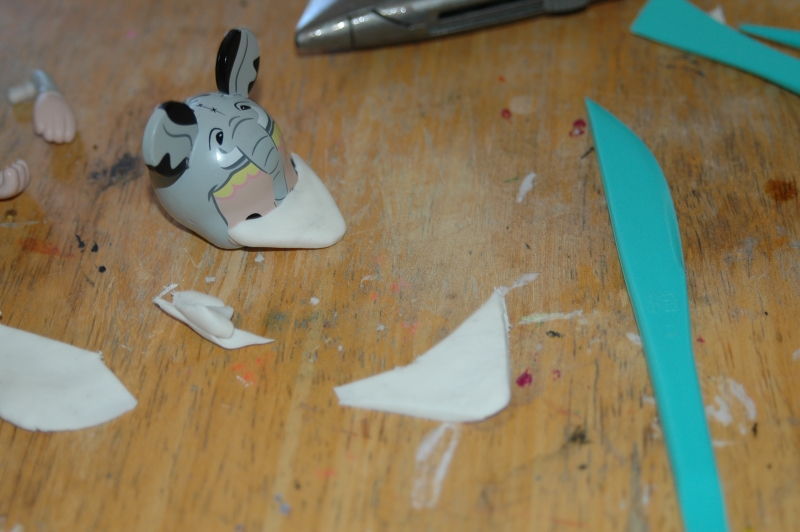
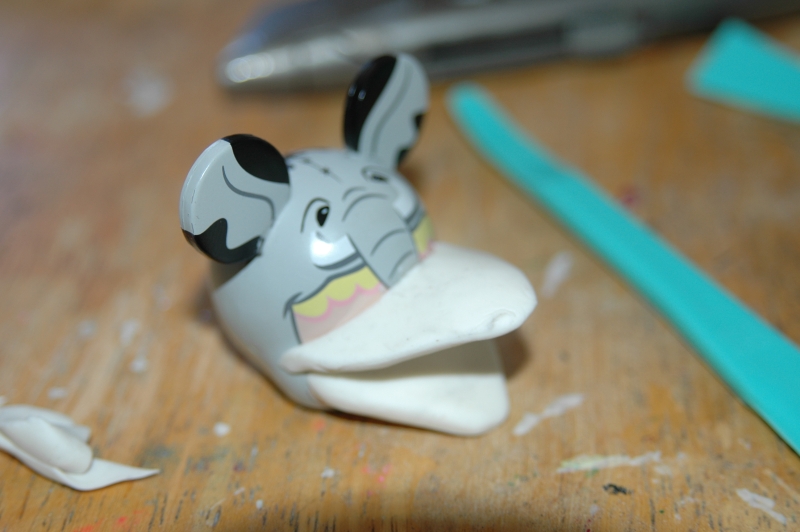
Rust This World: The duck beaks never quite worked on the Mickey face in my opinion. I usually object to obscuring the “Mickey-ness” by adding too much, and this started as just a weird little experiment I did. It turned out way better than I thought it would, honestly.

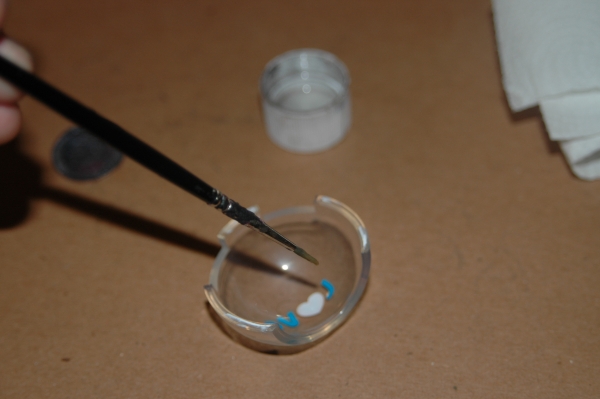
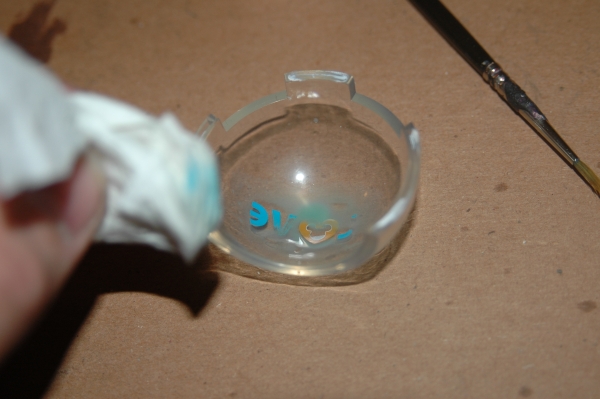
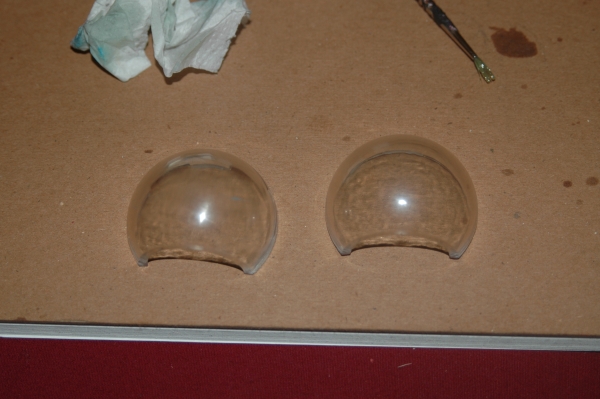
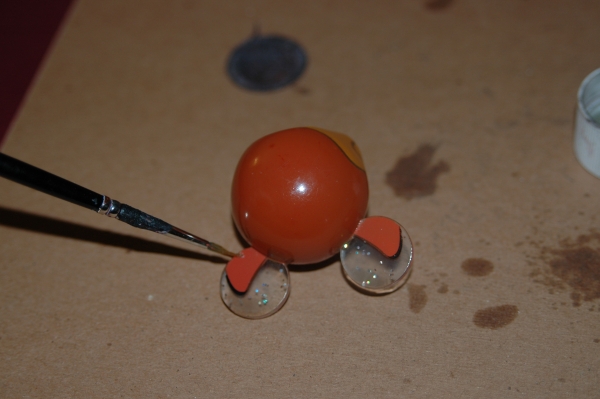
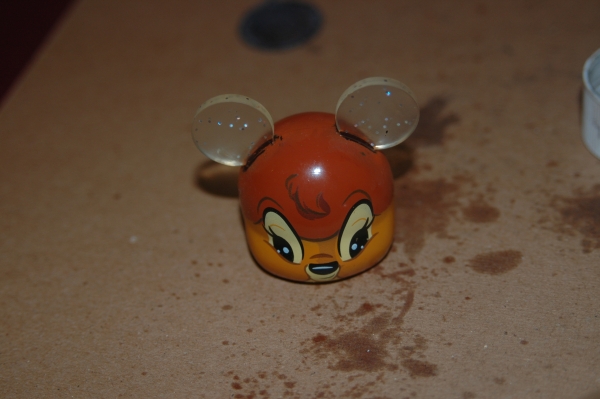
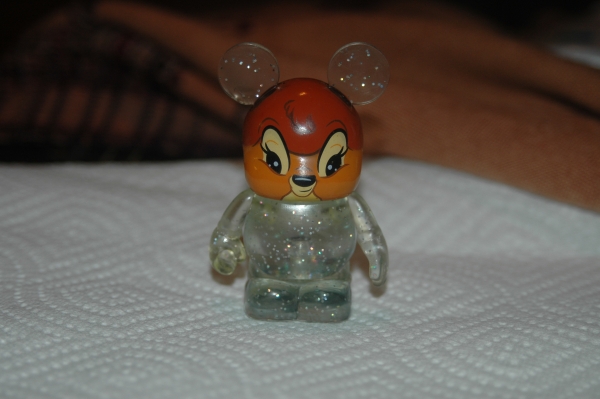
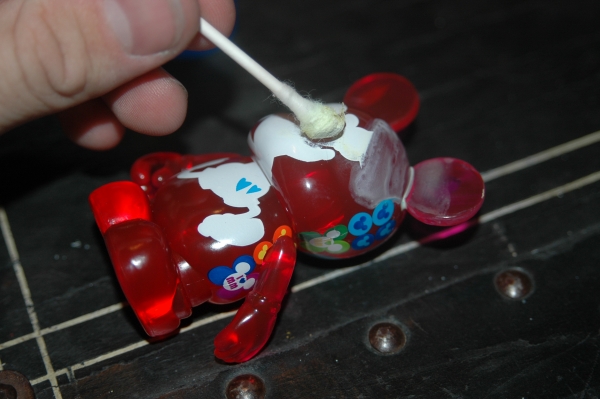
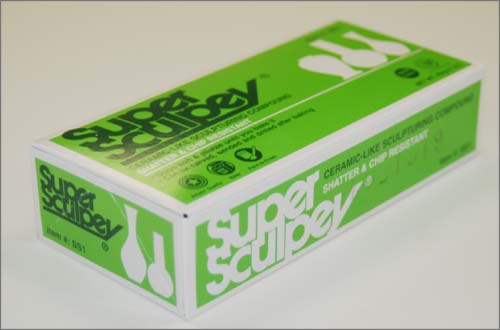
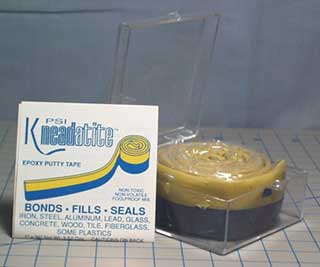
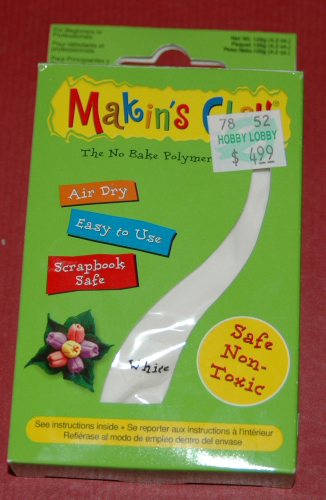
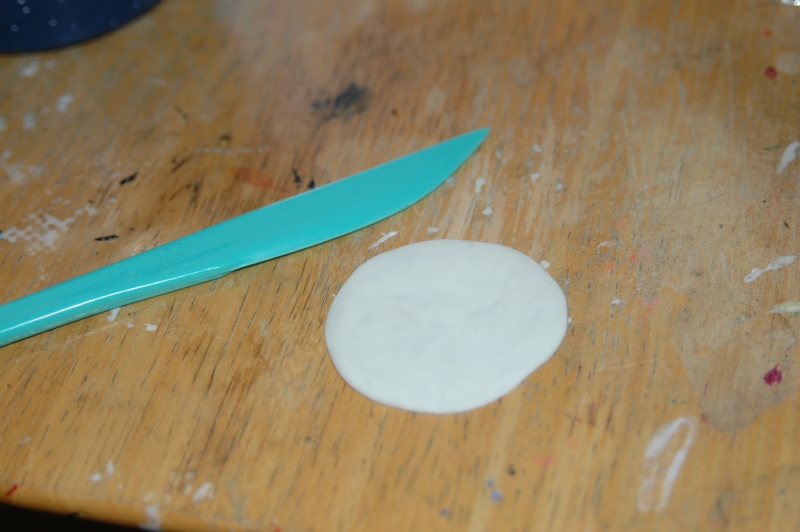
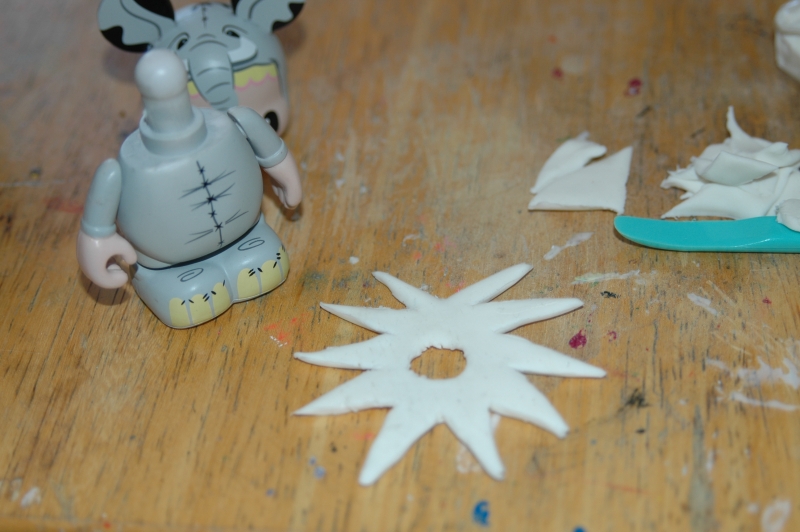
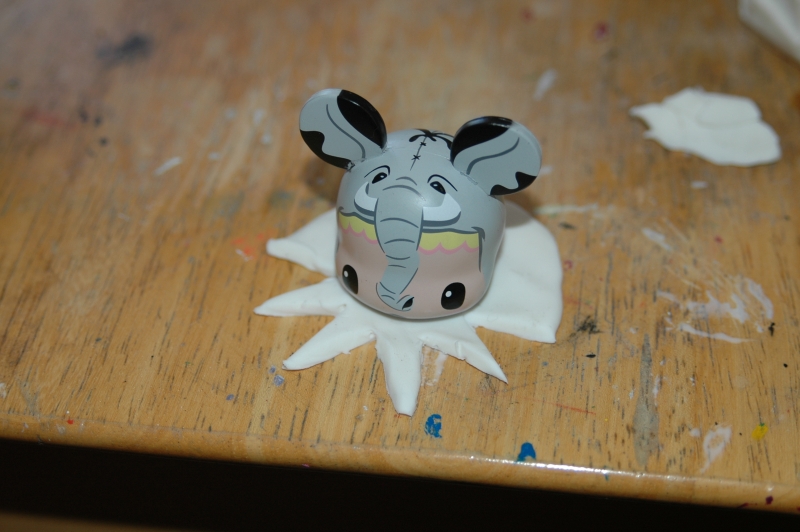
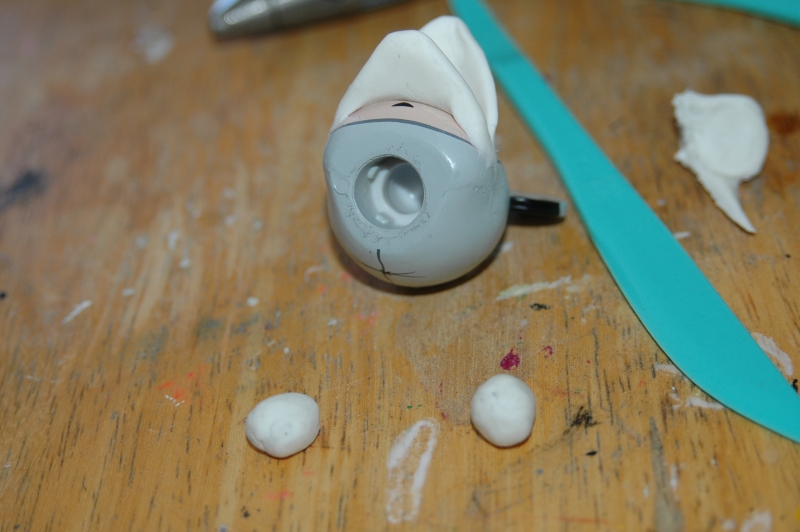
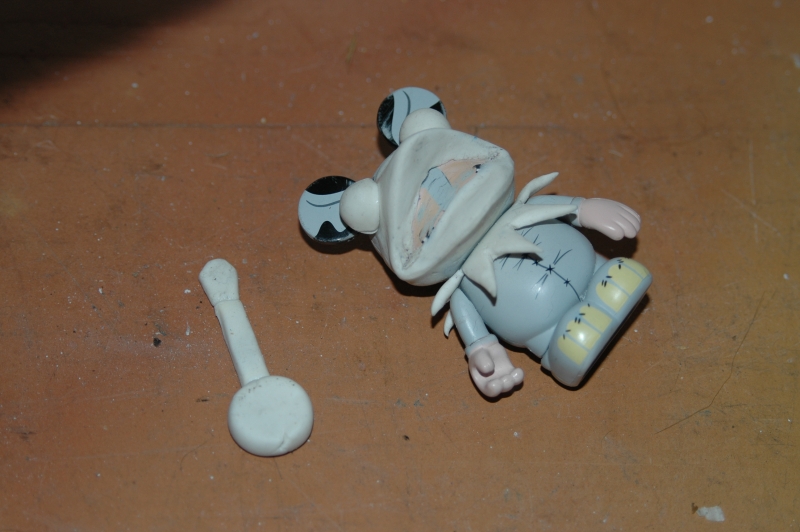
The great thing about sculpting onto Vinylmation is that if you want to stick with the soft style of Vinylmation accessories like the hats, you don’t need to be great at sculpting because what you’re making doesn’t need a ton of detail. There are several different sculpting compounds to use. Another option is Super Sculpey. Regular Sculpey is too brittle to use, and chips easily, but the Super variety is stronger. I don’t like Sculpey personally because you have to either bake it or bowl it for it to harden, and I hate risking the vinyl by putting it in an oven (not to mention that vinyl gives off toxic gases if heated high enough.) Another option is epoxy putty, but you have to get the right stuff. Don’t use the stuff at home depot that fixes leaky pipes, get something like Games Workshop’s “Green Stuff”. It’s a two part compound that air dries and holds detail very well. What I used on Donald’s beak, and is one of my personal favorites, and kind of a secret, is a kind of clay called Makins Clay. It’s a strong, yet pliable air dry clay that is water based. It’s easy to sculpt into a smooth shape, dries rock hard, and is tolerant of a wide range or temperatures. The only downside is that it doesn’t hold tiny detail well, so if you’re sculpting really intricate stuff, a good epoxy is a better bet. And do not use Crayola air dry clay, it is absolutely terrible.

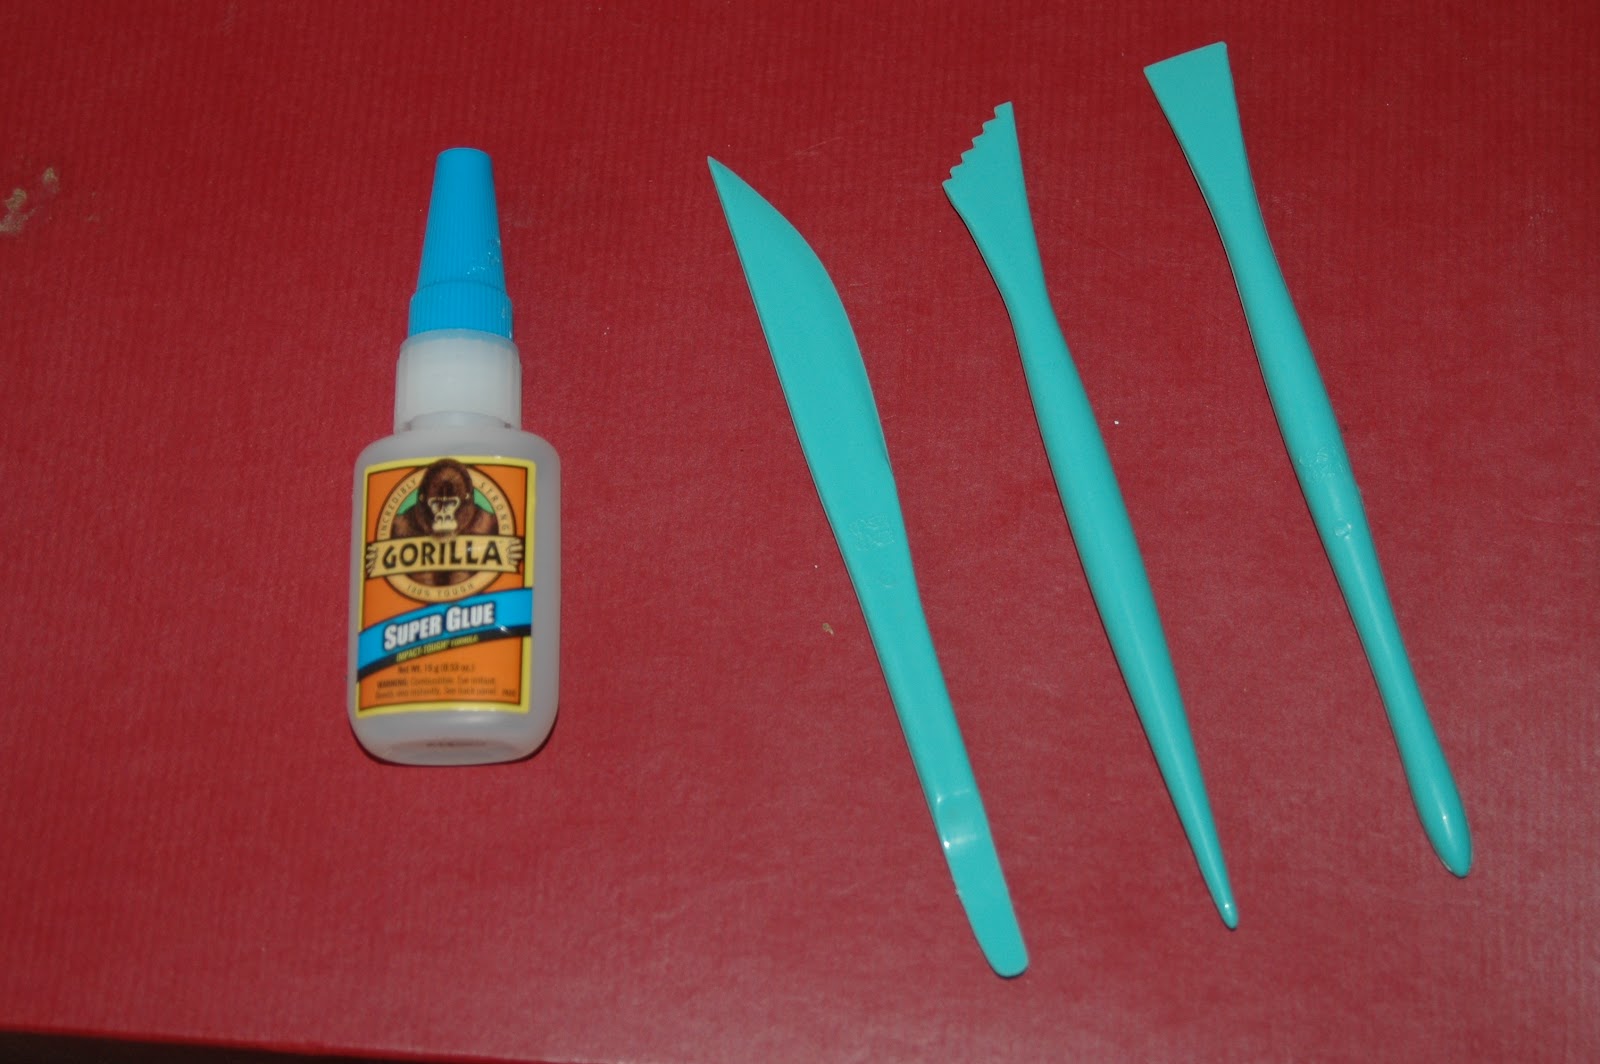
In terms of sculpting tips, clay is clay. Work it around in your hands to get the basic shape, apply it to the figure, use water to smooth it, etc. You can always use sculpting tools to add texture or detail, but I sculpted Donald’s beak entirely by hand, so it’s possible to do something like that without a bunch of tools.

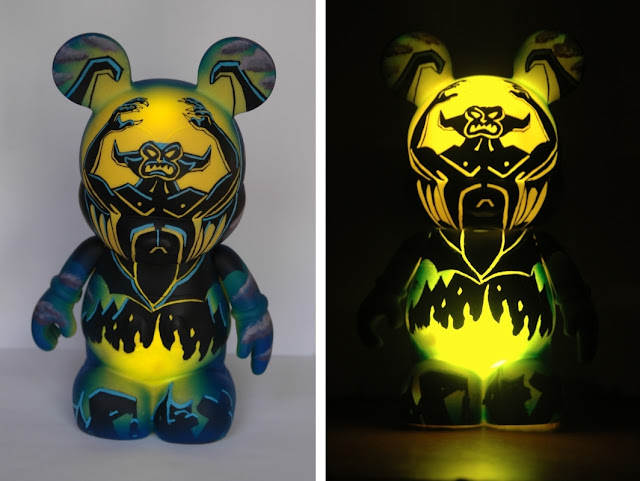
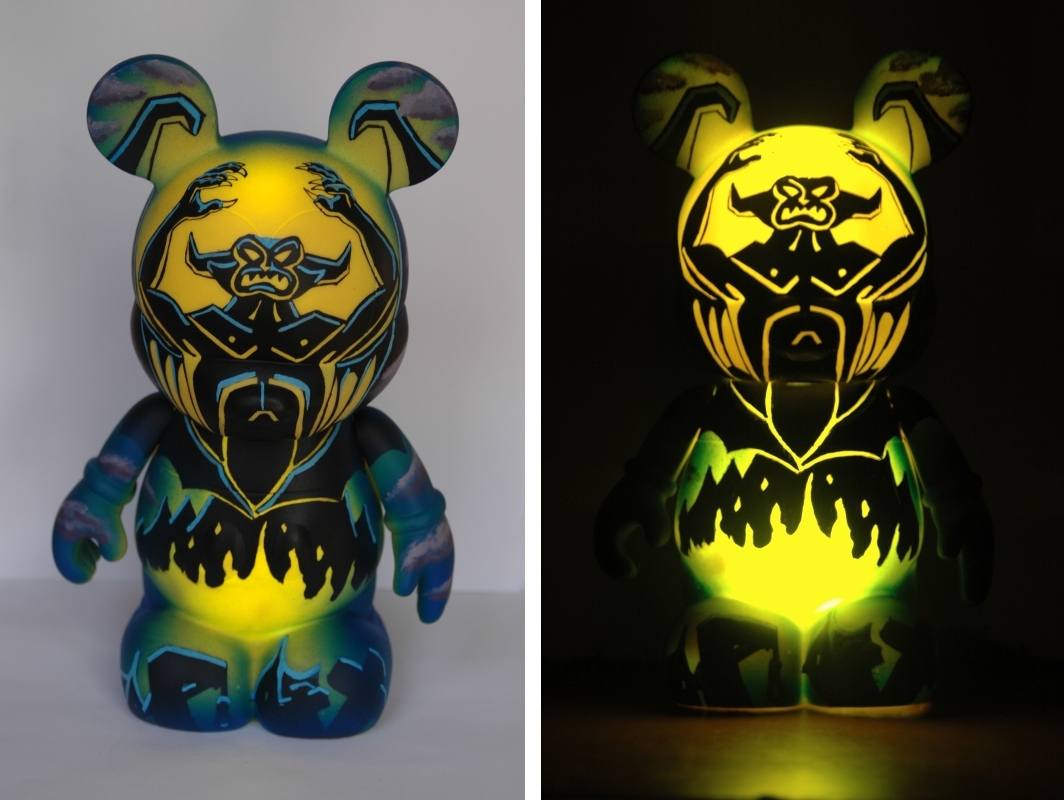
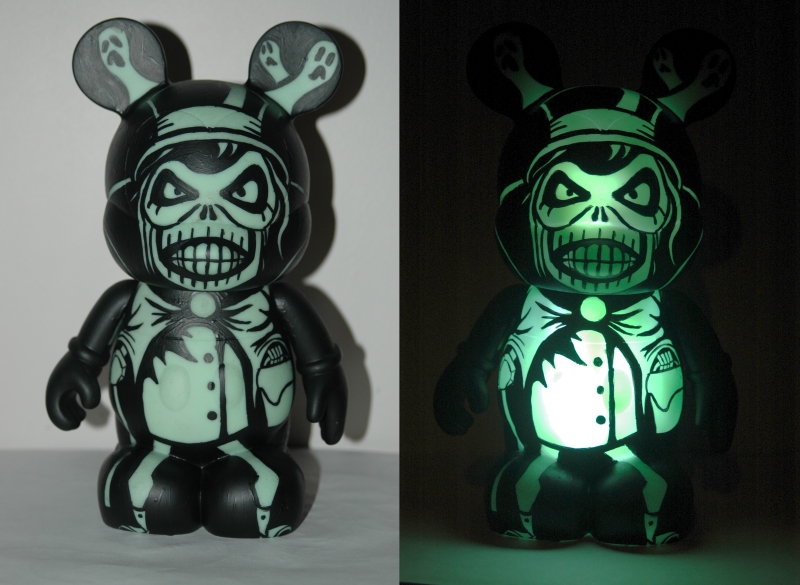
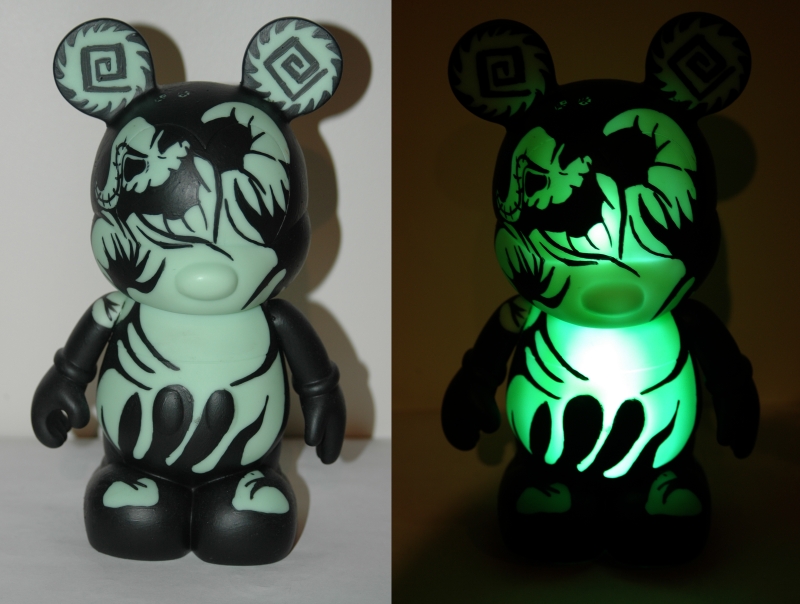
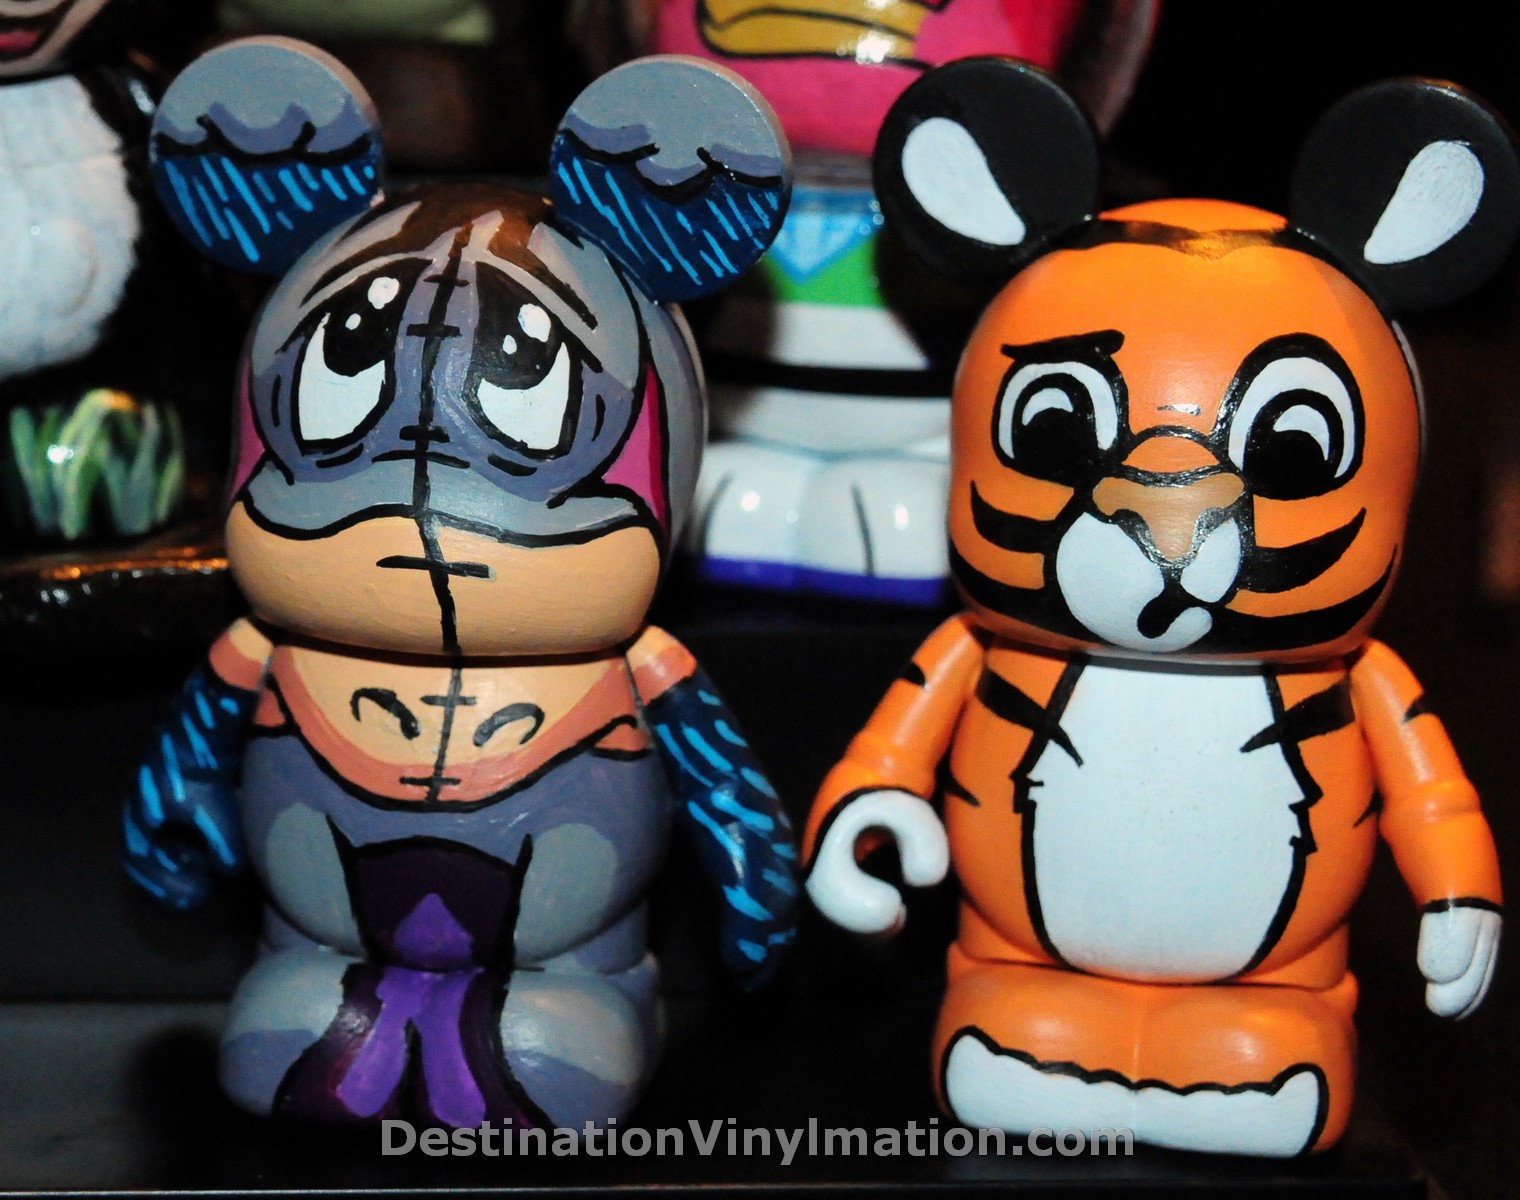
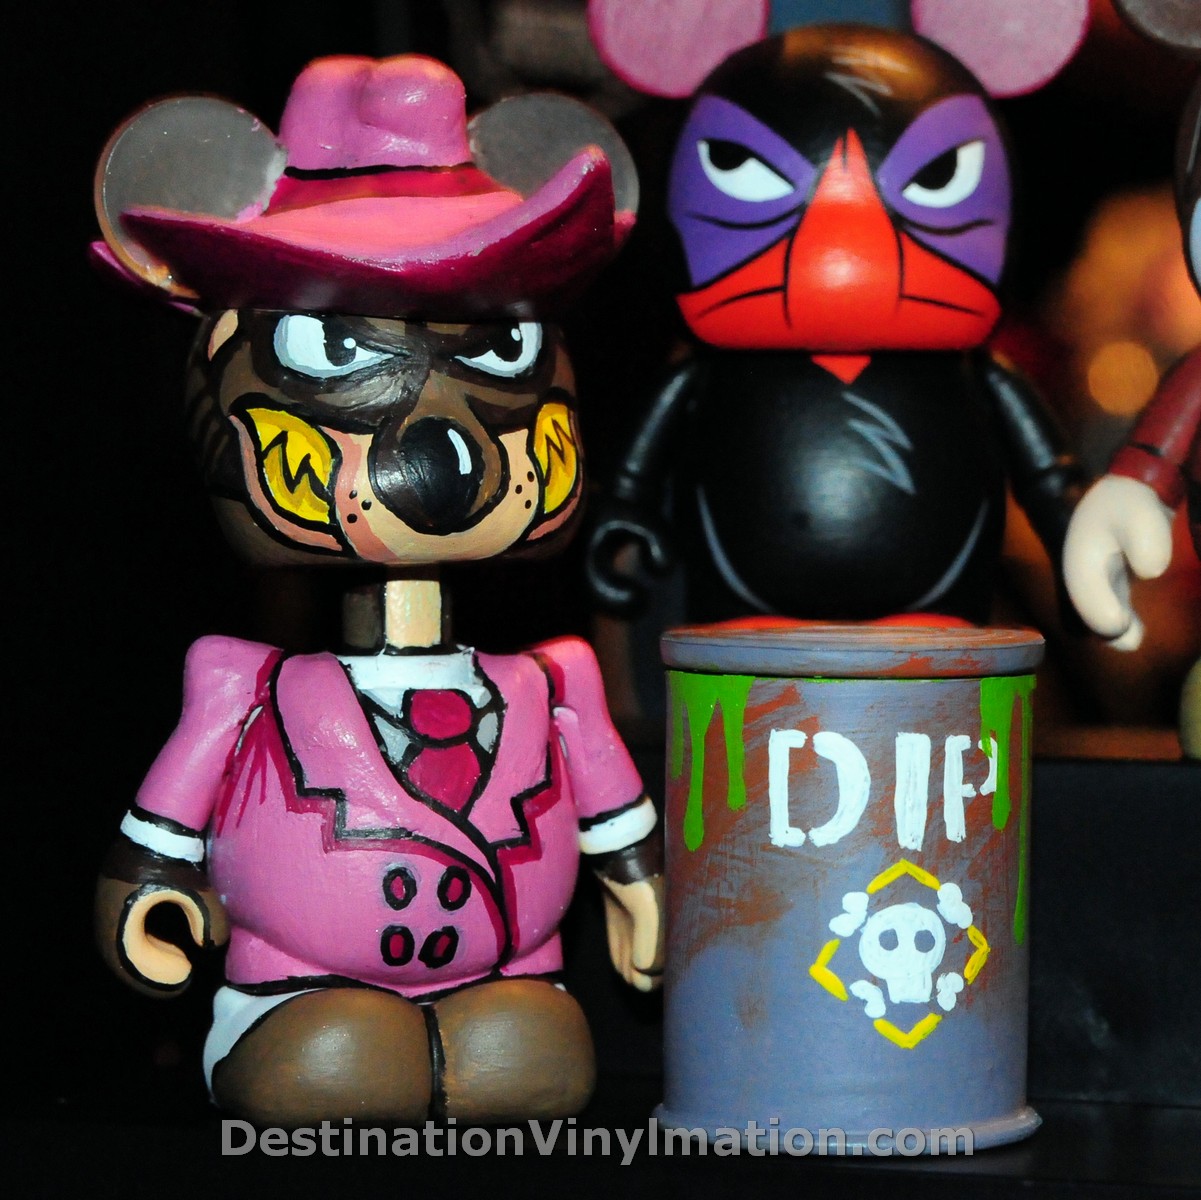
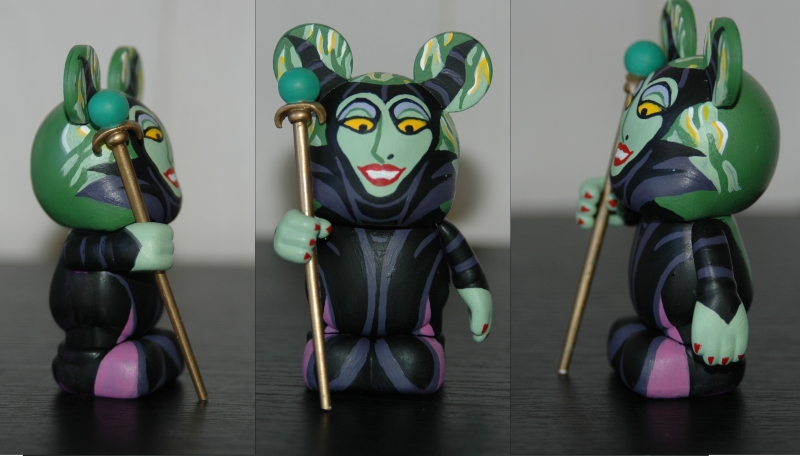
DV: Maleficent is so vibrant and detailed. As an artist working on such a small canvas, how do you get such smooth color and detail onto a face like that?
Rust: There are 3 things that help me with smooth, clean paint applications.

1. Get a good quality paint. I would swear my life on Citadel Paints as I have yet to find any model acrylics that even come close quality wise. They’re slightly expensive ($3.75 a bottle), but apply smoothly, have a long shelf life, aren’t too thick or too runny, and have very vibrant colors. Cheaper paints may save you a buck, but are much harder to paint with.

2. Apply the paint in small, light strokes. Maleficent’s face, because it’s a light color that was applied over a black base coat, took about 5 coats. I would paint a light coat and let it dry before applying another. I know the tendency is glop the paint on until you can’t see the color underneath, but if you take you time, it will look smoother.

3. Get a tiny brush. I use a 4/0 size brush, which is tiny, for 80% of what I paint. The key to getting tiny sharp lines is to have a tiny brush, there’s no real way around it. On 3″ figures especially, it’s almost all I use unless I need to fill in a huge area with color.

DV: We know all your customs are created for your personal collection, but you do accept commissions to recreate your work. Where can people go to see your portfolio and contact you?
Rust: Of course, I’ve done commission work before and would definitely be willing to recreate any designs, or even do something new, if someone was interested. My website is http://www.rustthisworld.com or you can email me at evolvedbutter@aol.com

Spotlight On: Custom Vinylmation Artist Rust This World

Rust this World delivers us some more classic Disney in custom form.

Destination Vinylmation: First of all, Splash is my favorite ride at Walt Disney World and your depictions of Brier Bear, Brier Fox and Vulture are fantastic. Why did you decide on these three Villains?
Rust This World: I think the characters from Song of the South and Splash Mountain are under utilized. I know Disney likes to pretend that the film doesn’t exist, but I’m pretty shocked that we haven’t gotten a single park figure based on Splash Mountain yet. I love the character designs, and of course they add to my huge villain collection. I got to try some new stuff on them too like sculpting hats and painting parts of their bodies so that they didn’t match up with the same part on Mickey’s body.

DV: What are some of your favorite features about the Queen, Hook and Tremaine?
Rust: The others I did because I wasn’t satisfied with the official designs. Though instead of just stretching them out, I framed their bodies with a background or other features, so they keep their look without becoming fat, but aren’t split in half on the bridge of the nose. I really liked putting Lucifer on the feet of Tremaine.

DV: And where can people reach you?
Rust: My webpage is www.rustthisworld.com and my facebook is www.facebook.com/rustthisworld

Custom Class with Rust This World: Lesson 2 – Sculpting

Alright children, class is back in session after a long summer break. Today, we’ll be talking about sculpting. Sculpting is something that can really take your figure to the next level. More and more vinyls are coming with accessories these days; whether it’s a hat, a weapon, or even little stuff like the rim of Darth Vader’s helmet in Star Wars 2. Today I’m going to teach you how to do this yourself. Don’t be afraid to ask questions or share ideas for future tutorials. Just leave a comment here or tweet me @rustthisworld. Also check out Lesson 1 – A Beginner’s Guide.

Part 1: Common sculpting materials that custom artists have used.

Sculpey

Sculpey is everyone’s favorite hobby clay. Regular Sculpey is brittle and flimsy when it hardens, so I wouldn’t recommend using it. However, Super Sculpey is a different story. Super Sculpey hardens much harder and stronger. Super Sculpey is great if you want to sculpt something really detailed because it holds detail very well when cooking. Sculpey has a huge downside, you have to heat it in some way for it to harden. This means either baking it or boiling it, both of which can cause serious harm to your vinyl. If you heat it, you probably don’t want to put your figure in the oven as it could melt and release toxic fumes. Heather of Customations fame apparently bakes her figures with the Sculpey attached to it, but just heats at a low temperature. The other way to get the Sculpey to harden is to hold the vinyl and clay with a pair of tongs in a pot of boiling water for about 20 minutes. Now I need to move on and stop talking about Sculpey because the word Sculpey now sounds completely weird in my head. Sculpey.

Crayola Air Dry Clay

Pros: It air dries! No heating required.
Cons: It sucks in everyone other way. It doesn’t hold detail, crumbles and cracks very easily, and is very fragile and hard to work with. It’s for kids to sculpt snakes out of and eat, not for serious use.

Epoxy Putty

Epoxy Putty is a two part compound that when mixed together hardens. There are many different kinds of Epoxy, most are for industrial use, like fixing pipes and filling holes. This kind of Epoxy holds no detail or shape as it’s meant to just expand and fill a space. Other kinds are meant specifically for hobby sculpting, like for models or miniatures. Another custom artist, Joe of War, uses Aves brand of Epoxy and gets good results. Games Workshop (who make my favorite Citadel Paint) have a kind of Epoxy called “Green Stuff” which holds amazing detail and dries rock hard, but it is expensive.

And finally, my secret weapon.

Makin’s Clay

I love Makin’s Clay, and I use it for all of my custom projects that require sculpted modification. It air dries, so you don’t need to cook it. Not only that, but it air dries as hard as plastic. I’ve dropped some of my sculpted pieces from like 8 feet off of the ground and they didn’t break. It comes in all kinds of colors, including Glow In The Dark, though I mainly just use plain white. or “natural”. Since it’s water-based, it makes creating smooth even sculpted extremely easy.

I get mine at Hobby Lobby, but it can also be found online.

Part 2: Some other things you’ll want

Super Glue

If I’m sculpting a shape onto the vinyl that I want to smoothly blend into the figure, I use super glue to stick the basic shape onto the figure. Even if you’re sculpting something like a hat that you want to stick to the figure, Super Glue is there for you. I personally use Gorilla brand Super Glue because it’s a thicker gel-like substance so it doesn’t run everywhere, and it doesn’t leave much white residue like some other Super Glues do. It also it’s super hard when it dries and is much more durable than lesser brands.

Sculpting Tools

I’m not sculpting anatomically correct ecorche here, so I don’t need a million tools. I have 3 (each with two ends, so effectively 6) small plastic tools that I picked up for $3 at Hobby Lobby. They just help shape your sculpt; some ends cut, some ends round or smooth, and some add texture.

 A Dremel

This is totally optional, but I love my dremel. I use it to sand down and smooth out my sculpts so that they’re cleaner and easier to paint, but I’ll go more into that later.

Part 3: The Sculpt

Today I’m going to make a heavily sculpted Kermit the Frog with a sculpted mouth, eyes, collar, and banjo. This will cover both the sculpting on and off of the figure. I’m going to start out by making his collar. First, I take a ball of the clay and flatten it onto the table.

I take my knife tool and cut out little sections so that it resembles the points of Kermit’s collar.

Then, I line it up with the head of the figure I’m using to make sure it’s a good size.

Next I take a couple drops of super glue to fix the collar onto the vinyl.

The clay I use usually takes about 24 hours to fully dry.

Now I’m going to start working on the mouth. This will cover how to sculpt directly onto the figure.

I use the knife tool again to cut out a couple sections that are generally shaped like the 2 halves of Kermit’s mouth. These will be my base.

I add a line of super glue on the back of each and attach them to the head. They don’t need to be fully dry to glue them down. Gorilla Glue hardens very fast, so I just hold the piece I’m gluing to the surface for about 30 seconds and that usually holds it.

It looks too much like a bird’s beak now, so take a couple small clumps to round out and widen the edges of the mouth

Now I begin to add more sculpting to blend the shape of the mouth into the head. I take a big clump of the clay and smooth it out. Makin’s Clay is water-based, so I just dip my fingers into water and then smooth the clay out and blend it into the figure with my fingers.

That’s the basics of how I sculpt onto a figure so that it is seamlessly integrated into the overall sculpt of the figure. Using these same methods, I’ll also add a couple of eyes and made a simple banjo for him to hold.

I also used my razor knife to cut his hands off and glue them back on so that they can accurately hold the banjo.

I then use the same ultra fine sandpaper that I used in my last tutorial and sand the figure down. This should smooth the sculpt out and eliminate any finger prints or uneven edges.

Then I take my trusty dremel tool and attach a buffing wheel onto the end. This really smooths down the sculpt and makes it perfect for painting on top of.

Once everything is dry and prepped, I just paint it like a normal figure.

And that is how I sculpt onto my figures.

Remember if you have any questions, ask them here in reply or find me on twitter (@rustthisworld) and ask on there.

Spotlight On: Custom Artist Project Sidekickz Artist Rust This World

The Custom Artist Project is a group of 11 of the best custom Vinylmation artists in the world who have come together to make their own blind box series. Series 1 is called “Sidekickz” and is a mix of different Disney sidekicks from films or TV. Today, October 6th, is the release date for this exciting series. The link to the series webpage is at the bottom of this page. At Noon EST, there will be a live link posted on that page that brings you to the online store. Each day leading up to the release, we have spotlighted a different artist from the series. Today we spotlight the man who put this project together, custom artist Rust This World. He created three figures for this series, Eeyore, and Eeyore variant and the Chaser… A weasel from Who Framed Roger Rabbit.

Hometown: 
Santa Fe, NM

Website: 
http://www.rustthisworld.com

What Disney Sidekick did you choose? 
Eeyore and the weasel from Who Framed Roger Rabbit.

Why did you choose the Eeyore sidekick? 
Eeyore’s a fun character, always moping around and being a great contrast to the other characters of the 100 Acre Wood. There are some days that I feel like Eeyore. I had an interesting design that I wanted to try where his snout extends down onto the body and he’s standing on all fours.

Favorite Disney Movie? 
Fantasia

Favorite Disney Theme Park Attraction? 
Indiana Jones and the Temple of the Forbidden Eye.

Favorite aspect of working on the Mickey shaped canvas? 
Because it’s Mickey. I’ve customized all kinds of urban vinyl over the years, but Mickey’s fun because I have a Disney connection and I can share my work with other Disney fans and we can share an appreciation and connection to the shape or subject matter. I also love the ears, there’s so much creative stuff you can do with the ears.

More info on the Custom Artist Project:


Website: http://www.facebook.com/groups/ArtistProject/


How to purchase: The price of one blind box is $65, including shipping within the US. We’re looking into international shipping right now, but it will probably be another $5-10 if it works out.Paypal is going to be the accepted payment. It is limited to one household per blind box.


What you get: You will get one blind box (yes, I’m actually making boxes) with one of 24 different figures. Some figures come with accessories. You will also get 11 different cards, 1 from each artist.